The Lovely Spring

The weather over the last few weeks has been fantastic! Lots of sun, some nice rain and generally the kind of conditions that make living in the Pacific Northwest awesome!

With all of the foundational work done and initial plants in the ground and going about their happy little business, I didn’t have a ton to do other than supervise and fill in a few holes when I stumbled across a good deal on something I thought would be cute.

plum tree

The shasta daisies and yarrow surround the pulm tree at the front of the side yard bed

side front bed

Lots of color and cute

front porch

Poppies, feverfew and snap dragons along the front porch

Monarda

Monarda, yarrow, day lilies, and poppies

basils

The basils and fennel are doing well

more monarda

I discovered that monarda is one of my new favorites. This pink one in the herb bed is so cute with the lavender and salvia.

Glad things are looking so cute and going so well. It is becoming a lovely little retreat, which is good because things at work are about to get super crazy!

Stewing Over the Herb Garden

When I came up with my master plan for the herb garden, I wanted everything in that bed to be either edible (but not vegetables) or flowers that had a medicinal uses — basically not just another flower garden. I was hoping to plant all kinds of herby things that I had never grown before. Part of my inspiration for this was from one of my former tenants — Kaitlyn, who was really into herbs and making tinctures, etc. When we lived together she was volunteering at a farm garden and was always bringing home stuff I had never heard of. So I thought it would cool to start growing some of these things too.

Off to the happiest place in the world — Portland Nursery — I went with a shopping list of the fun I wanted to get. Of course they had all of the basics — basil (6 kinds), sage (4 kinds), oregano, thyme, blueberries (4 kinds!), strawberries, lavender, mondara, etc. But I wanted new things too. However when I started browsing around, they didn’t really have anything that I would consider special. Sad. So I came home and started planting away, including all of the herby things I had brought with me.

herb garden start

I plopped my bounty in the ground but things looked pretty bare.

herb garden 2

The blueberries are between the long walk and the patio, with chamomile and callengula. Transplanted a chive, but still not enough to fill things out. So the compromises began, starting with a trellis of morning glory that can up from seed.

lily in the dirt

I moved some lilies from a pot and put in some more monarda and Hyssop (from Kaitlyn). The pots will have herbs that are notorious for getting overgrown — lemon balm, oregano, mints.

After planting everything I had on hand, I was frustrated and didn’t want to run all over town finding plants that fit the plan. So it has kind of become a free-for-all.  But it is finally looking less sparse. I think this will be a work in progress bed and I will move the plants out to other places when I find things that are more inline with the original goal.

herb garden first planting

It will do for now. Doesn’t look terrible and I know that things will grow.

Magical Nasturtiums

At the Columbian, we have a guy that has been writing a weather column for years. He is all kinds of folksy and readers love him. But after 10 years of editing his stuff, we know, A.) he is a pretty awful writer, and B.) he has his favorite whimsical topics for each time of the year — Frog-stranglers, wholly-footed caterpillars, etc. And he knows that spring is finally here when his magical nasturtiums make an appearance.  Basically he inspires lots of groans and inside jokes, but this year I kind of felt like he had a point.

I am so pleased at how great the front yard was looking, especially considering it was only a few weeks old! And I am happy to report I had a just a handful of causalities among my transplants — The only notable one being the little tree I got from the Columbian’s landscaping that I snapped the tap-root on but was hoping would pull through anyway.

nasturtiums 1

Magical nasturtiums by the front porch with ajuga and english daisies.

More nasturtiums

The little guy is down by the plum tree, joining the yarrow and alyssum that I planted from seed. So cute

Siberian iris and dianthus

Siberian iris from Mom, dianthus and some other treasures, including the periwinkle I got from friend Dave Kern.

More siberian iris

The north corner of the porch is framed by siberian iris and wintered over snap dragons. I love the purple and yellow.

Steps in the Right Direction

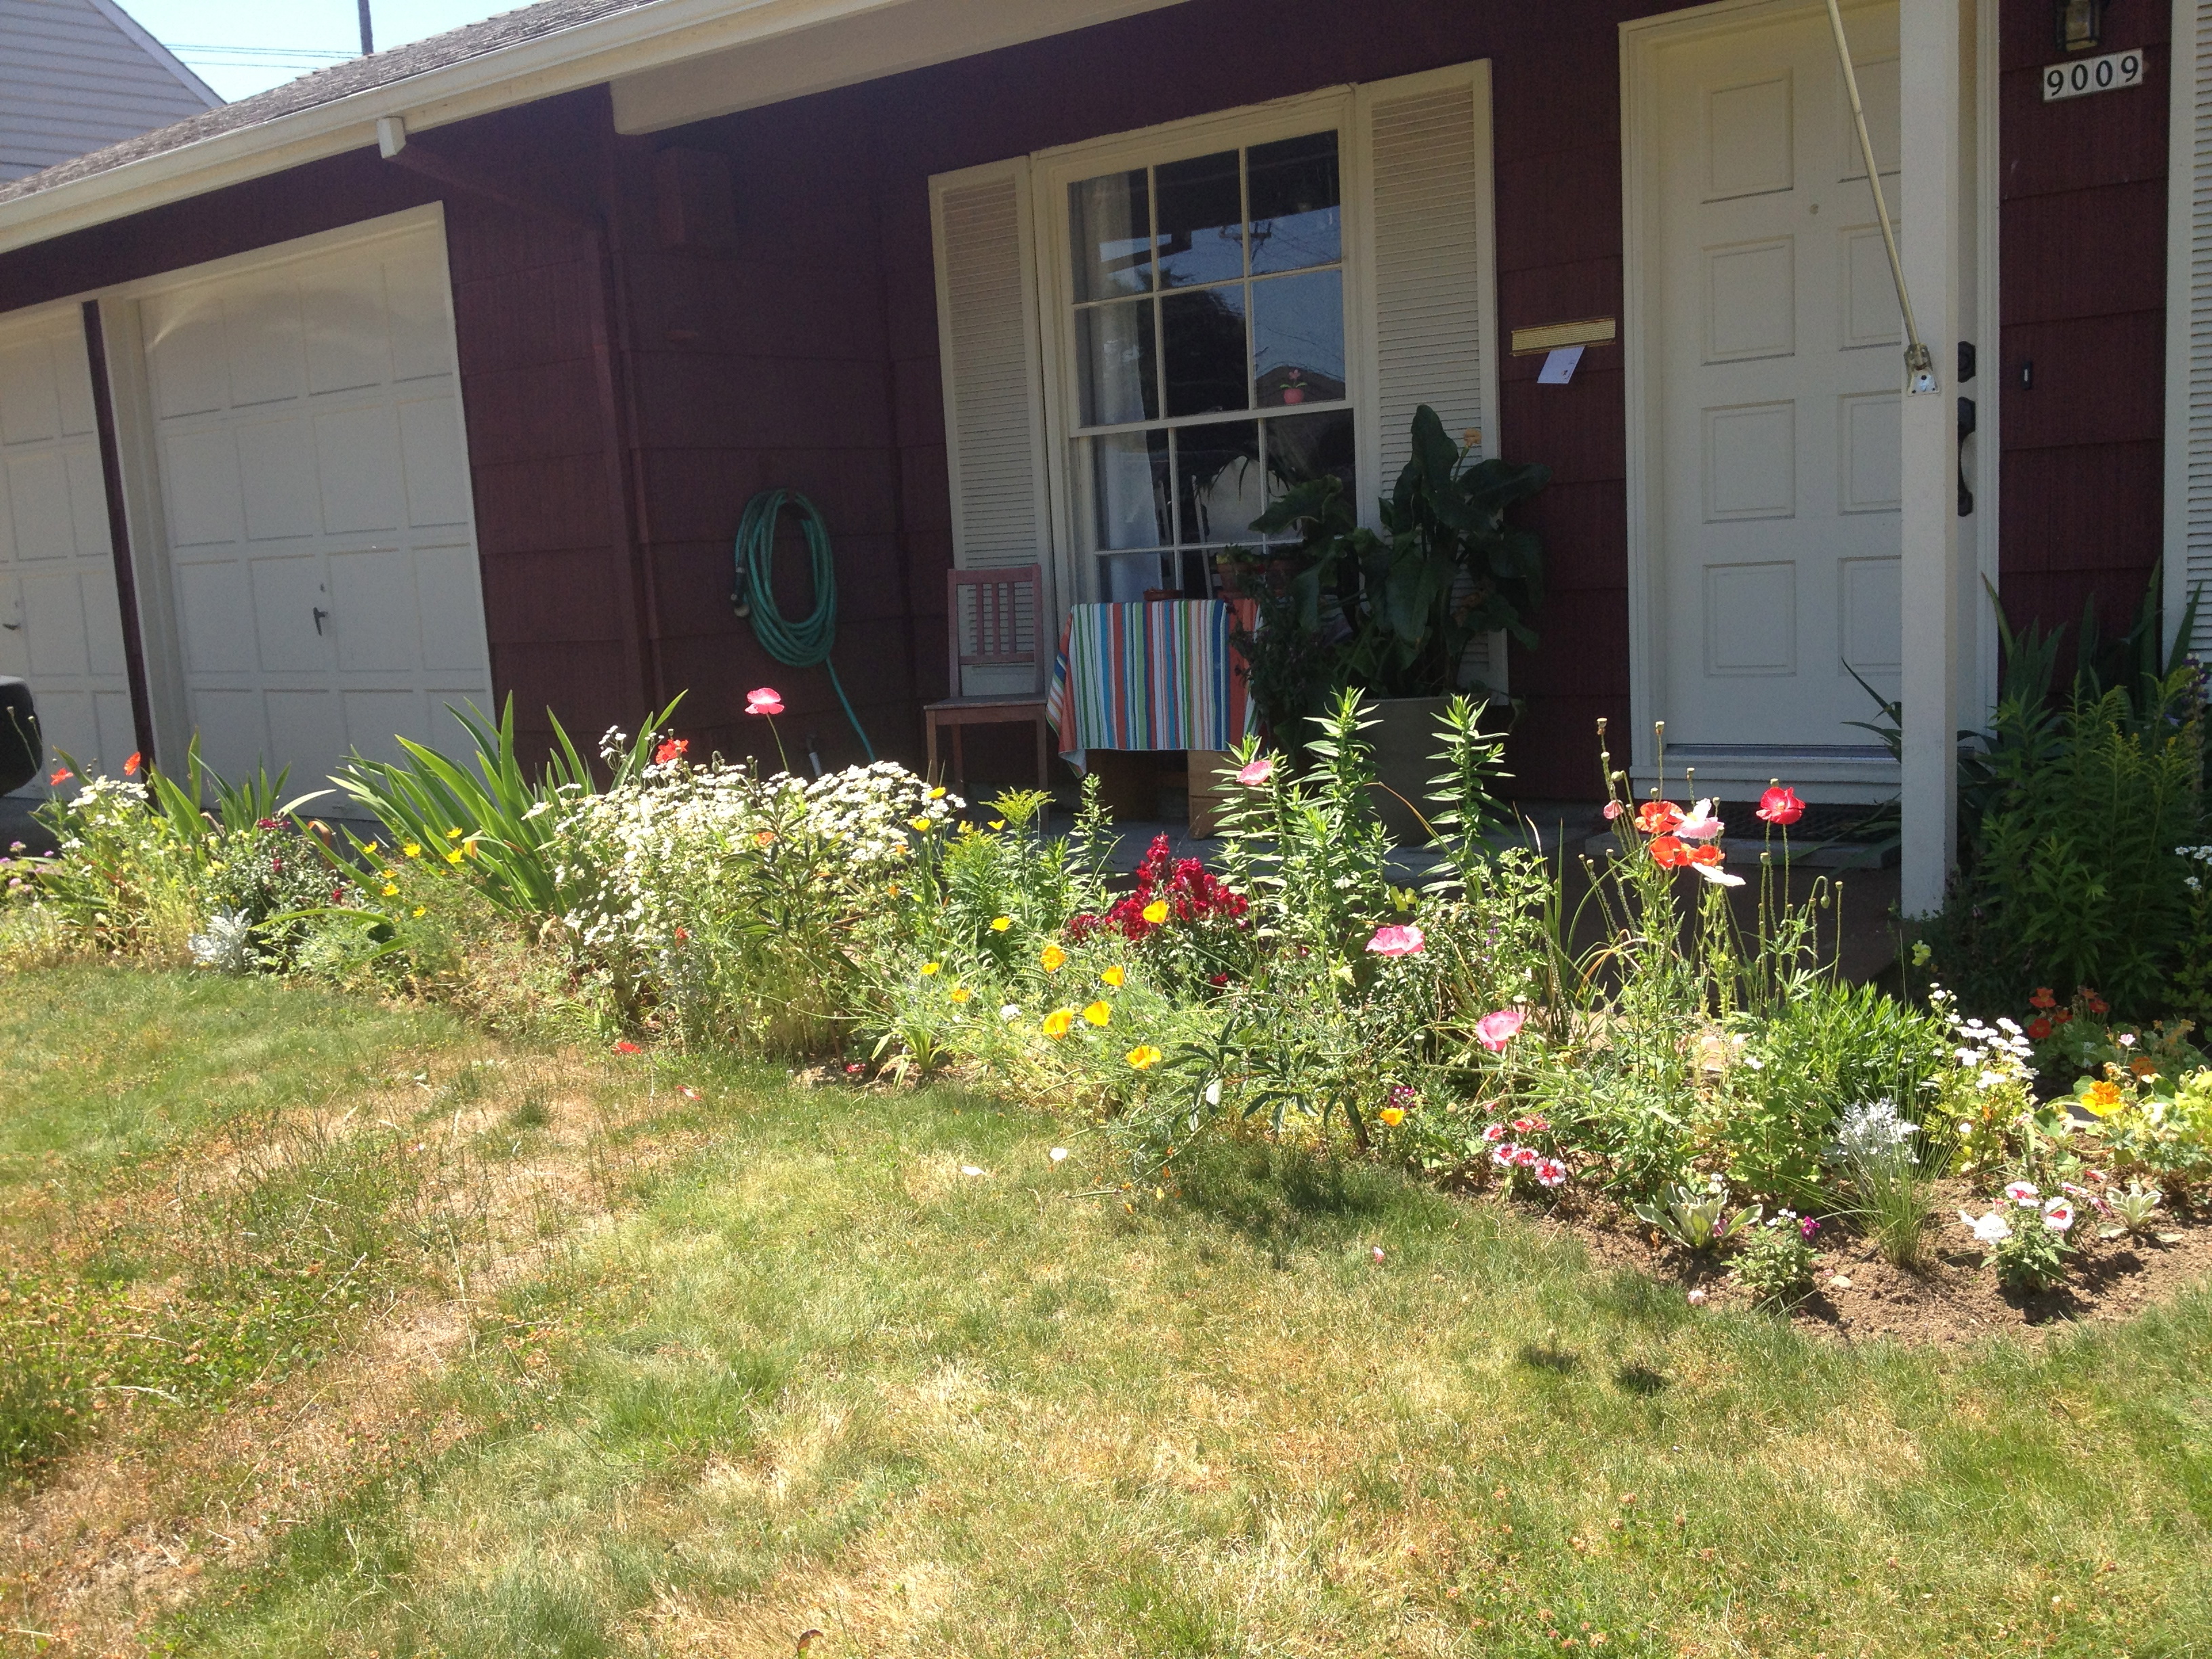
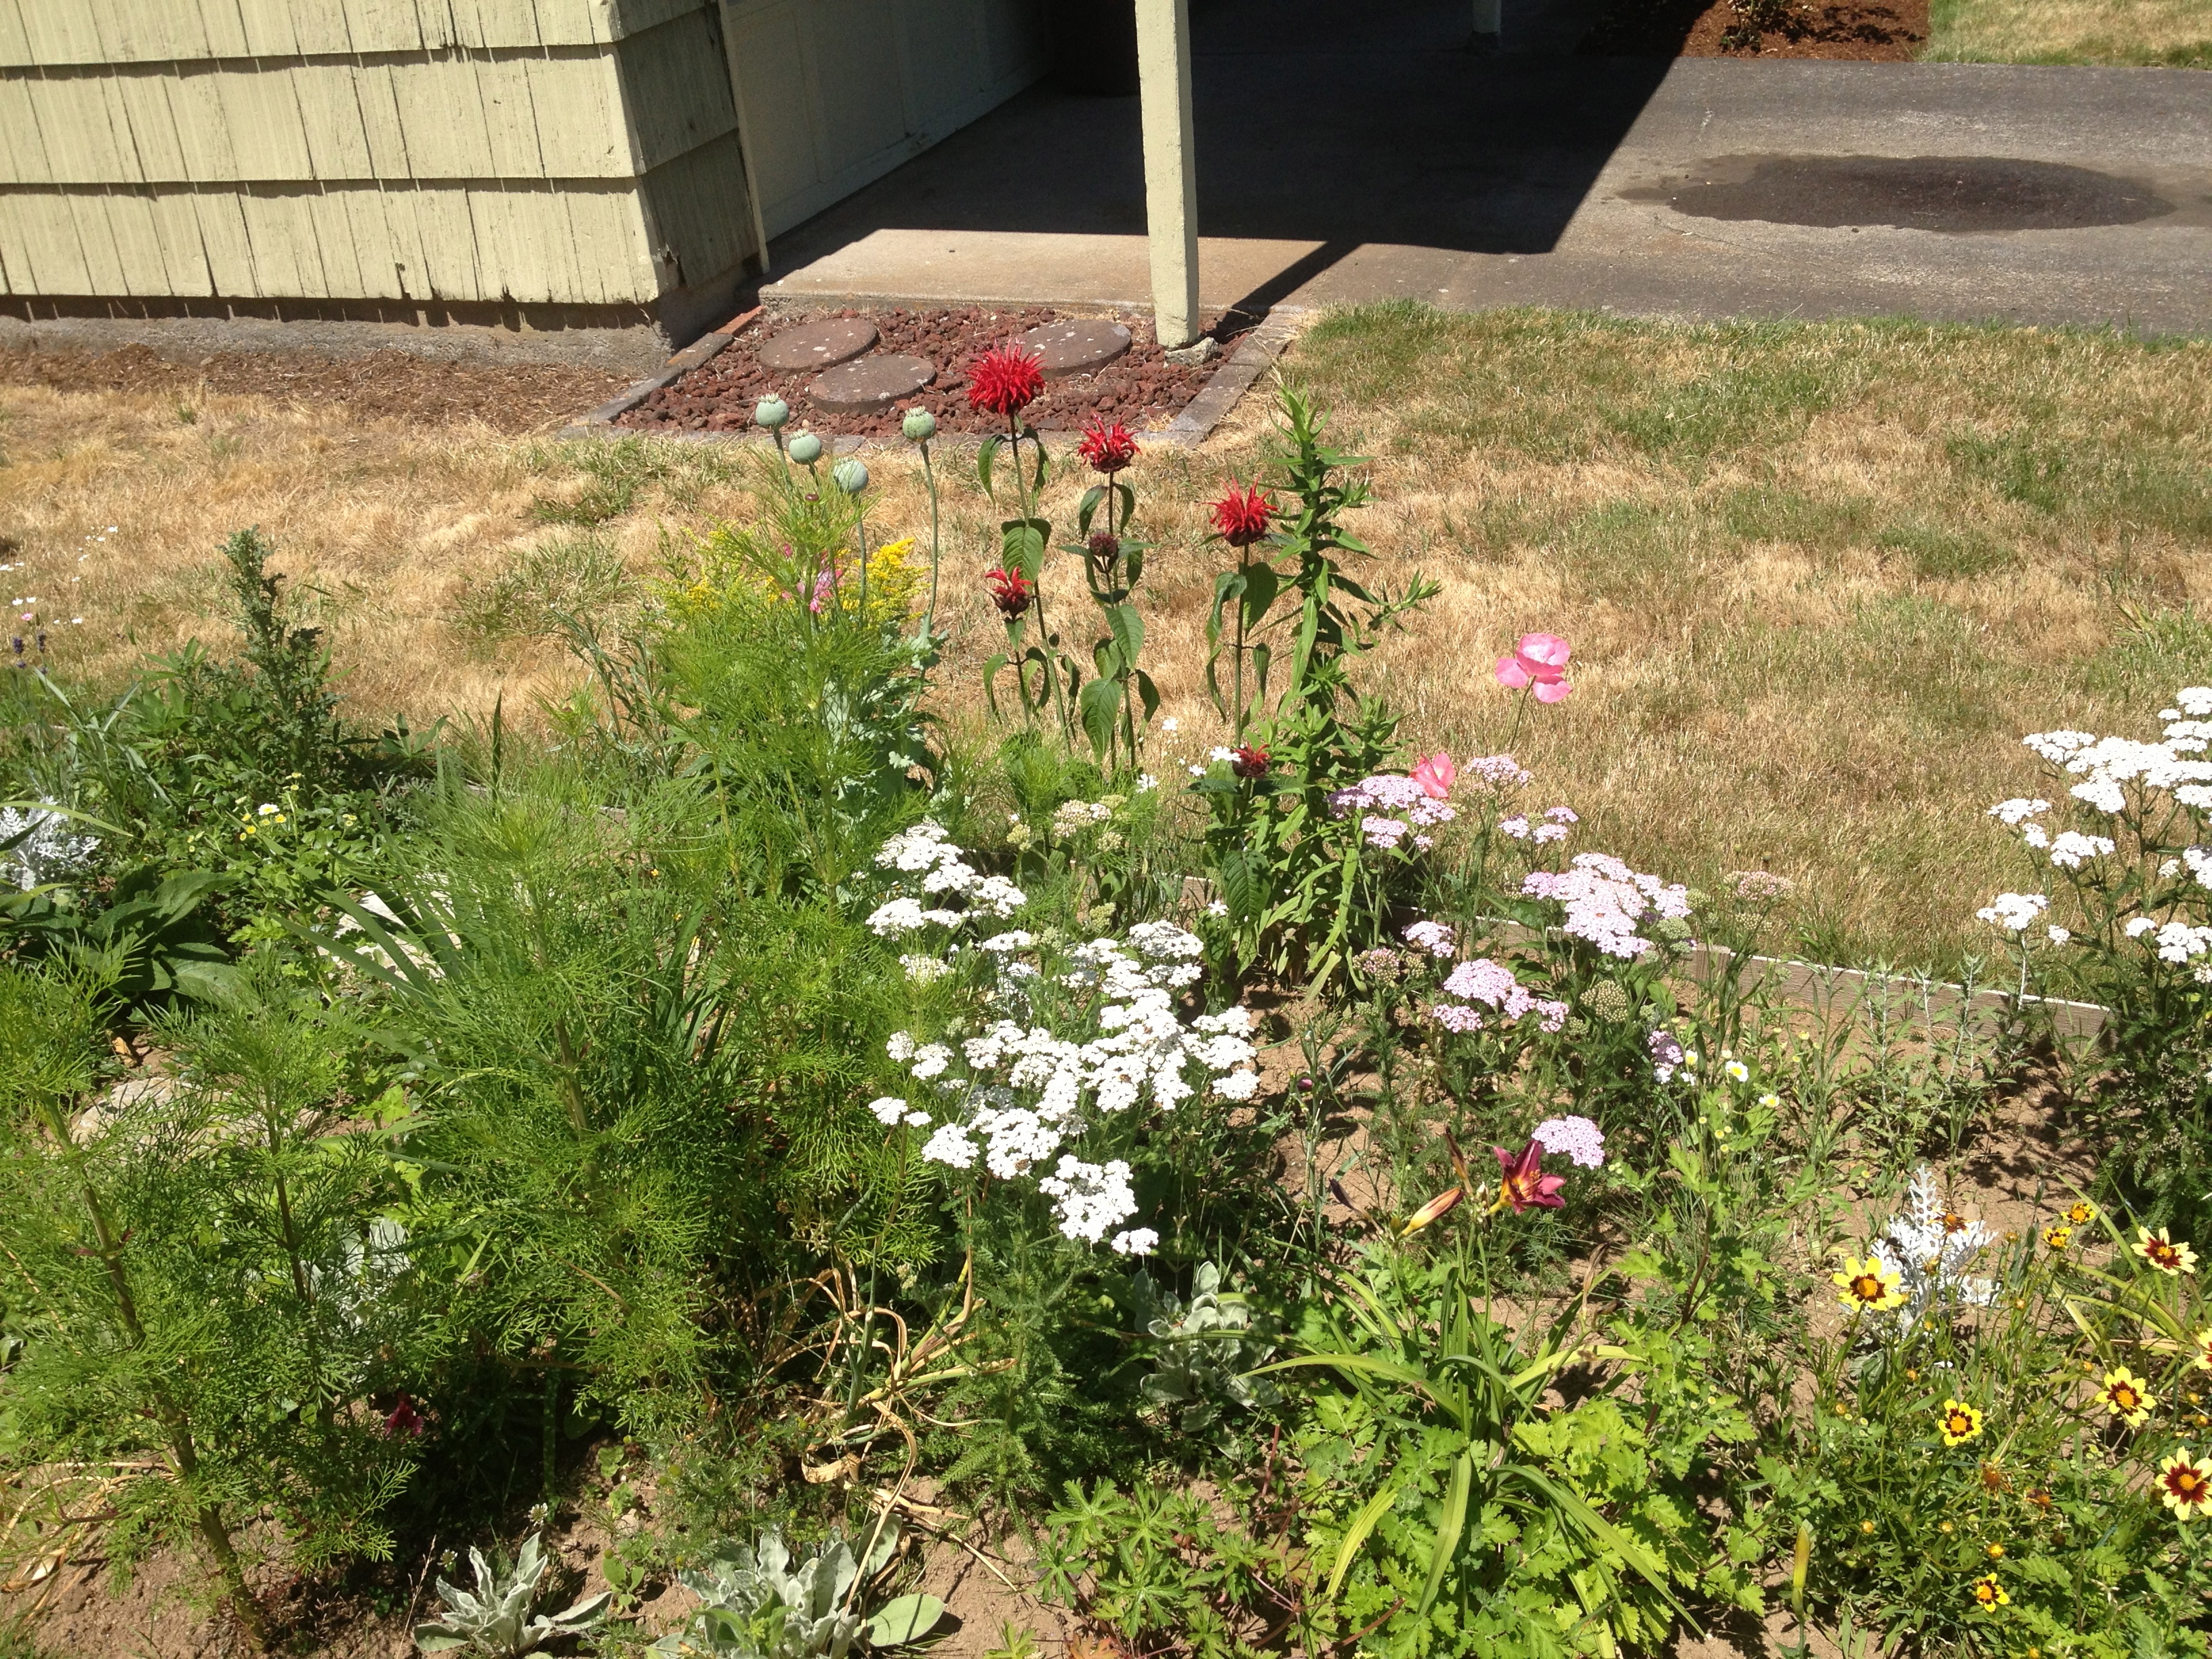
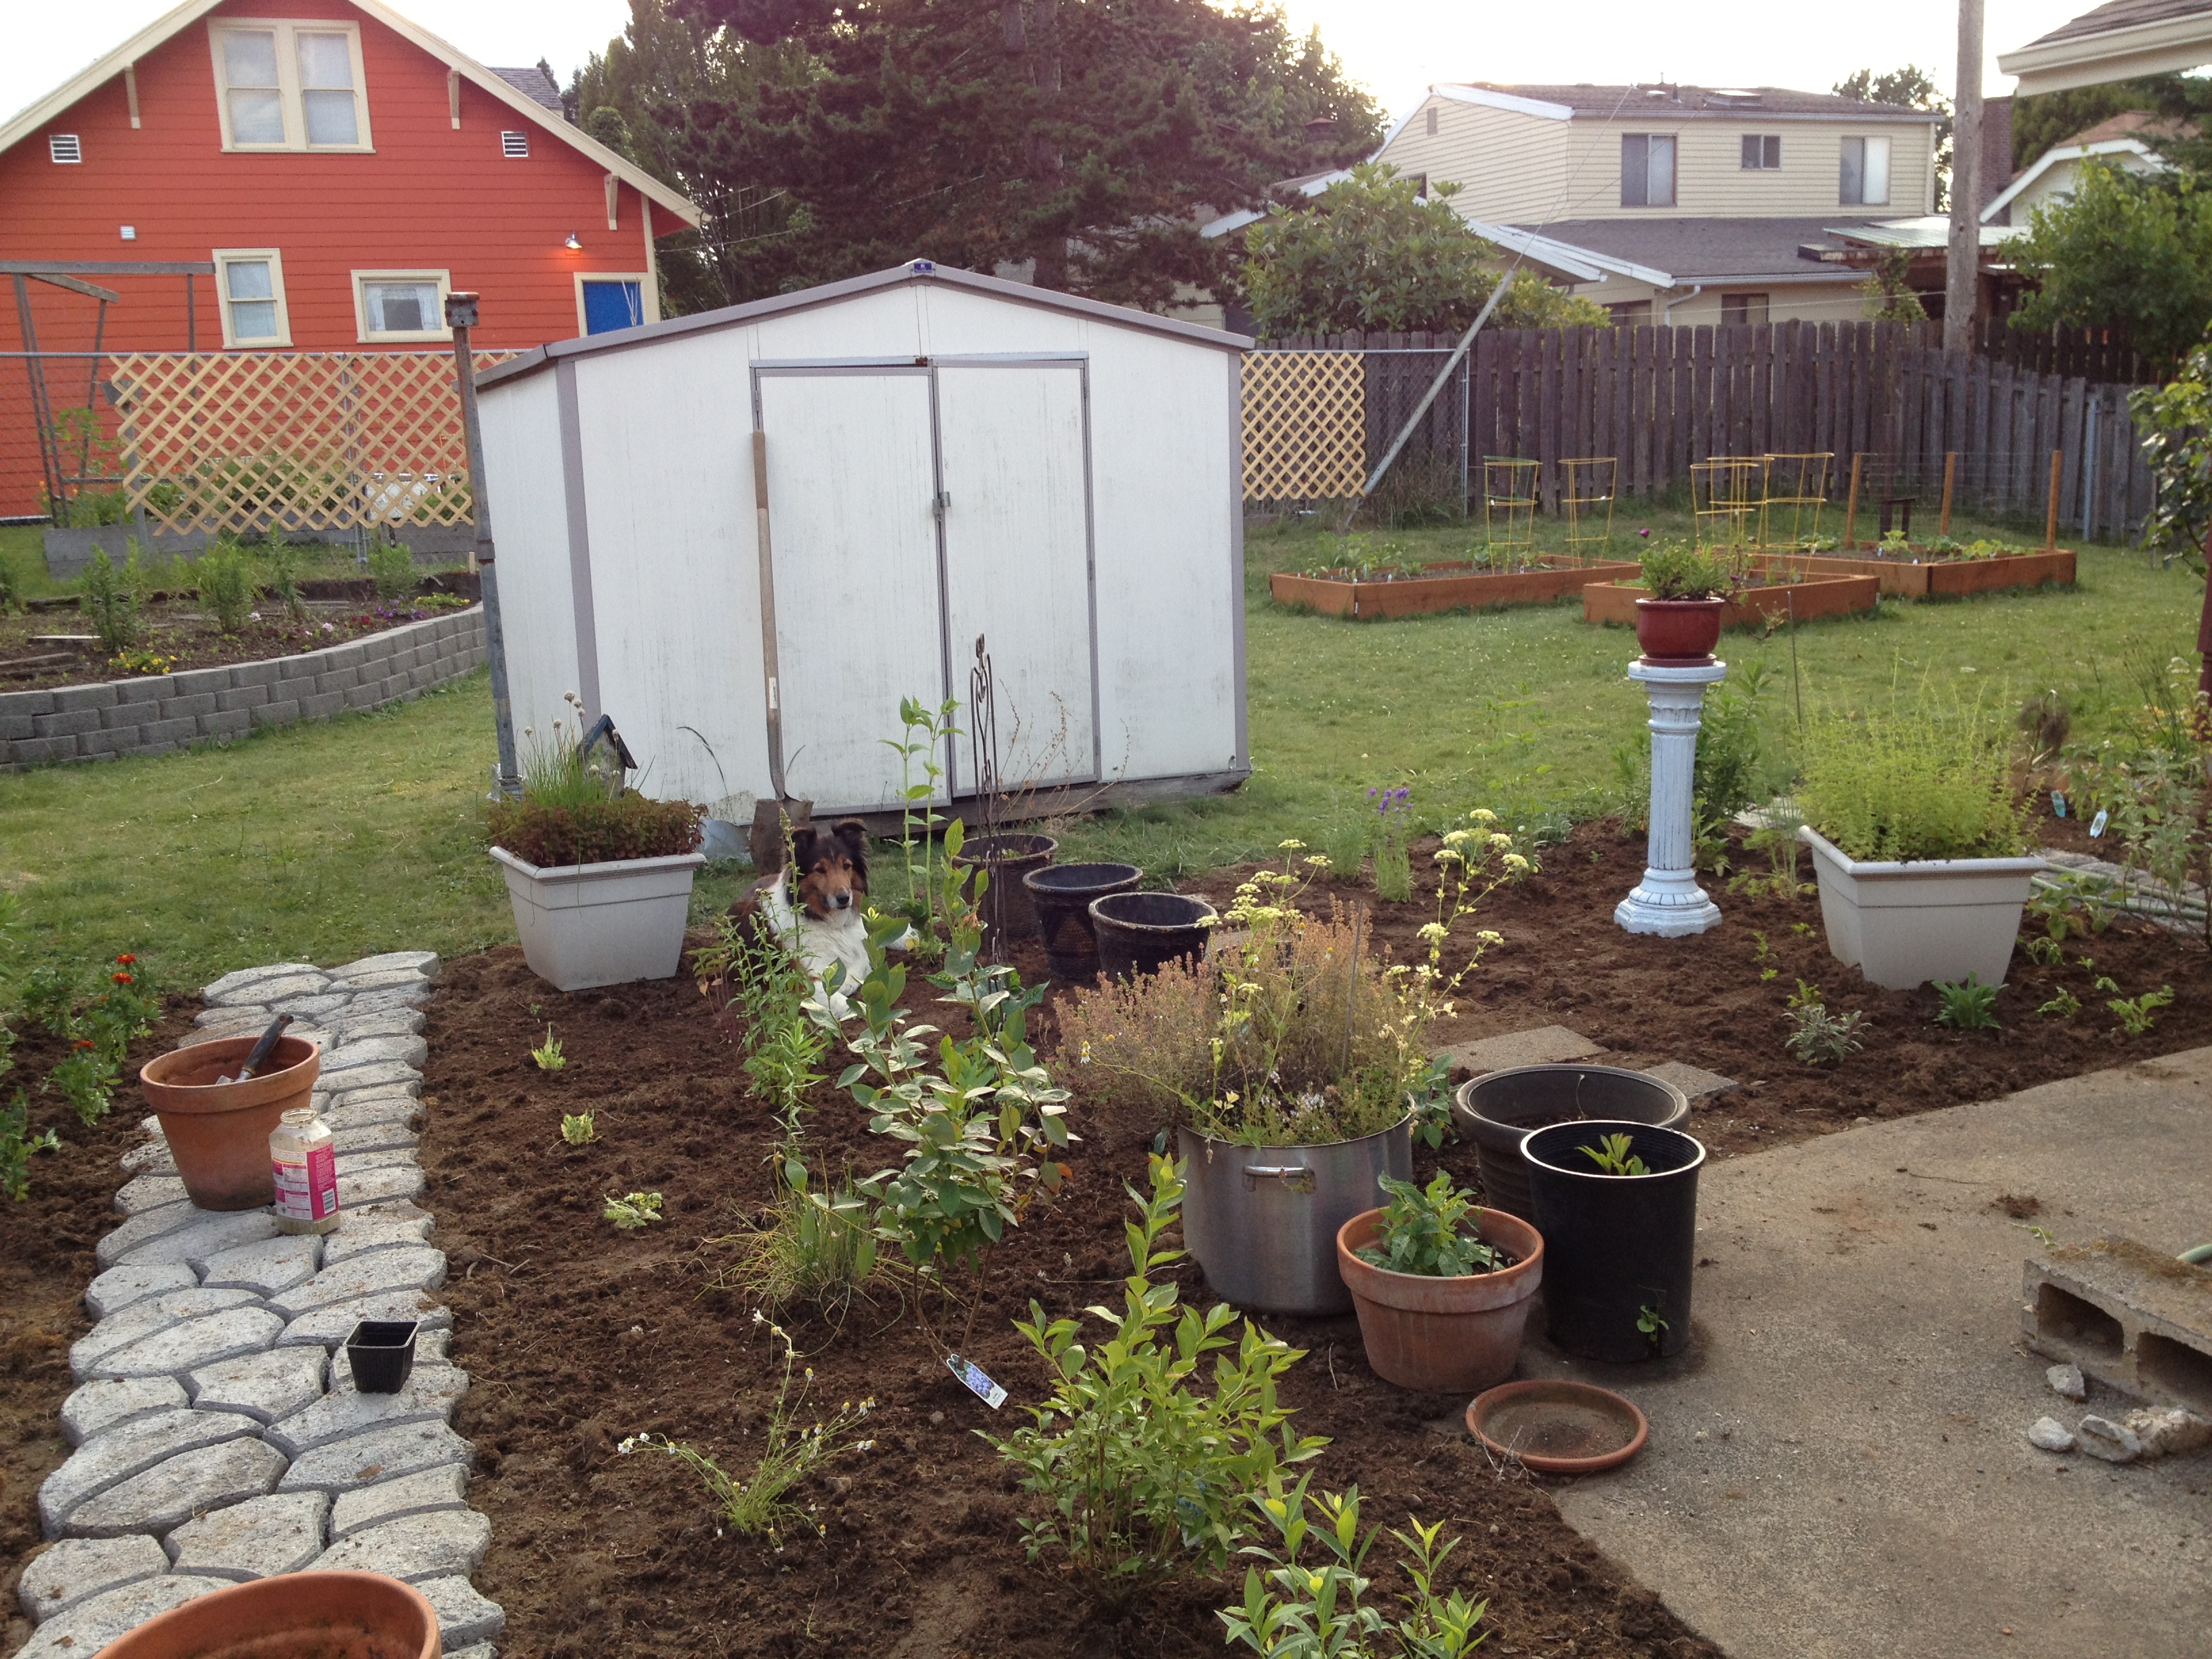
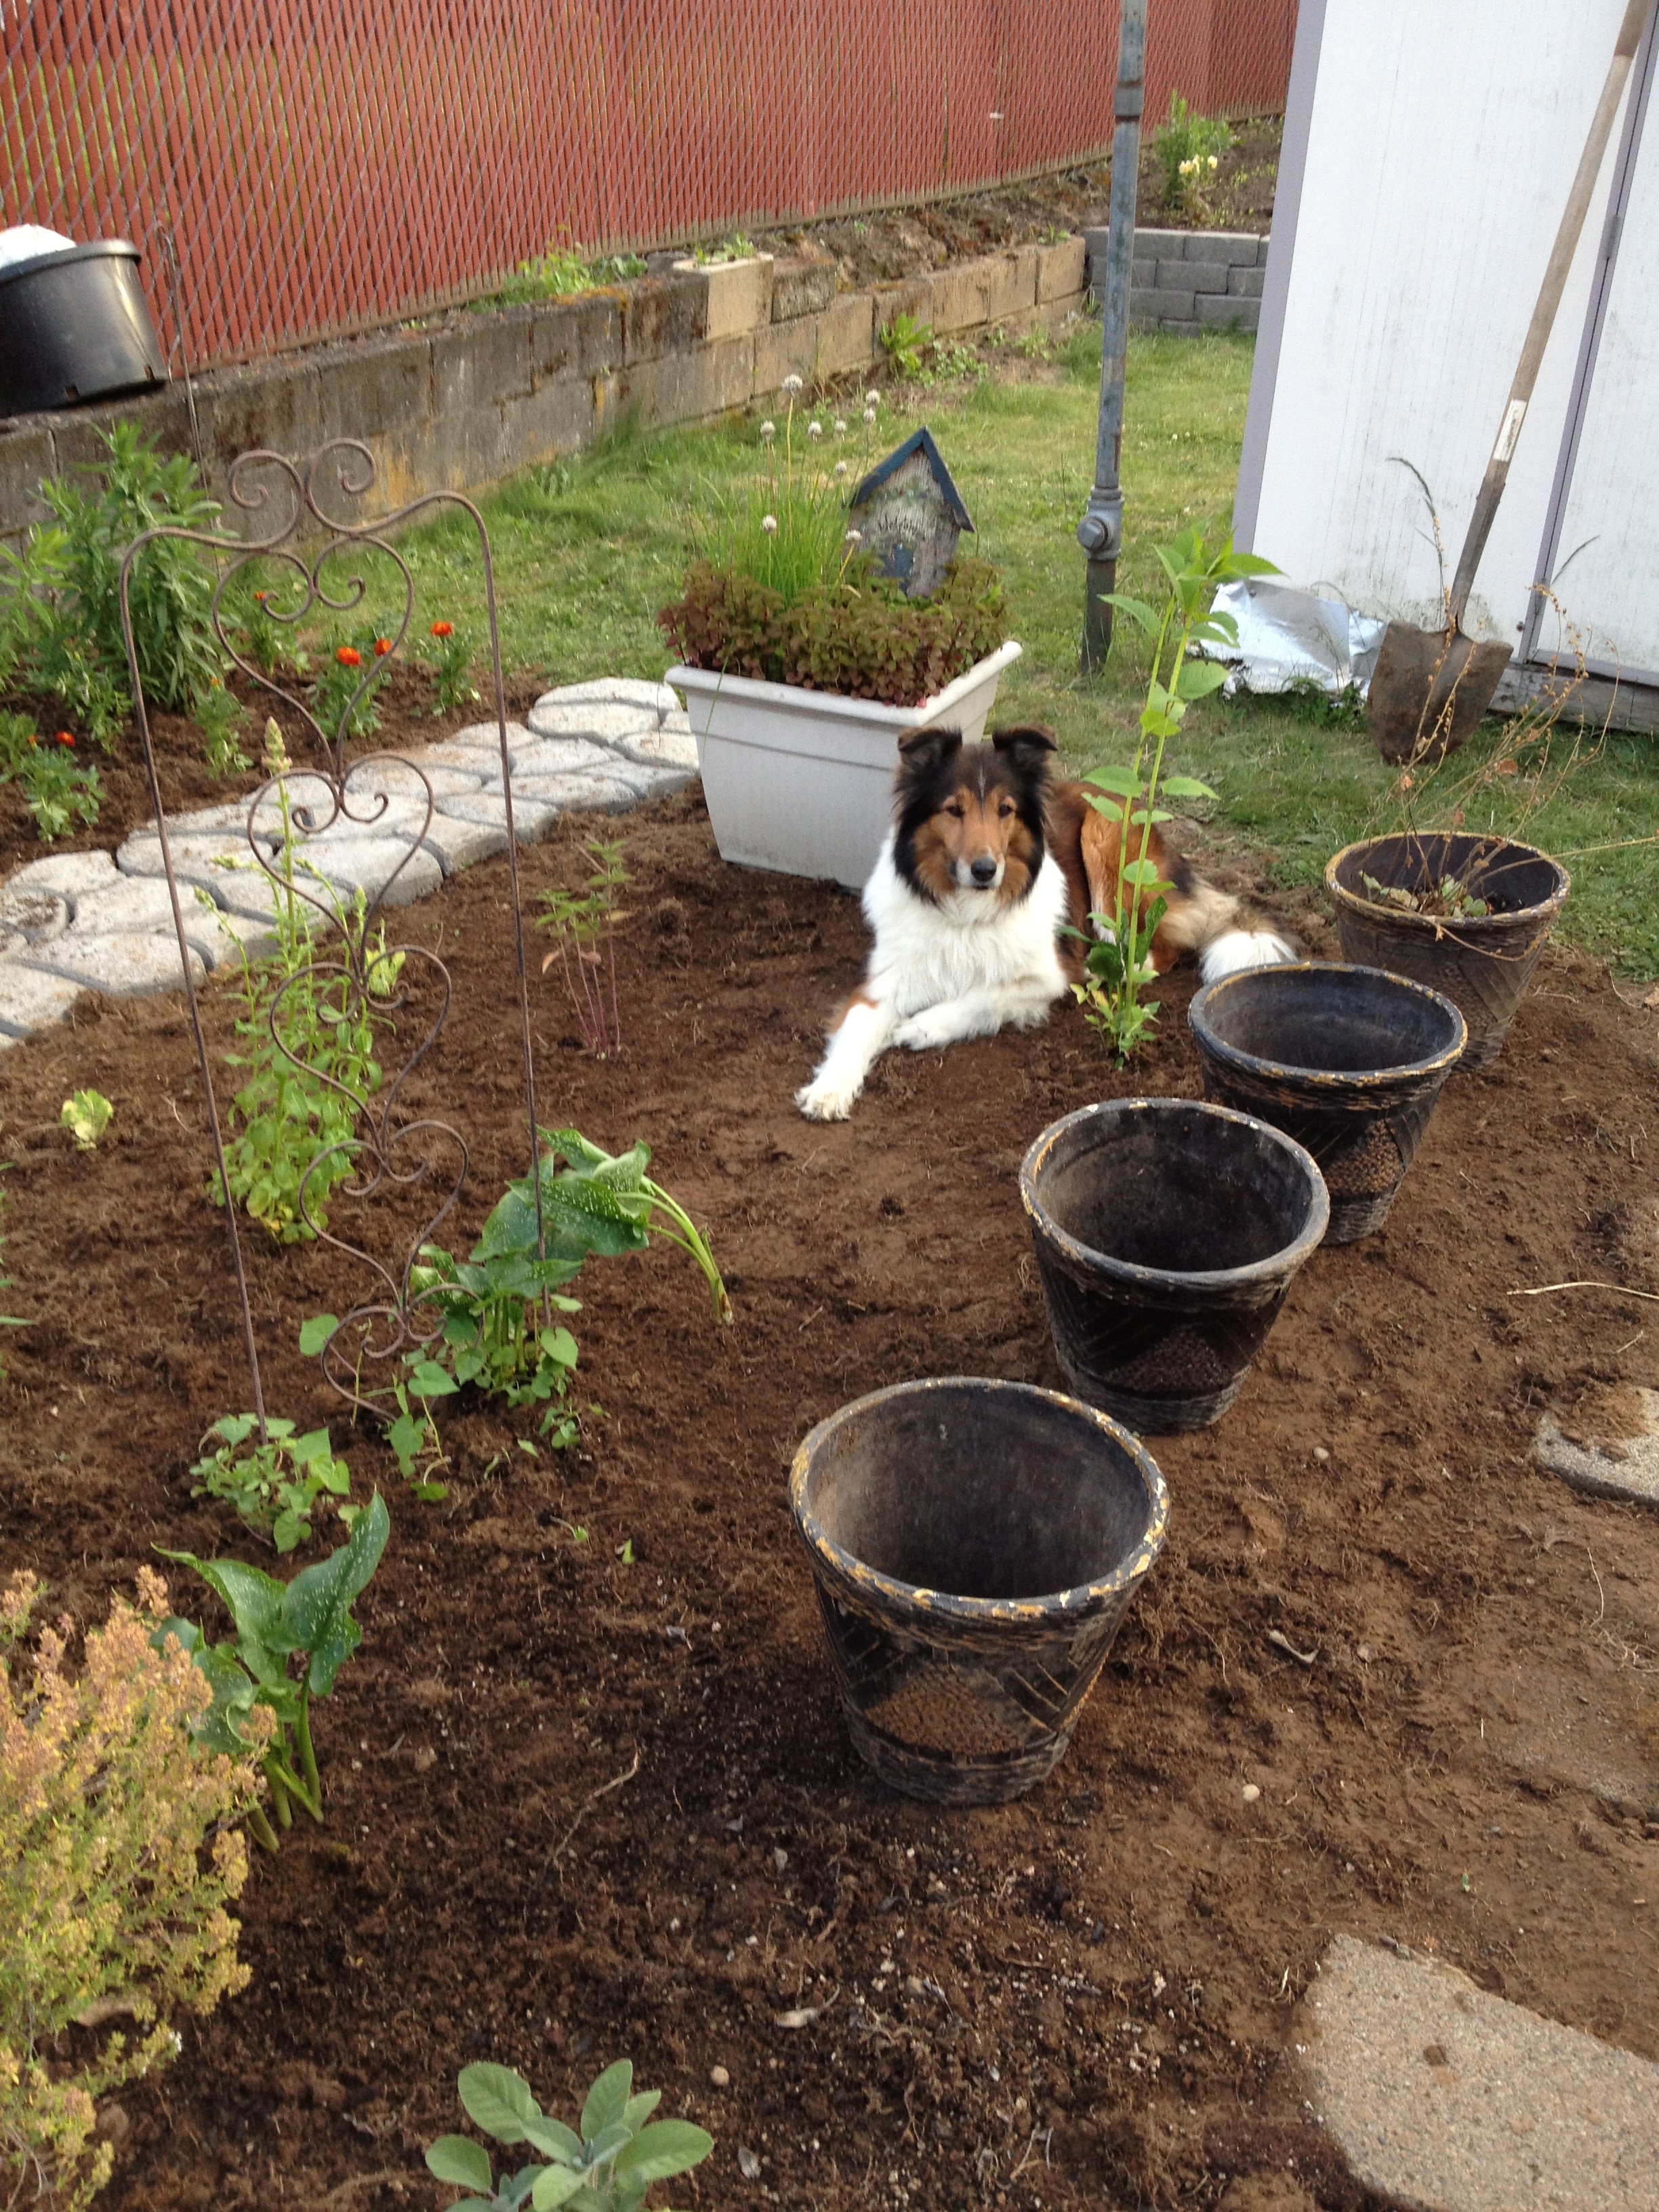
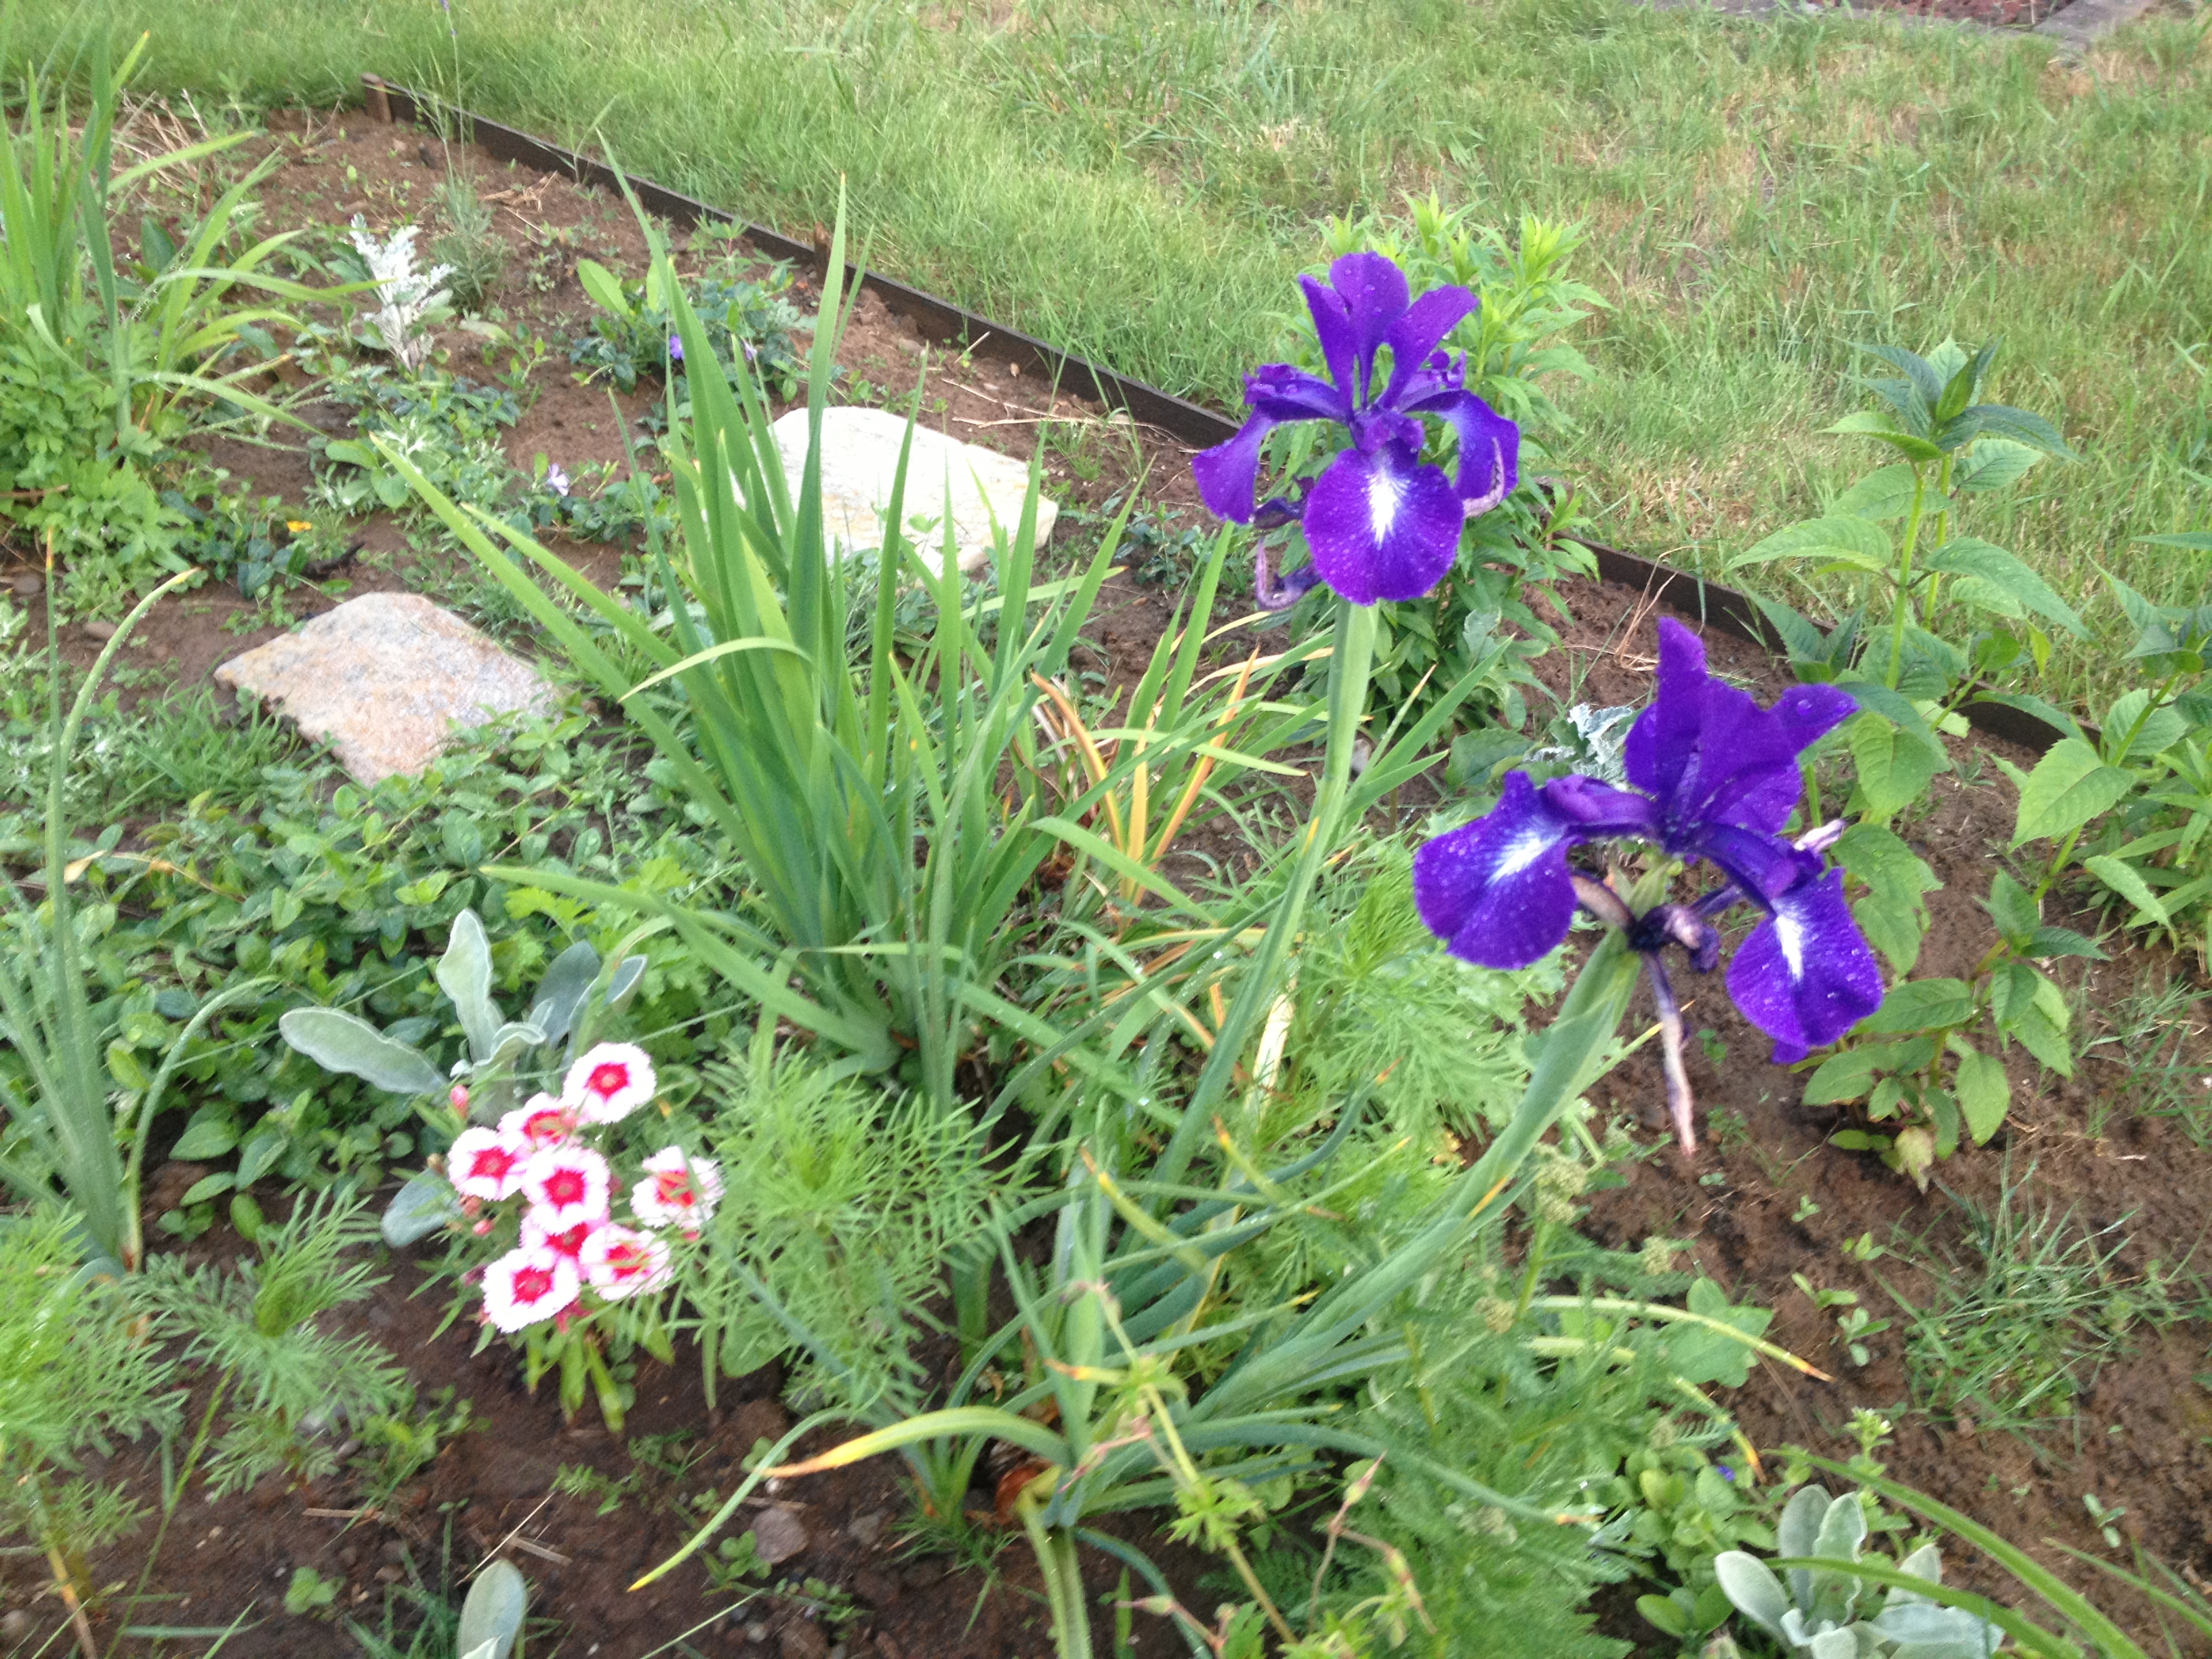
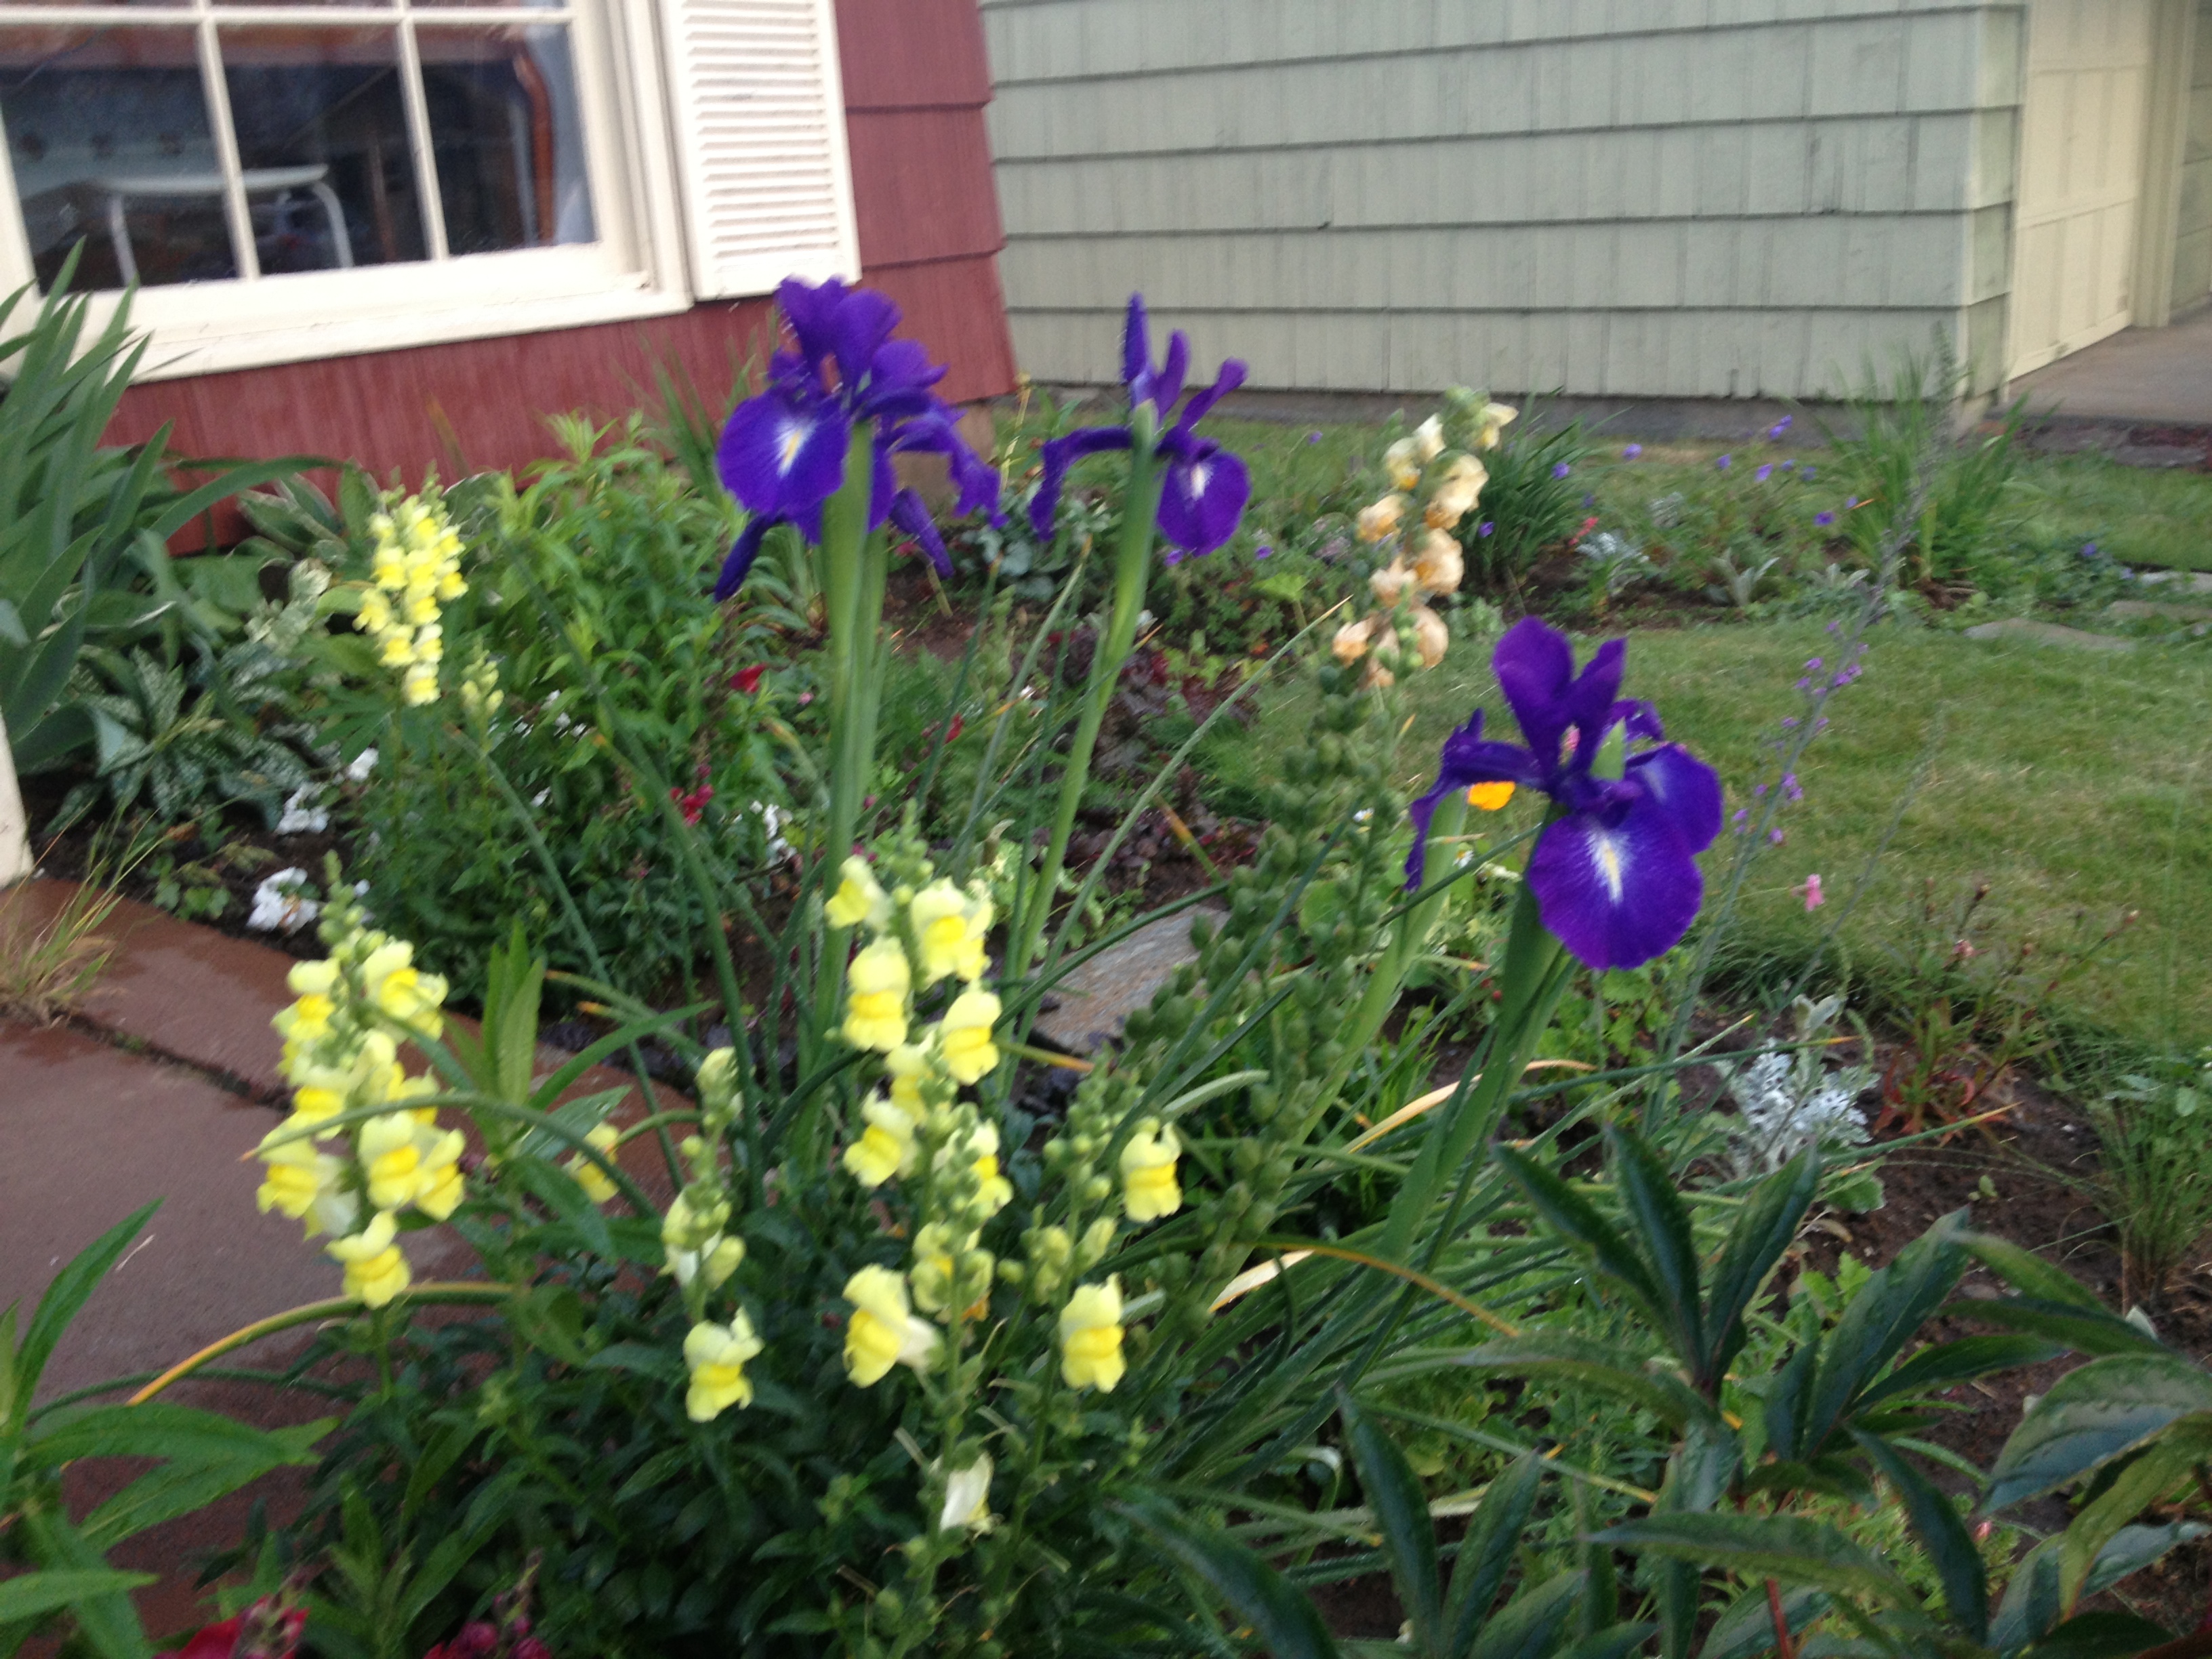
Part of my love of English gardens includes quant paths for strolling through all of the flowers. And in my mind, paths should be flagstone. I did several little flagstone paths at the other house — some turned out great, others not some much, and one I redid like 4 times and still wasn’t crazy about it. So I know all of the hard work and drama involved in flagstone paths. One major thing that had changed since the last time I made one, however, was the price of the stones. At the old house, stone were, on average, $3-$5. So some of those projects got kind of spendy. But a trip to Home Depot and Lowes showed that for whatever reason, flagstone had gotten crazy expensive! $9 a stone. So considering I had to cover 29 feet in a straightish line, flagstones was now way out of my price-range.

Digging around on Pinterest, I found what looked like a good solution — Flagstone shaped concrete. Basically you buy a mold that is the shaped like flagstone pieces and dump mixed concrete into it. My first adventure with concrete was a nightmare but after using it to patch a wall in the basement, I have gotten pretty good at dealing with it. (Sometimes it makes me sad that I have developed certain skills.) Anyway, the mold was $25 and bags of dry cement are $2.50, so this route was definitely within my budget. What could possibly go wrong?

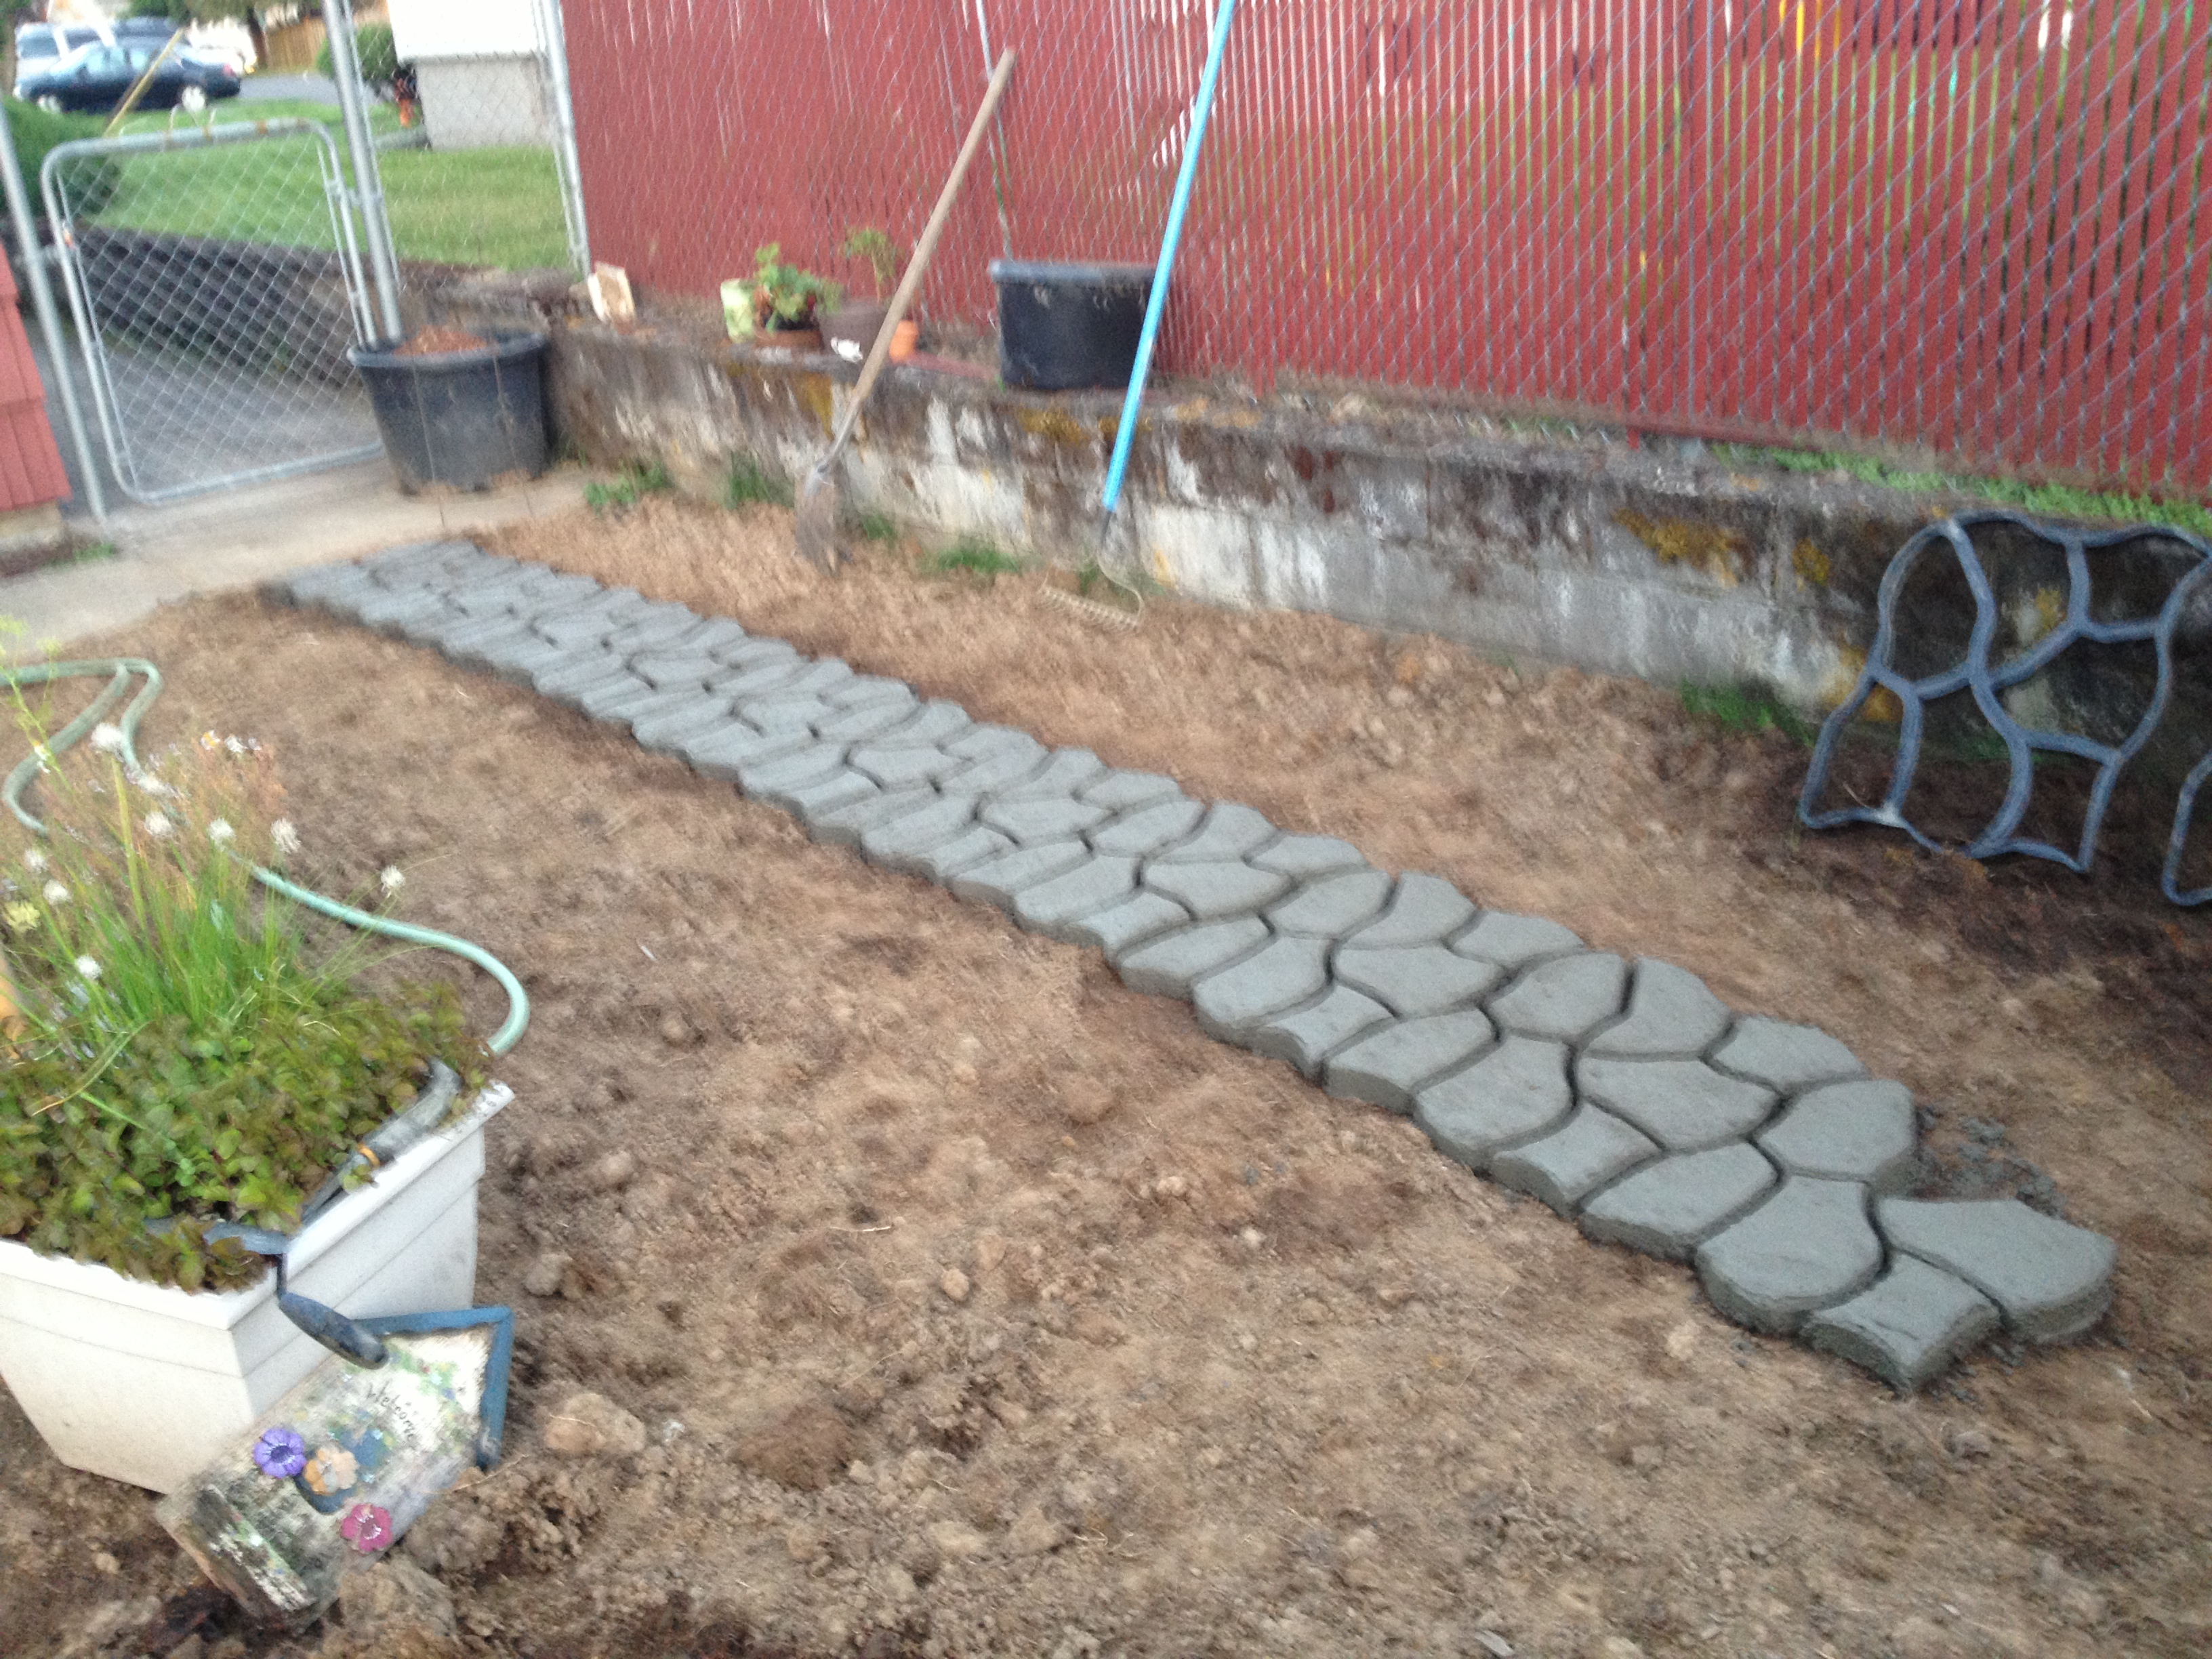
Turns out, nothing! The hardest part of this project was hauling the bags of concrete out of the truck (hardware store guys put them in there for me — thanks again guys!) Then just dump the cement in the wheelbarrow, use the hose for the water, mix mix mix, scope out the wet cement into the mold, smooth, move to next mold. I had 2 molds so by the time second one was filled, the first mold was ready to be moved down the line. Whole process was crazy quick!

short path

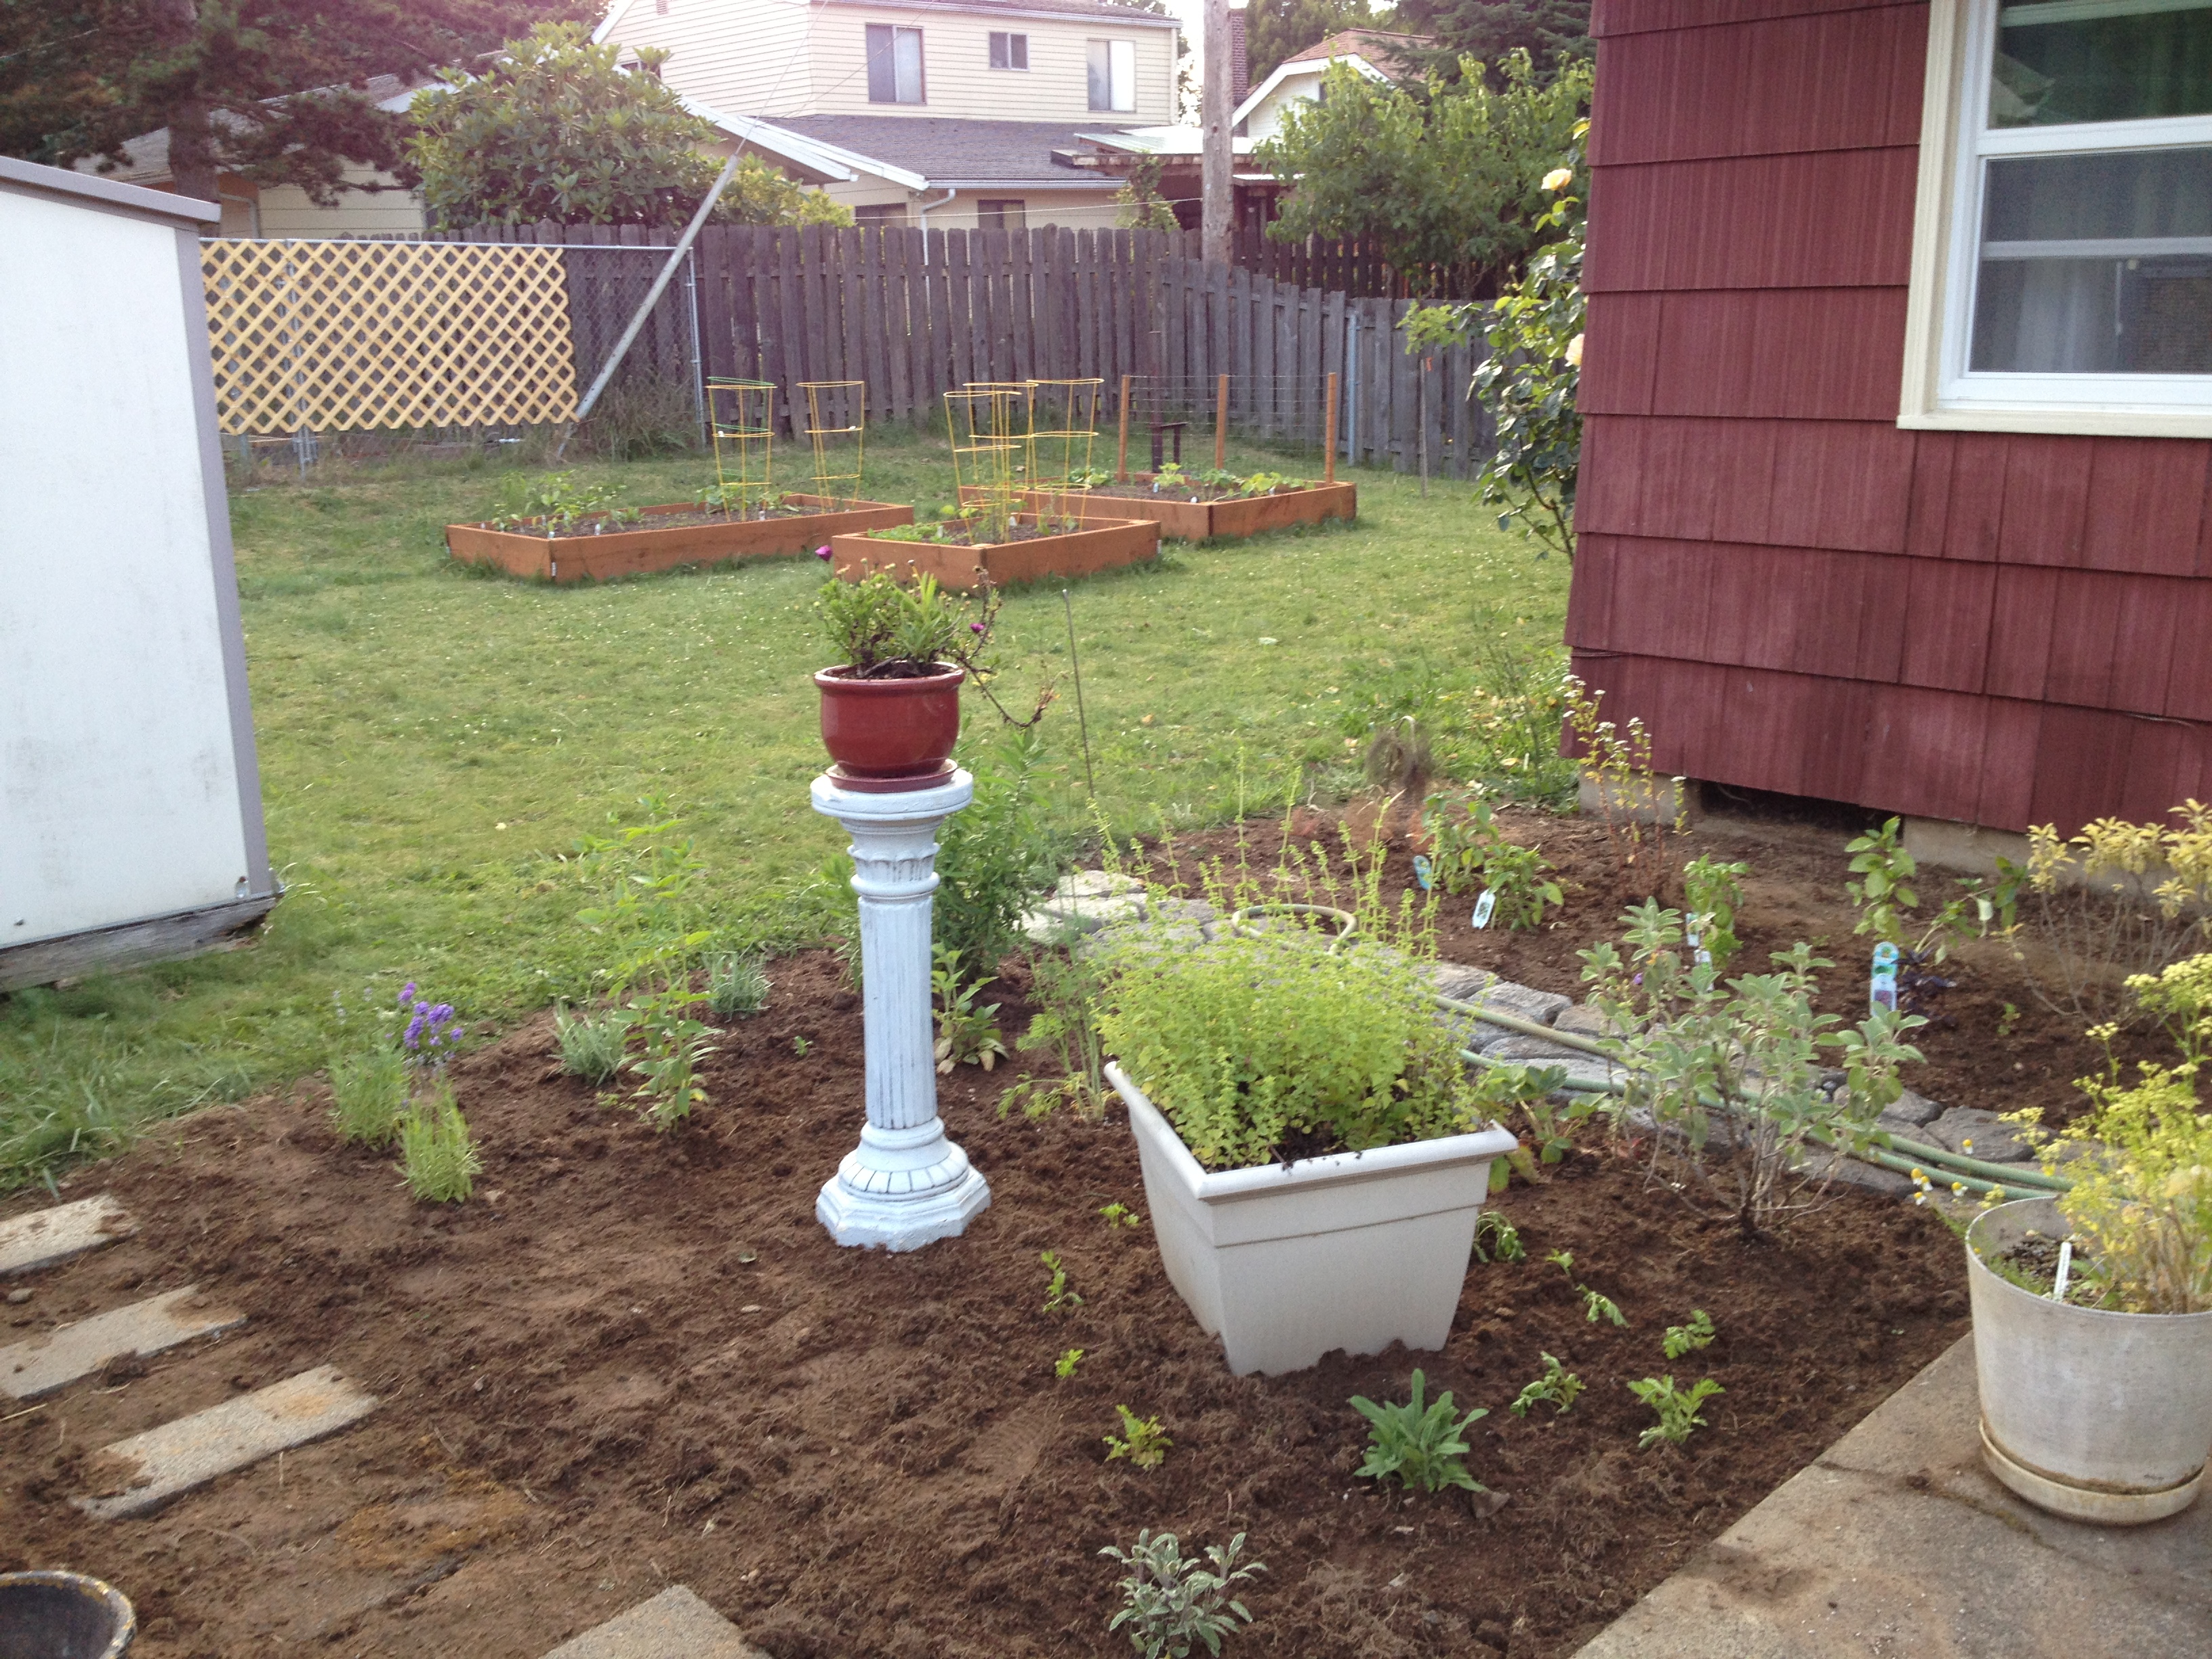
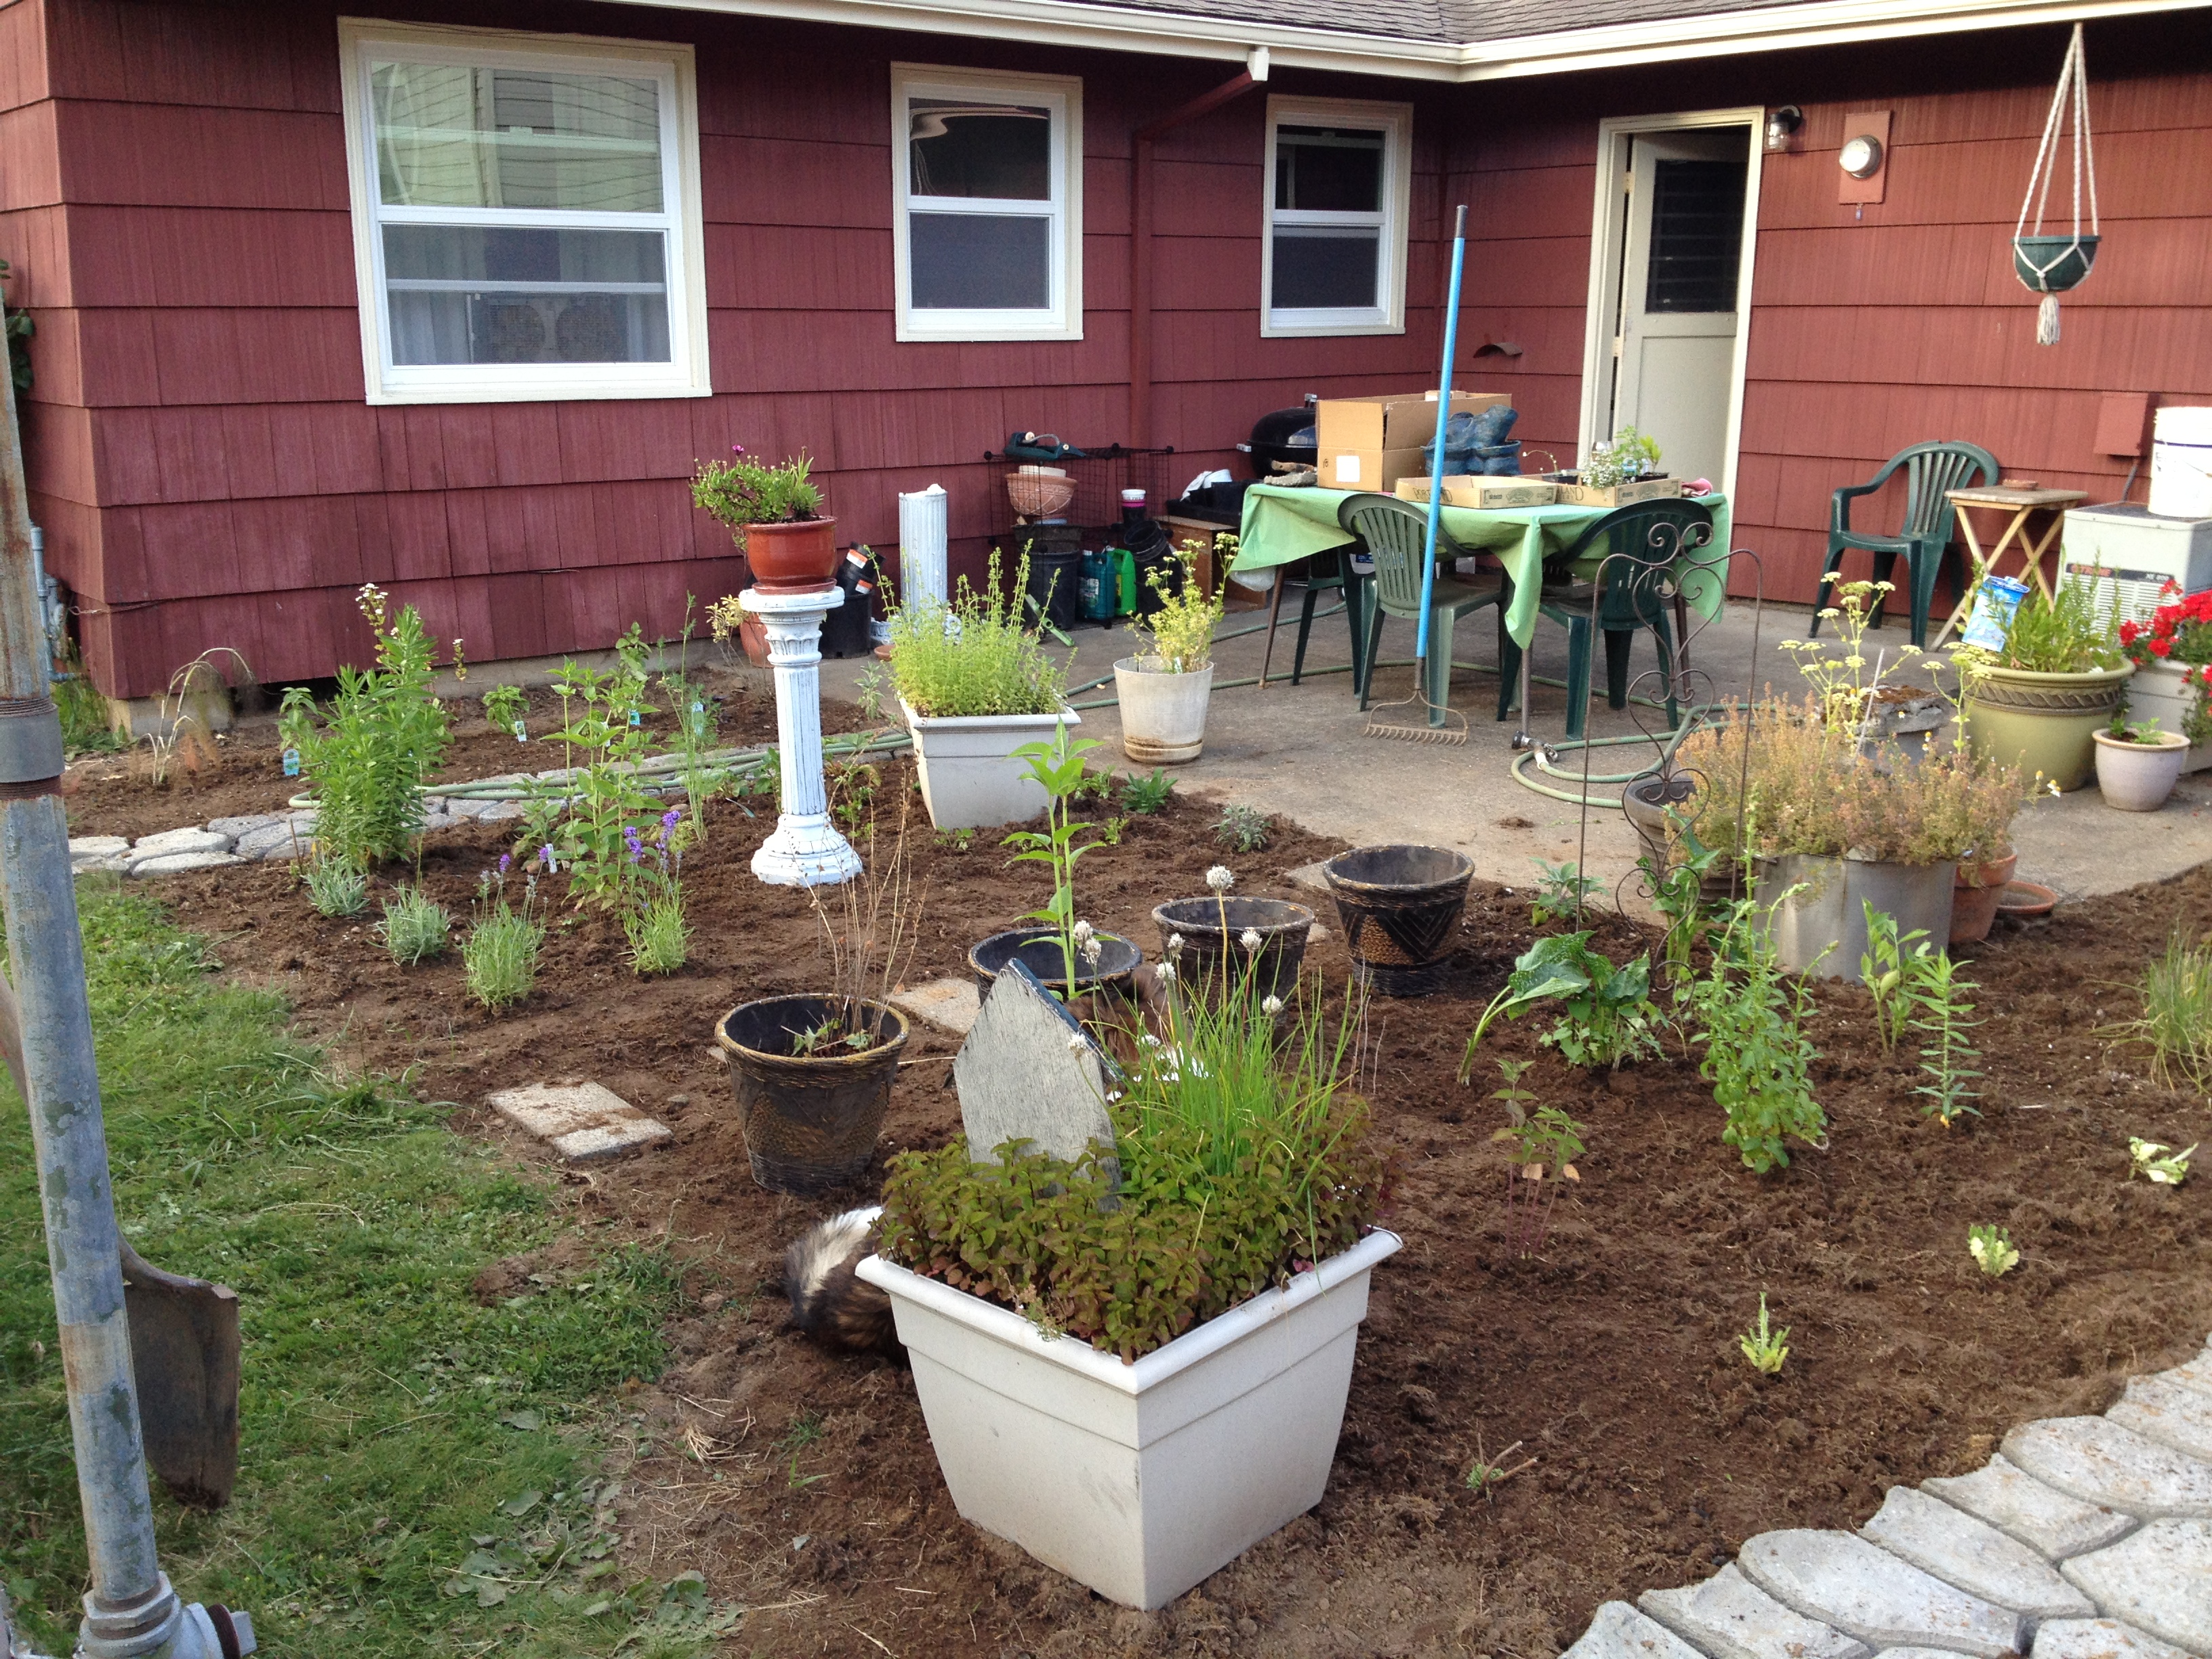
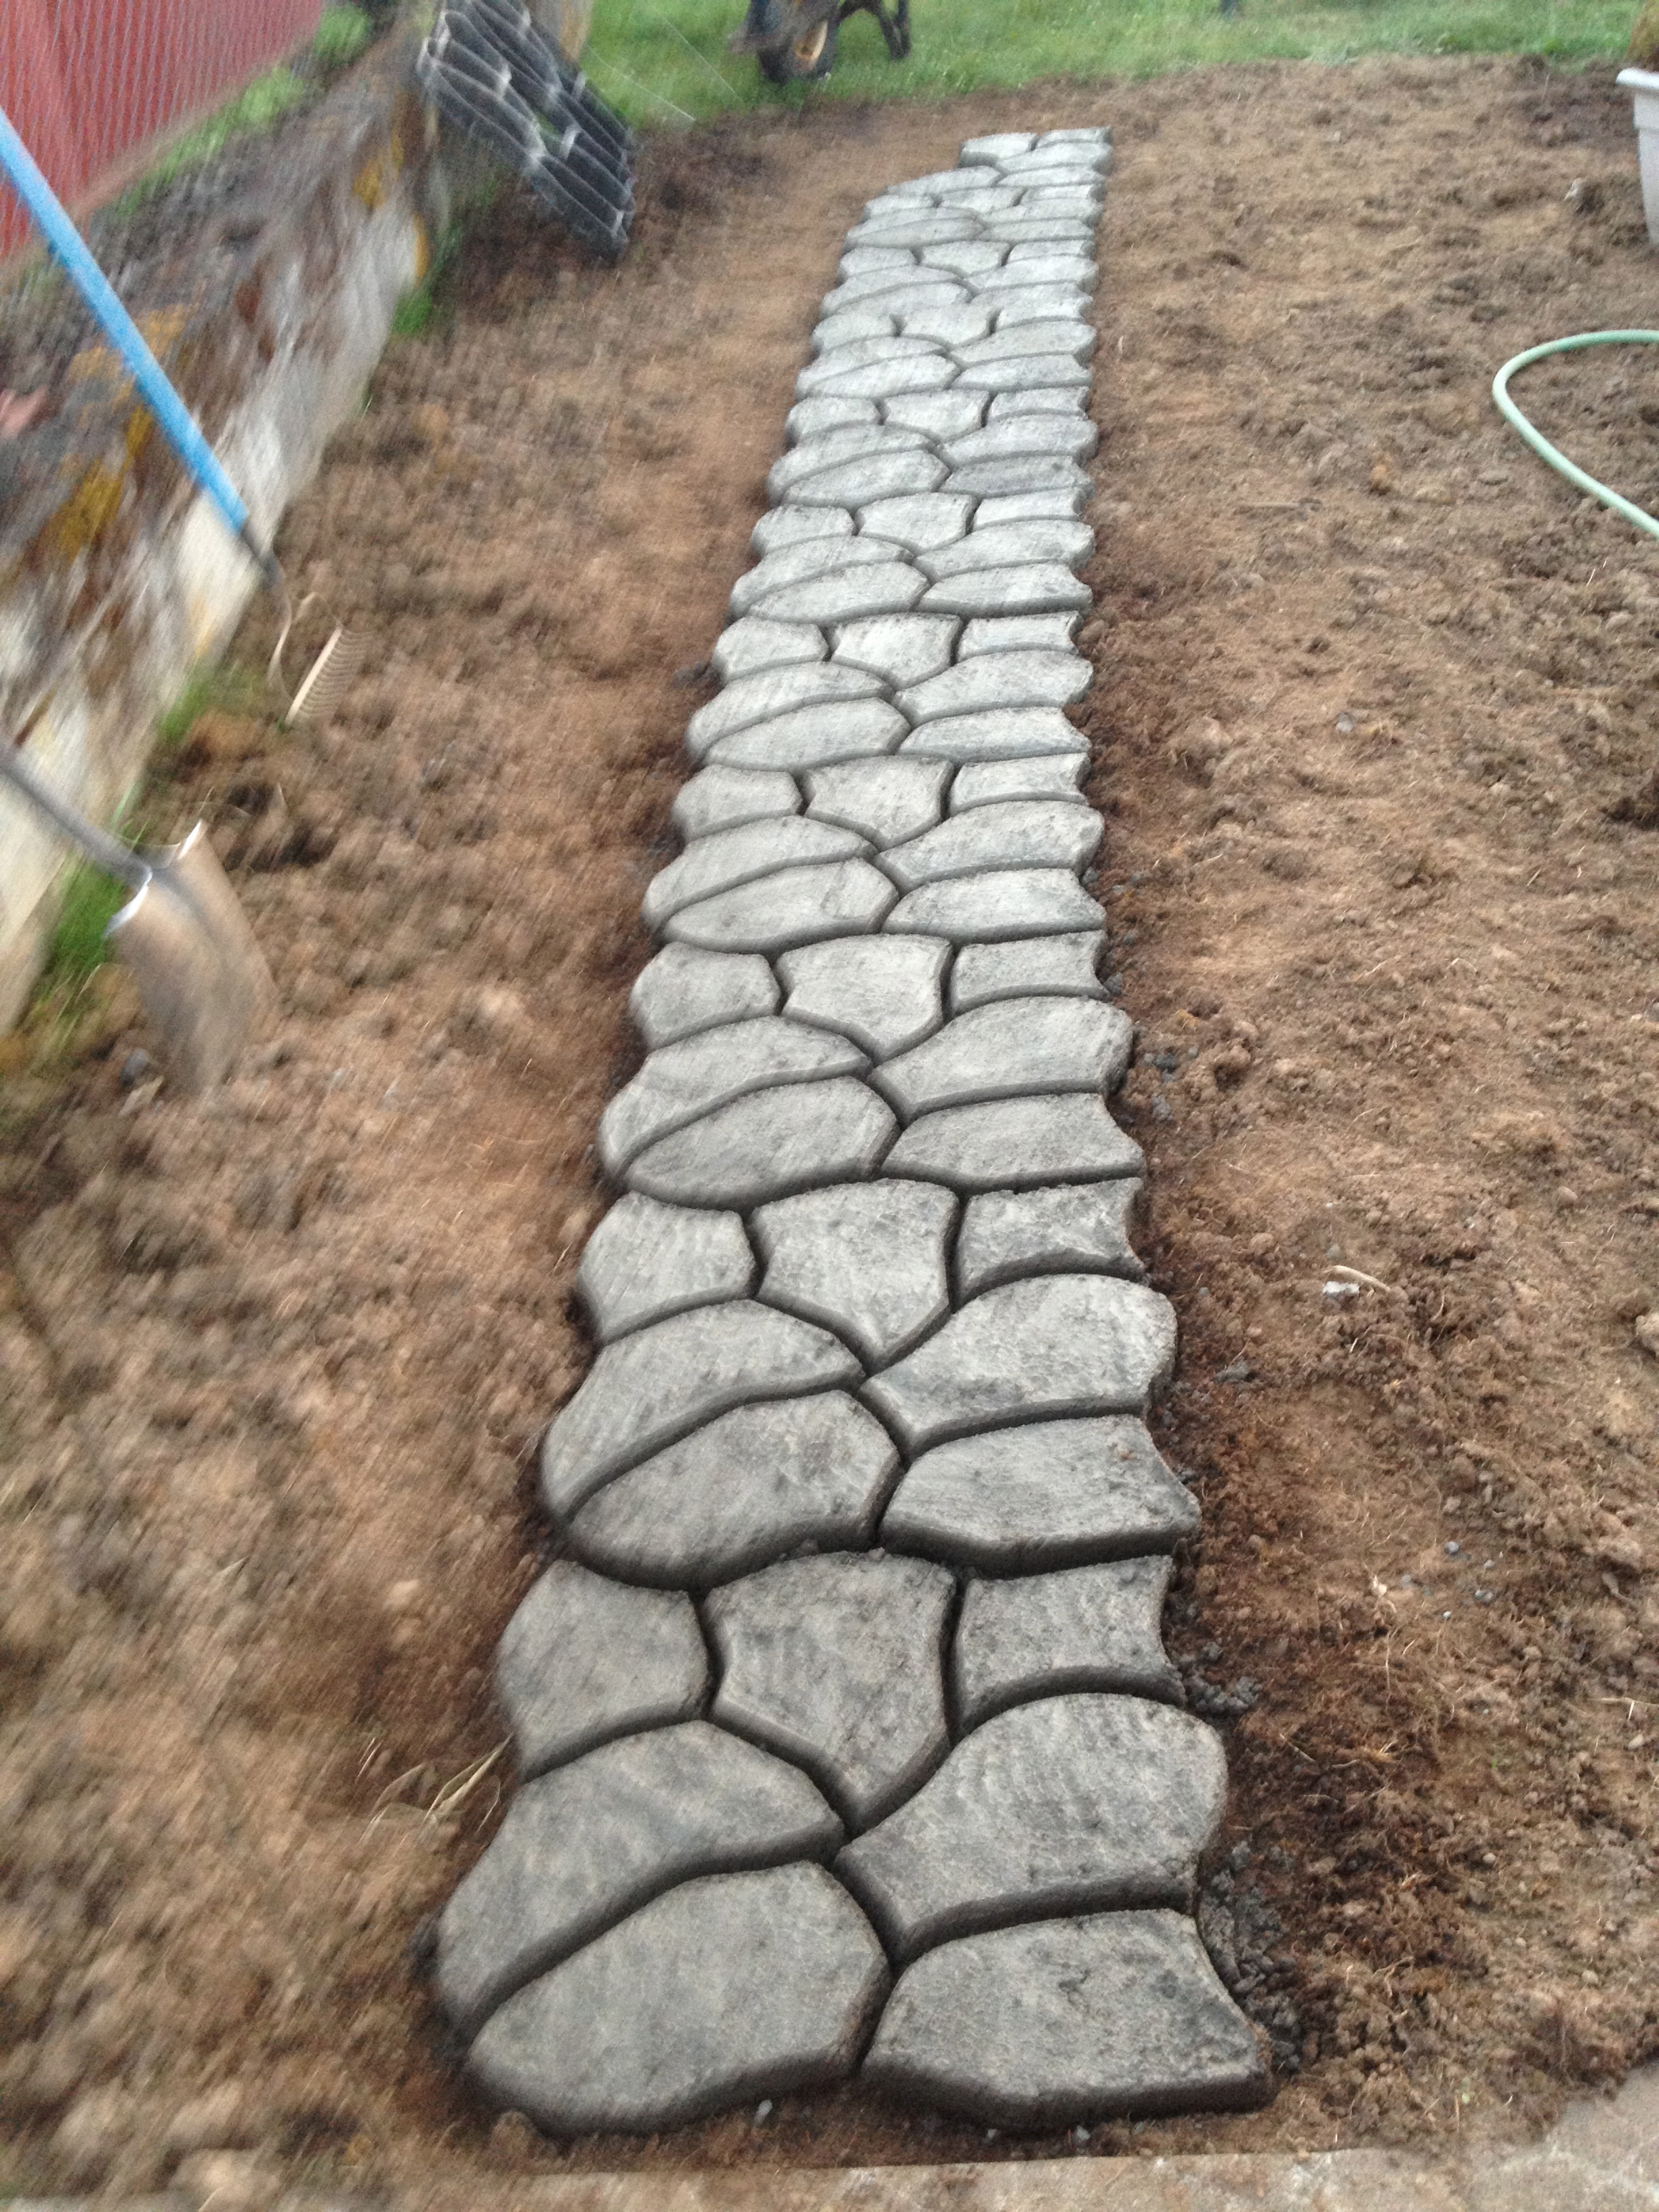
This project was crazy easy — mix concrete, pour into mold (seen leaning against house) smooth out and move to the next one.

long path

This is about 20 feet long and only took me about 2 1/2 hours to make. I love how it looks!

long path not done

Once again bad at math — I under calculated the number of concrete bags I would need to do the last few feet. No worries, easy to mop up after work one evening.

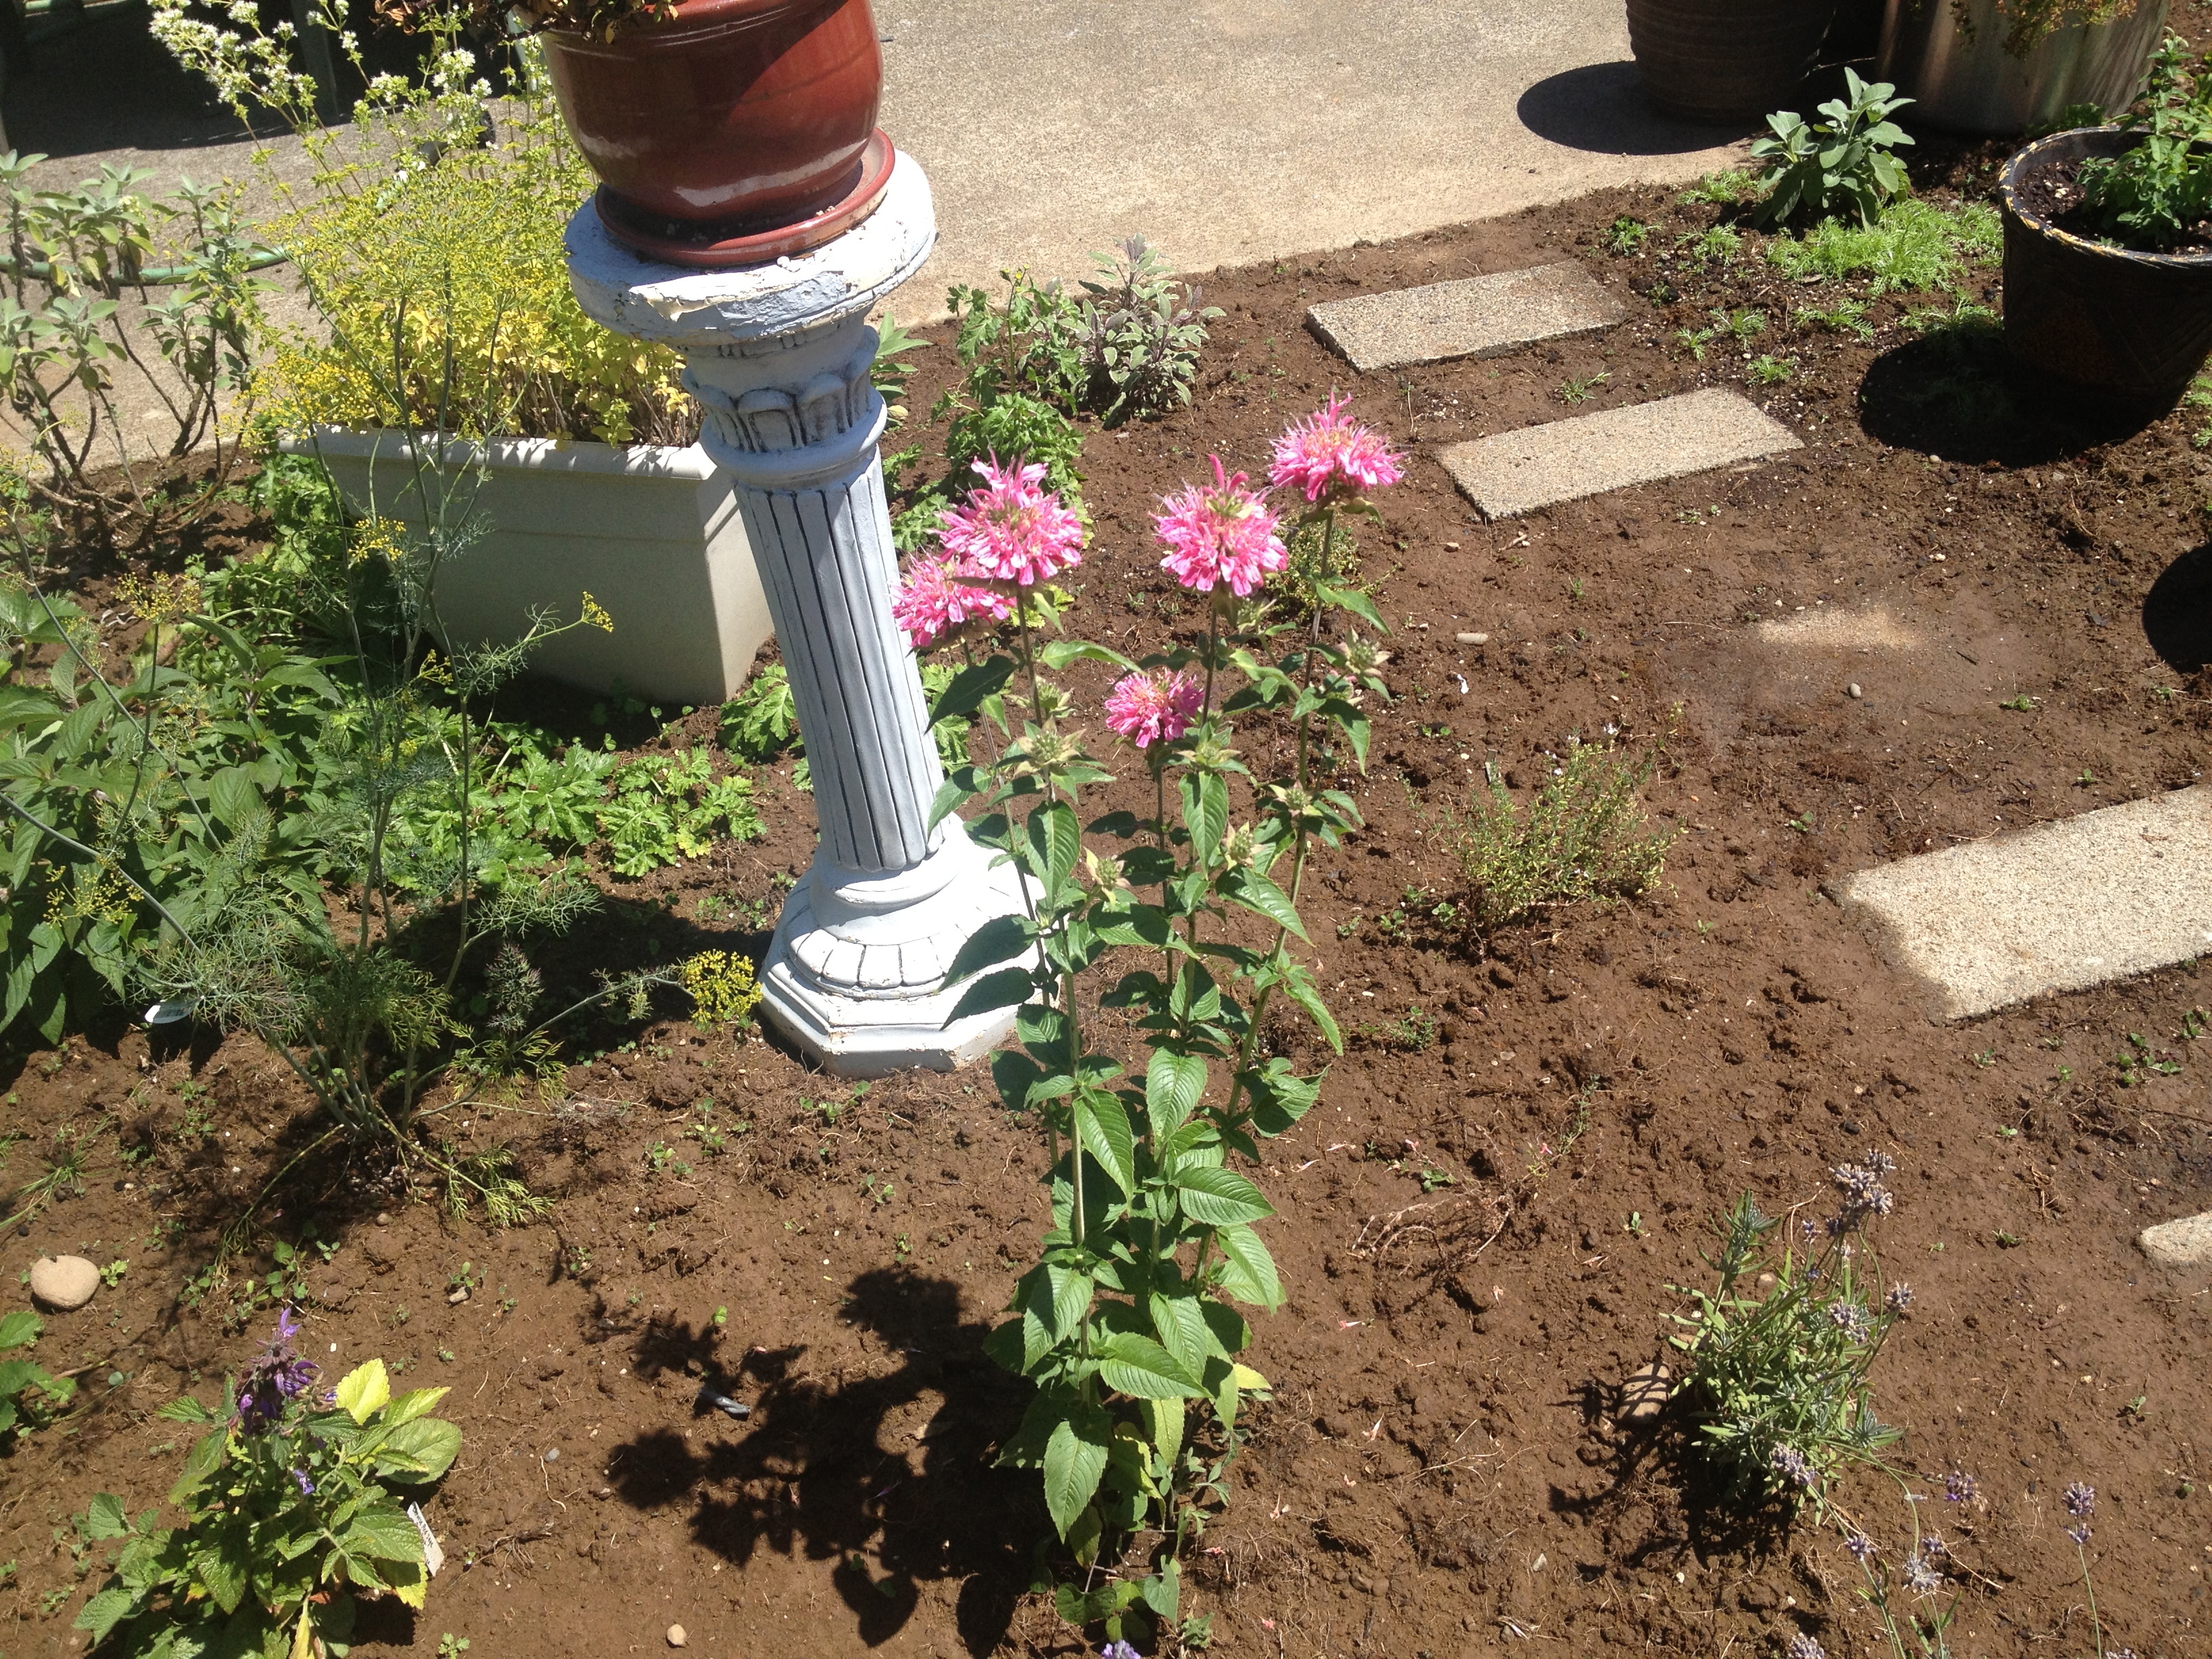
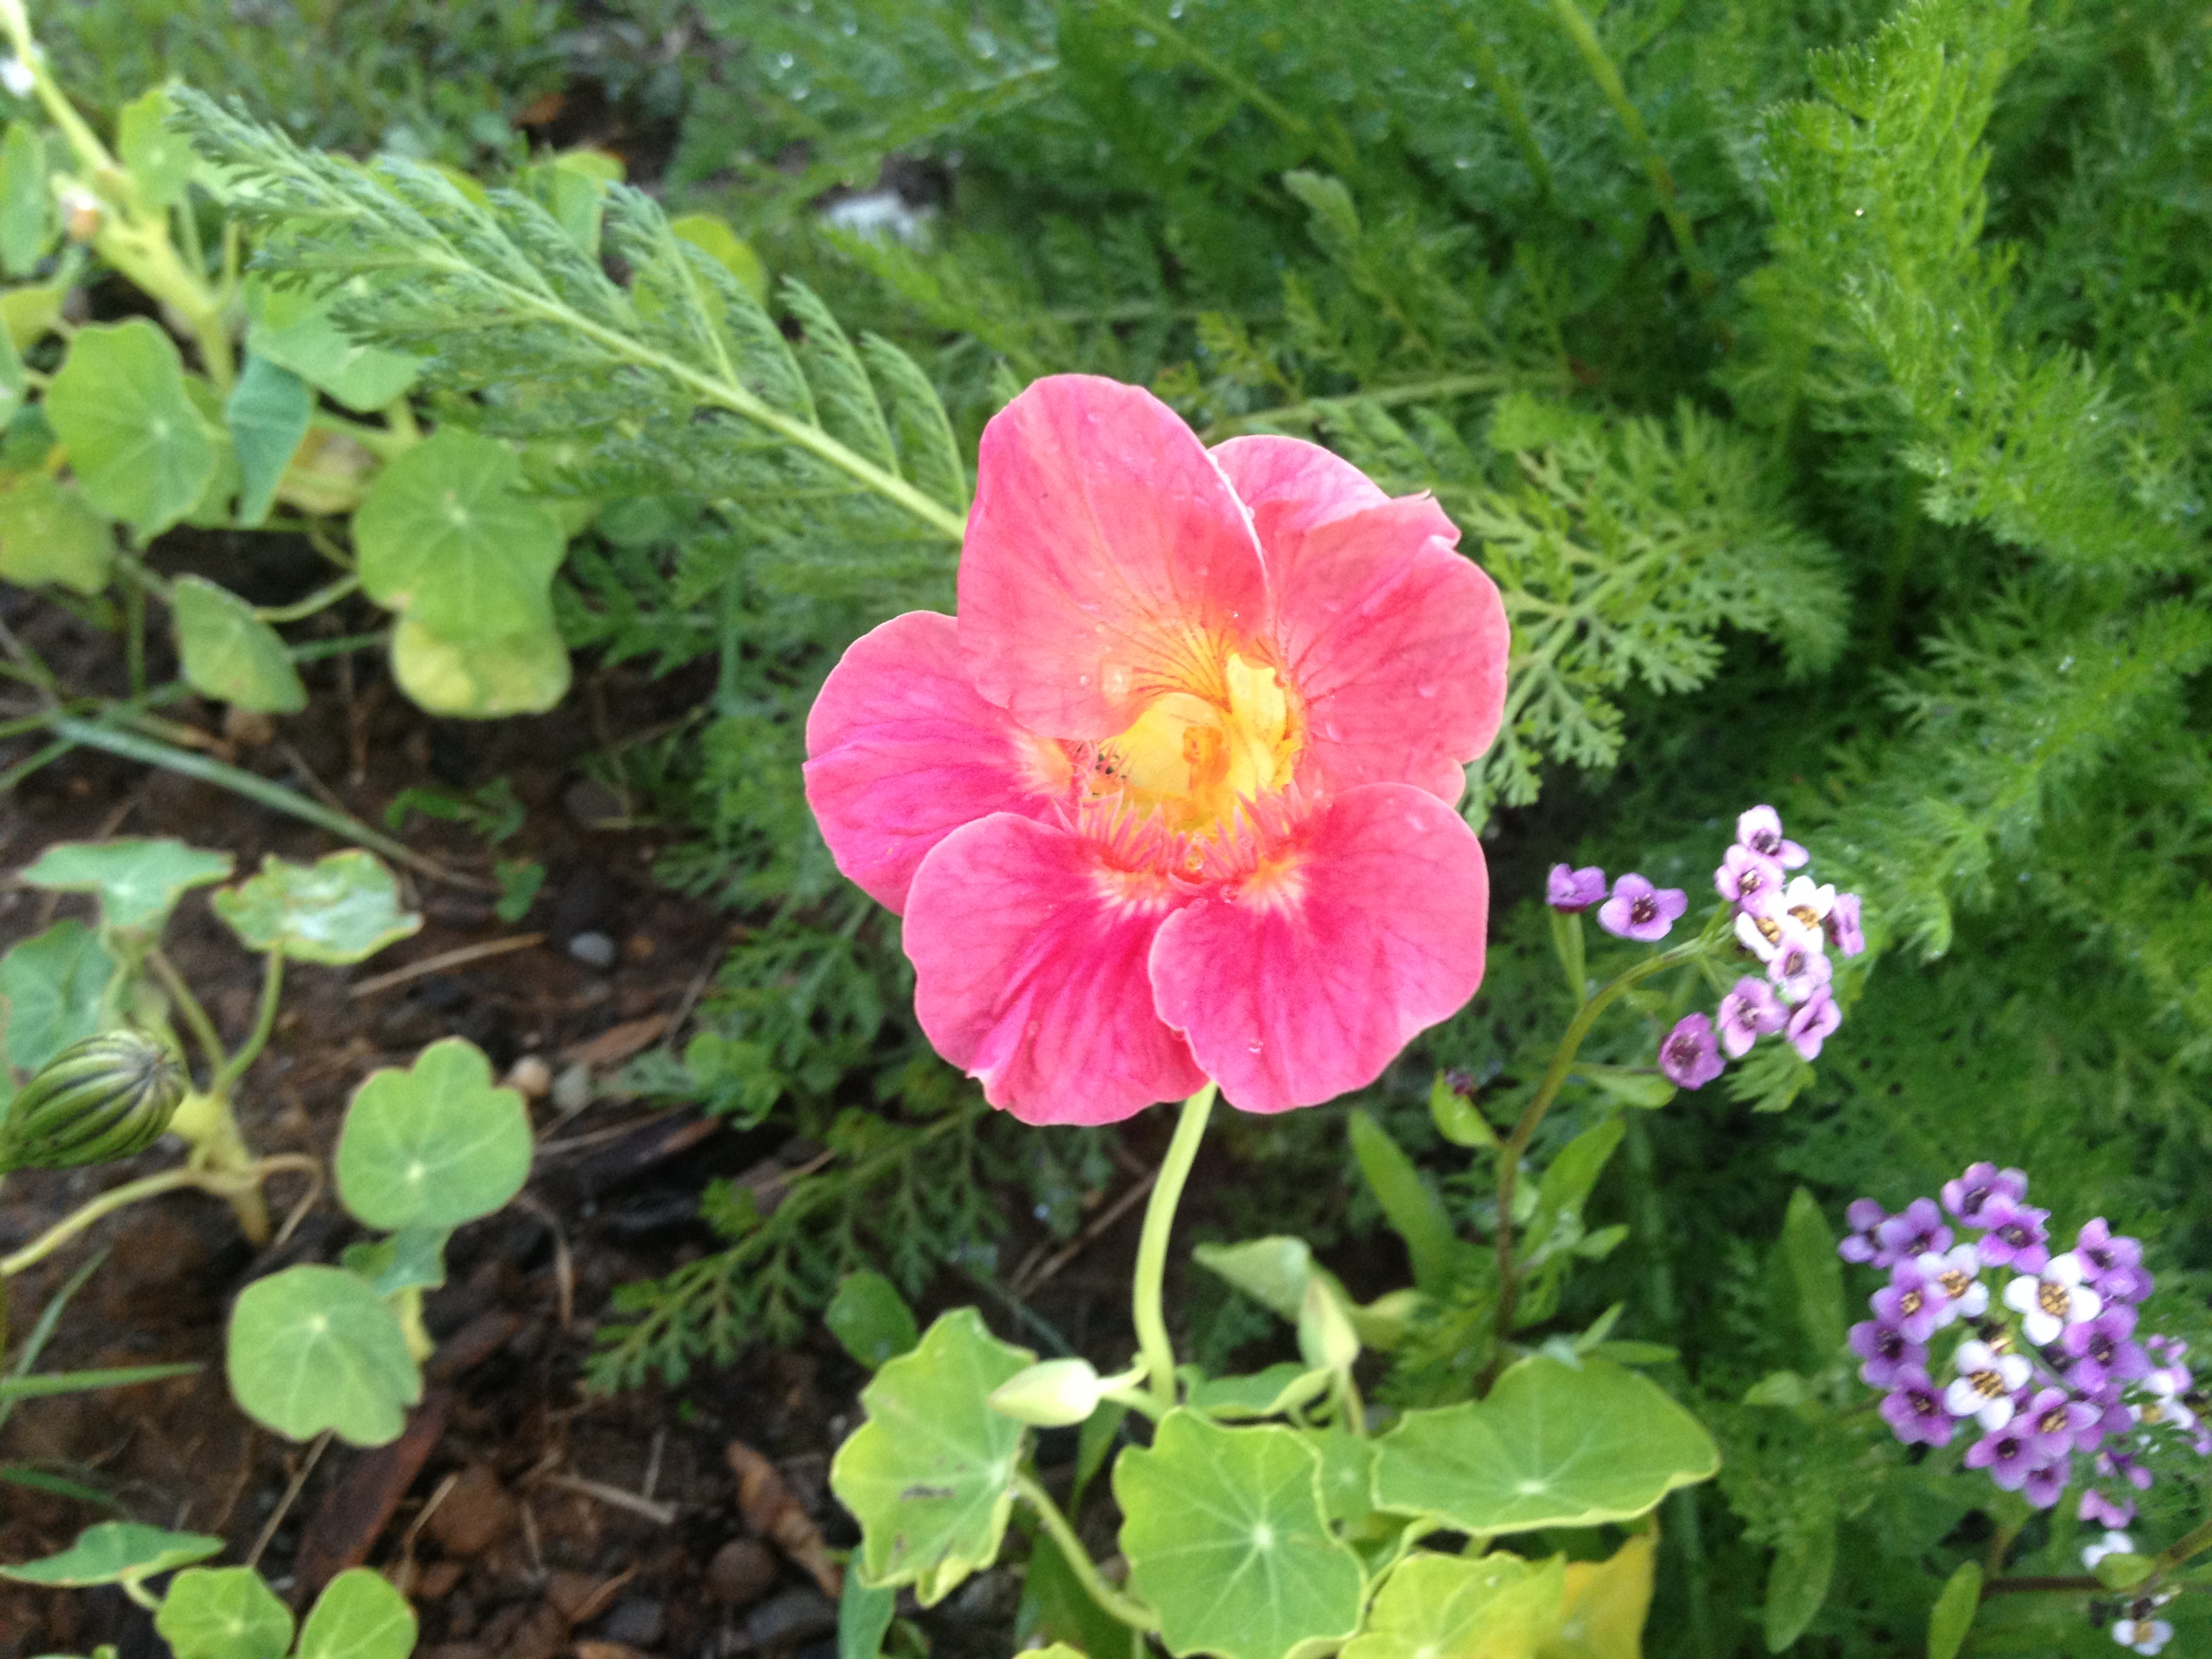
I am so excited about how good it looks — can totally imagine lovely green things growing in the cracks.