Wall building

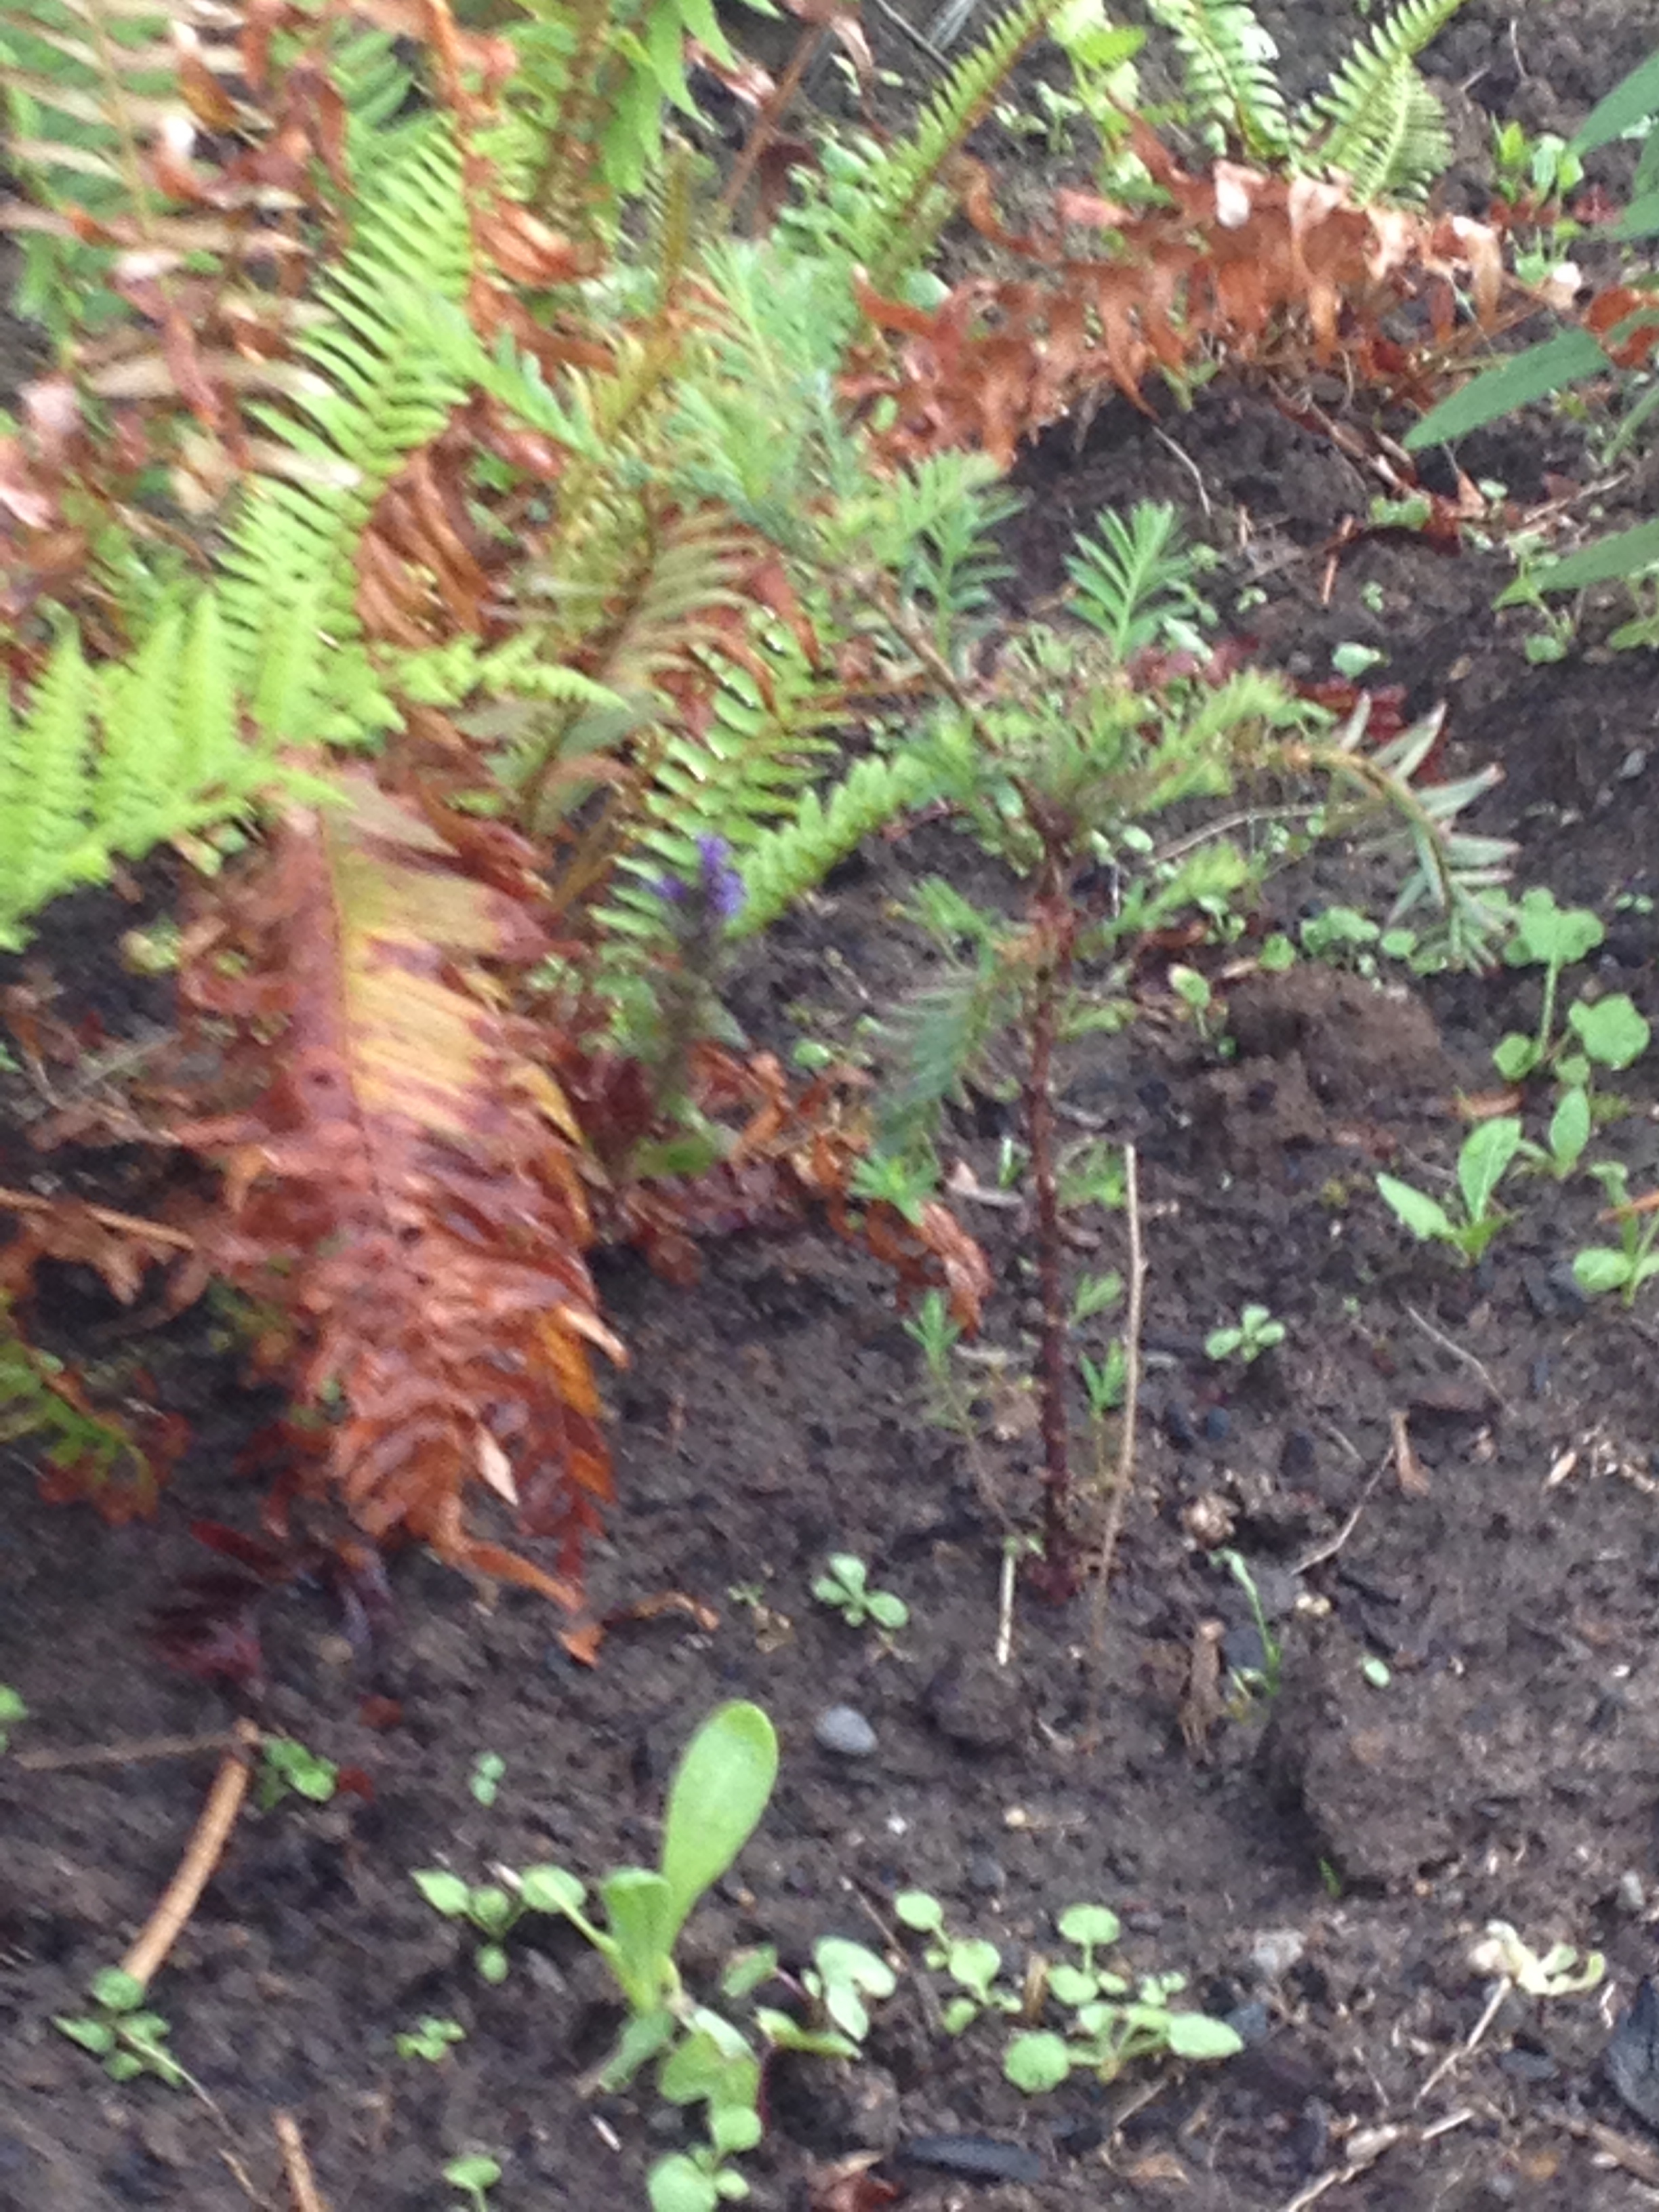
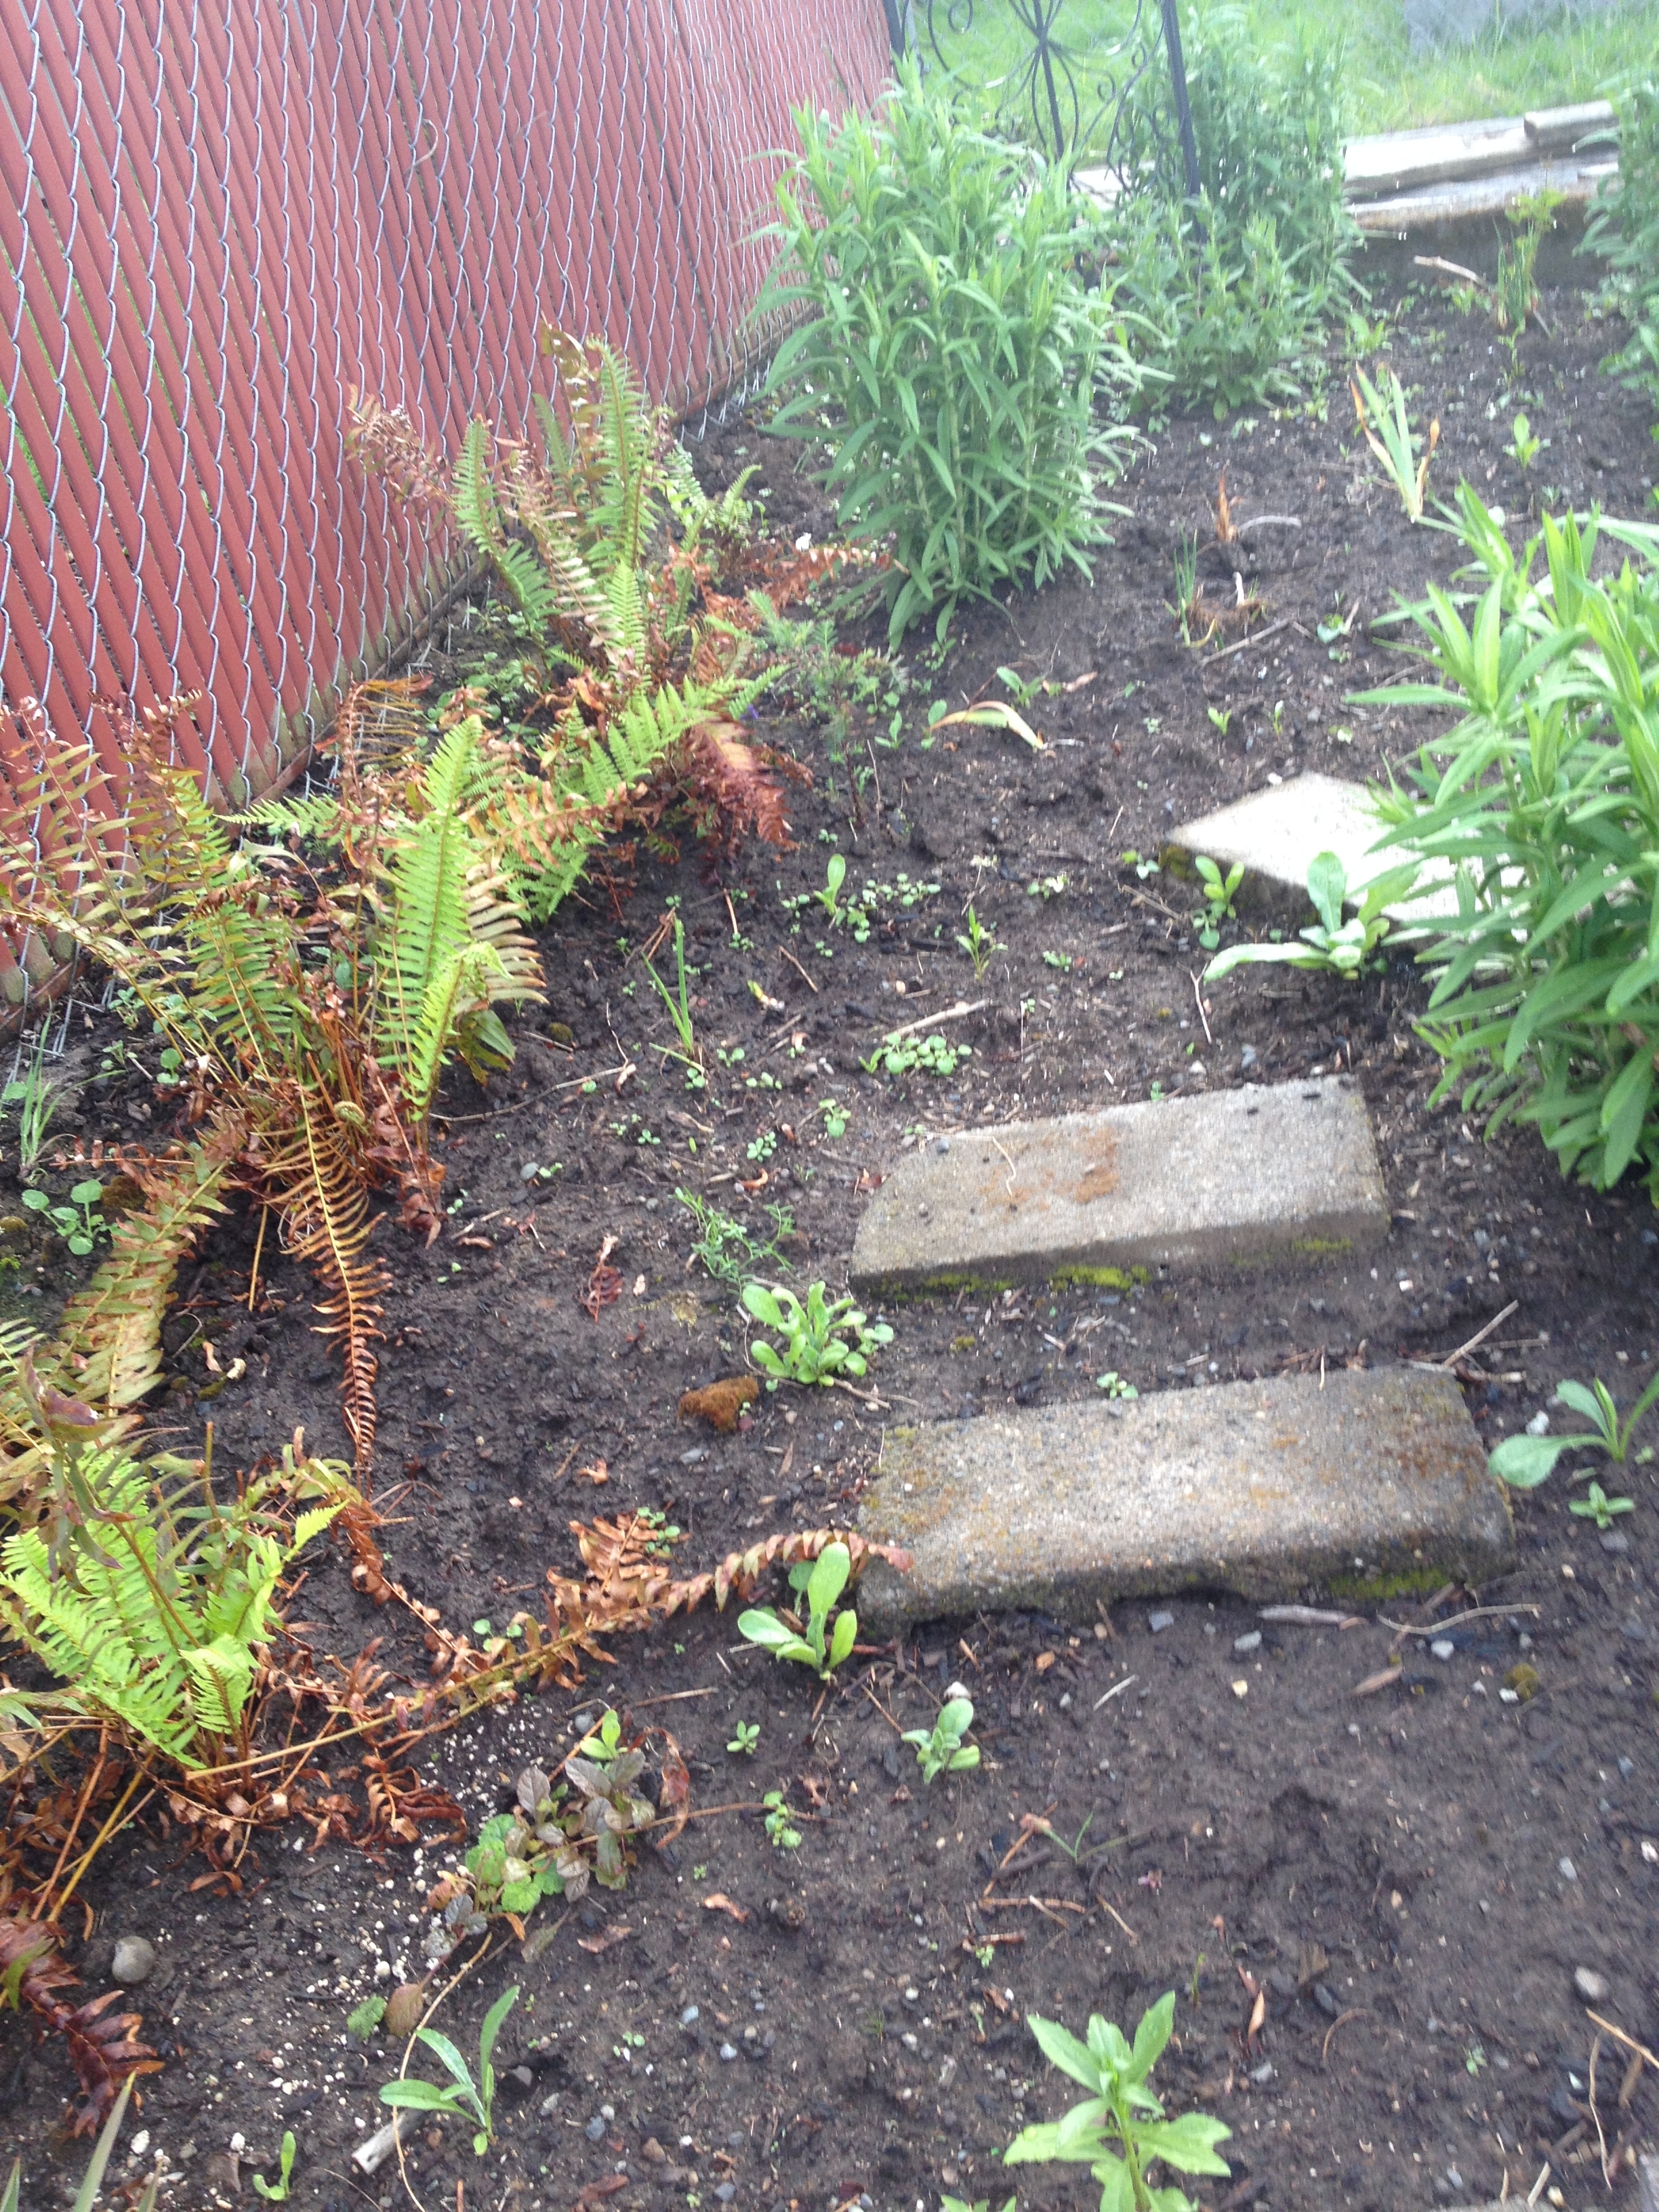
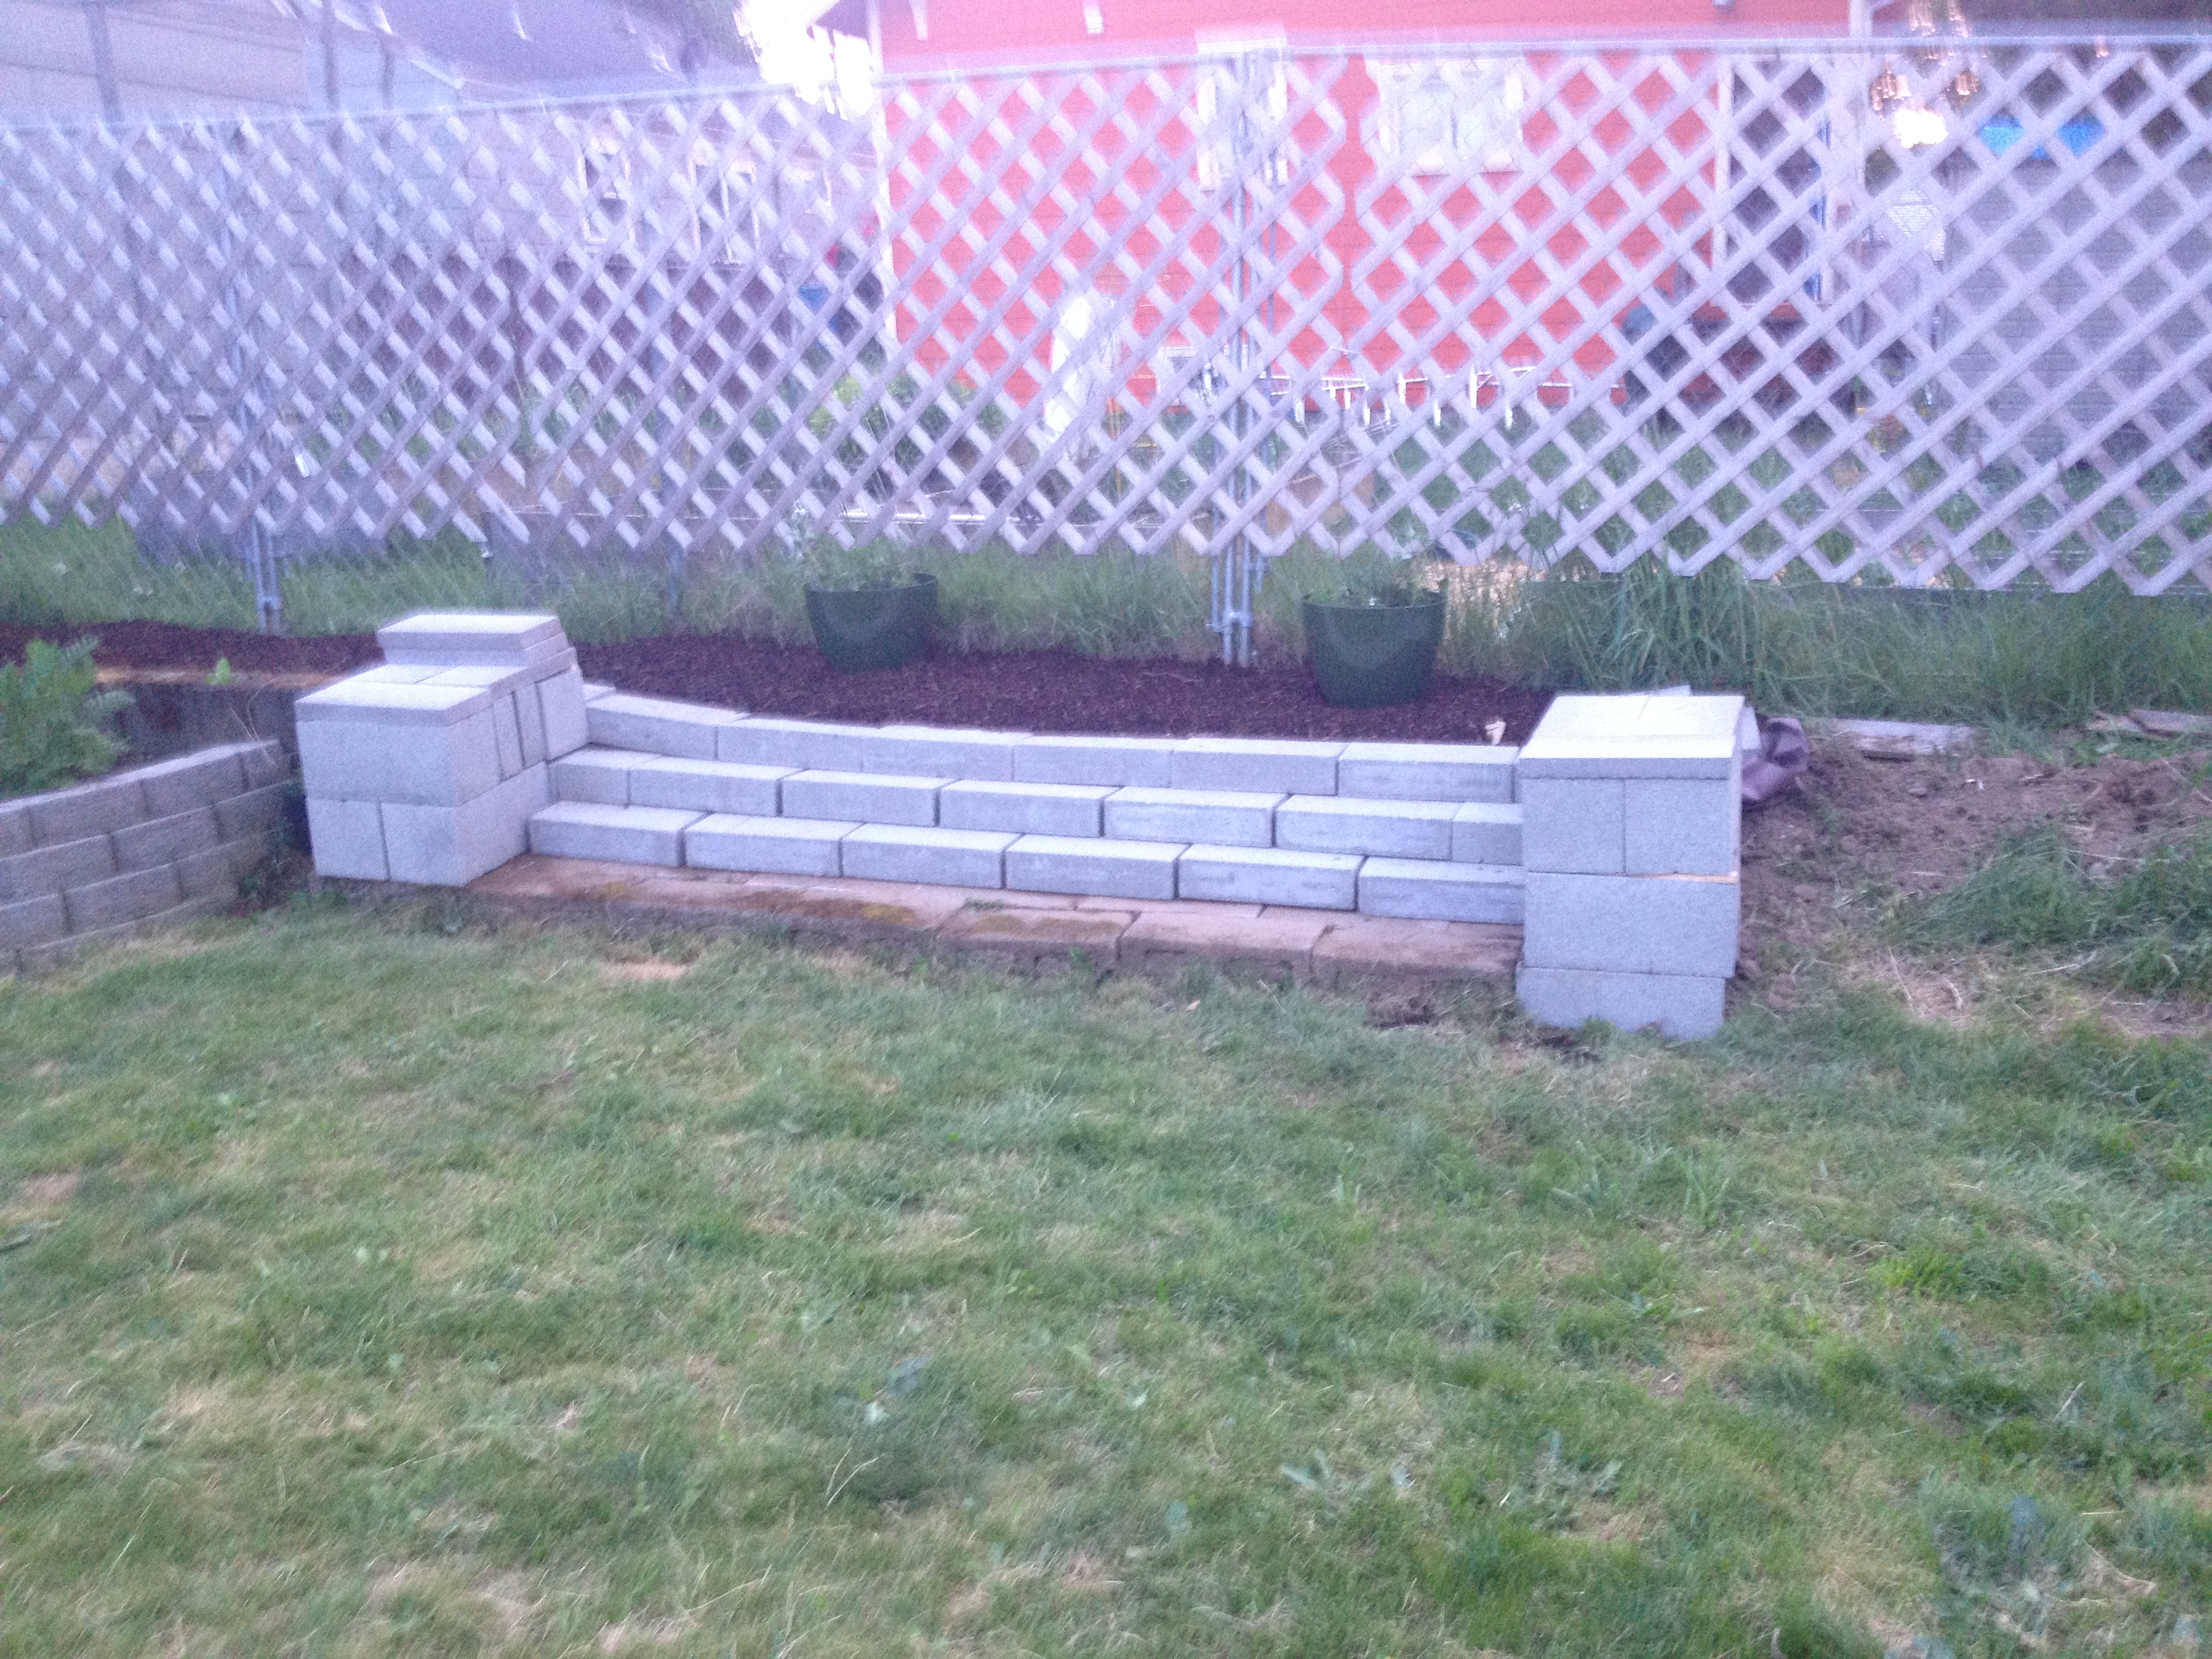
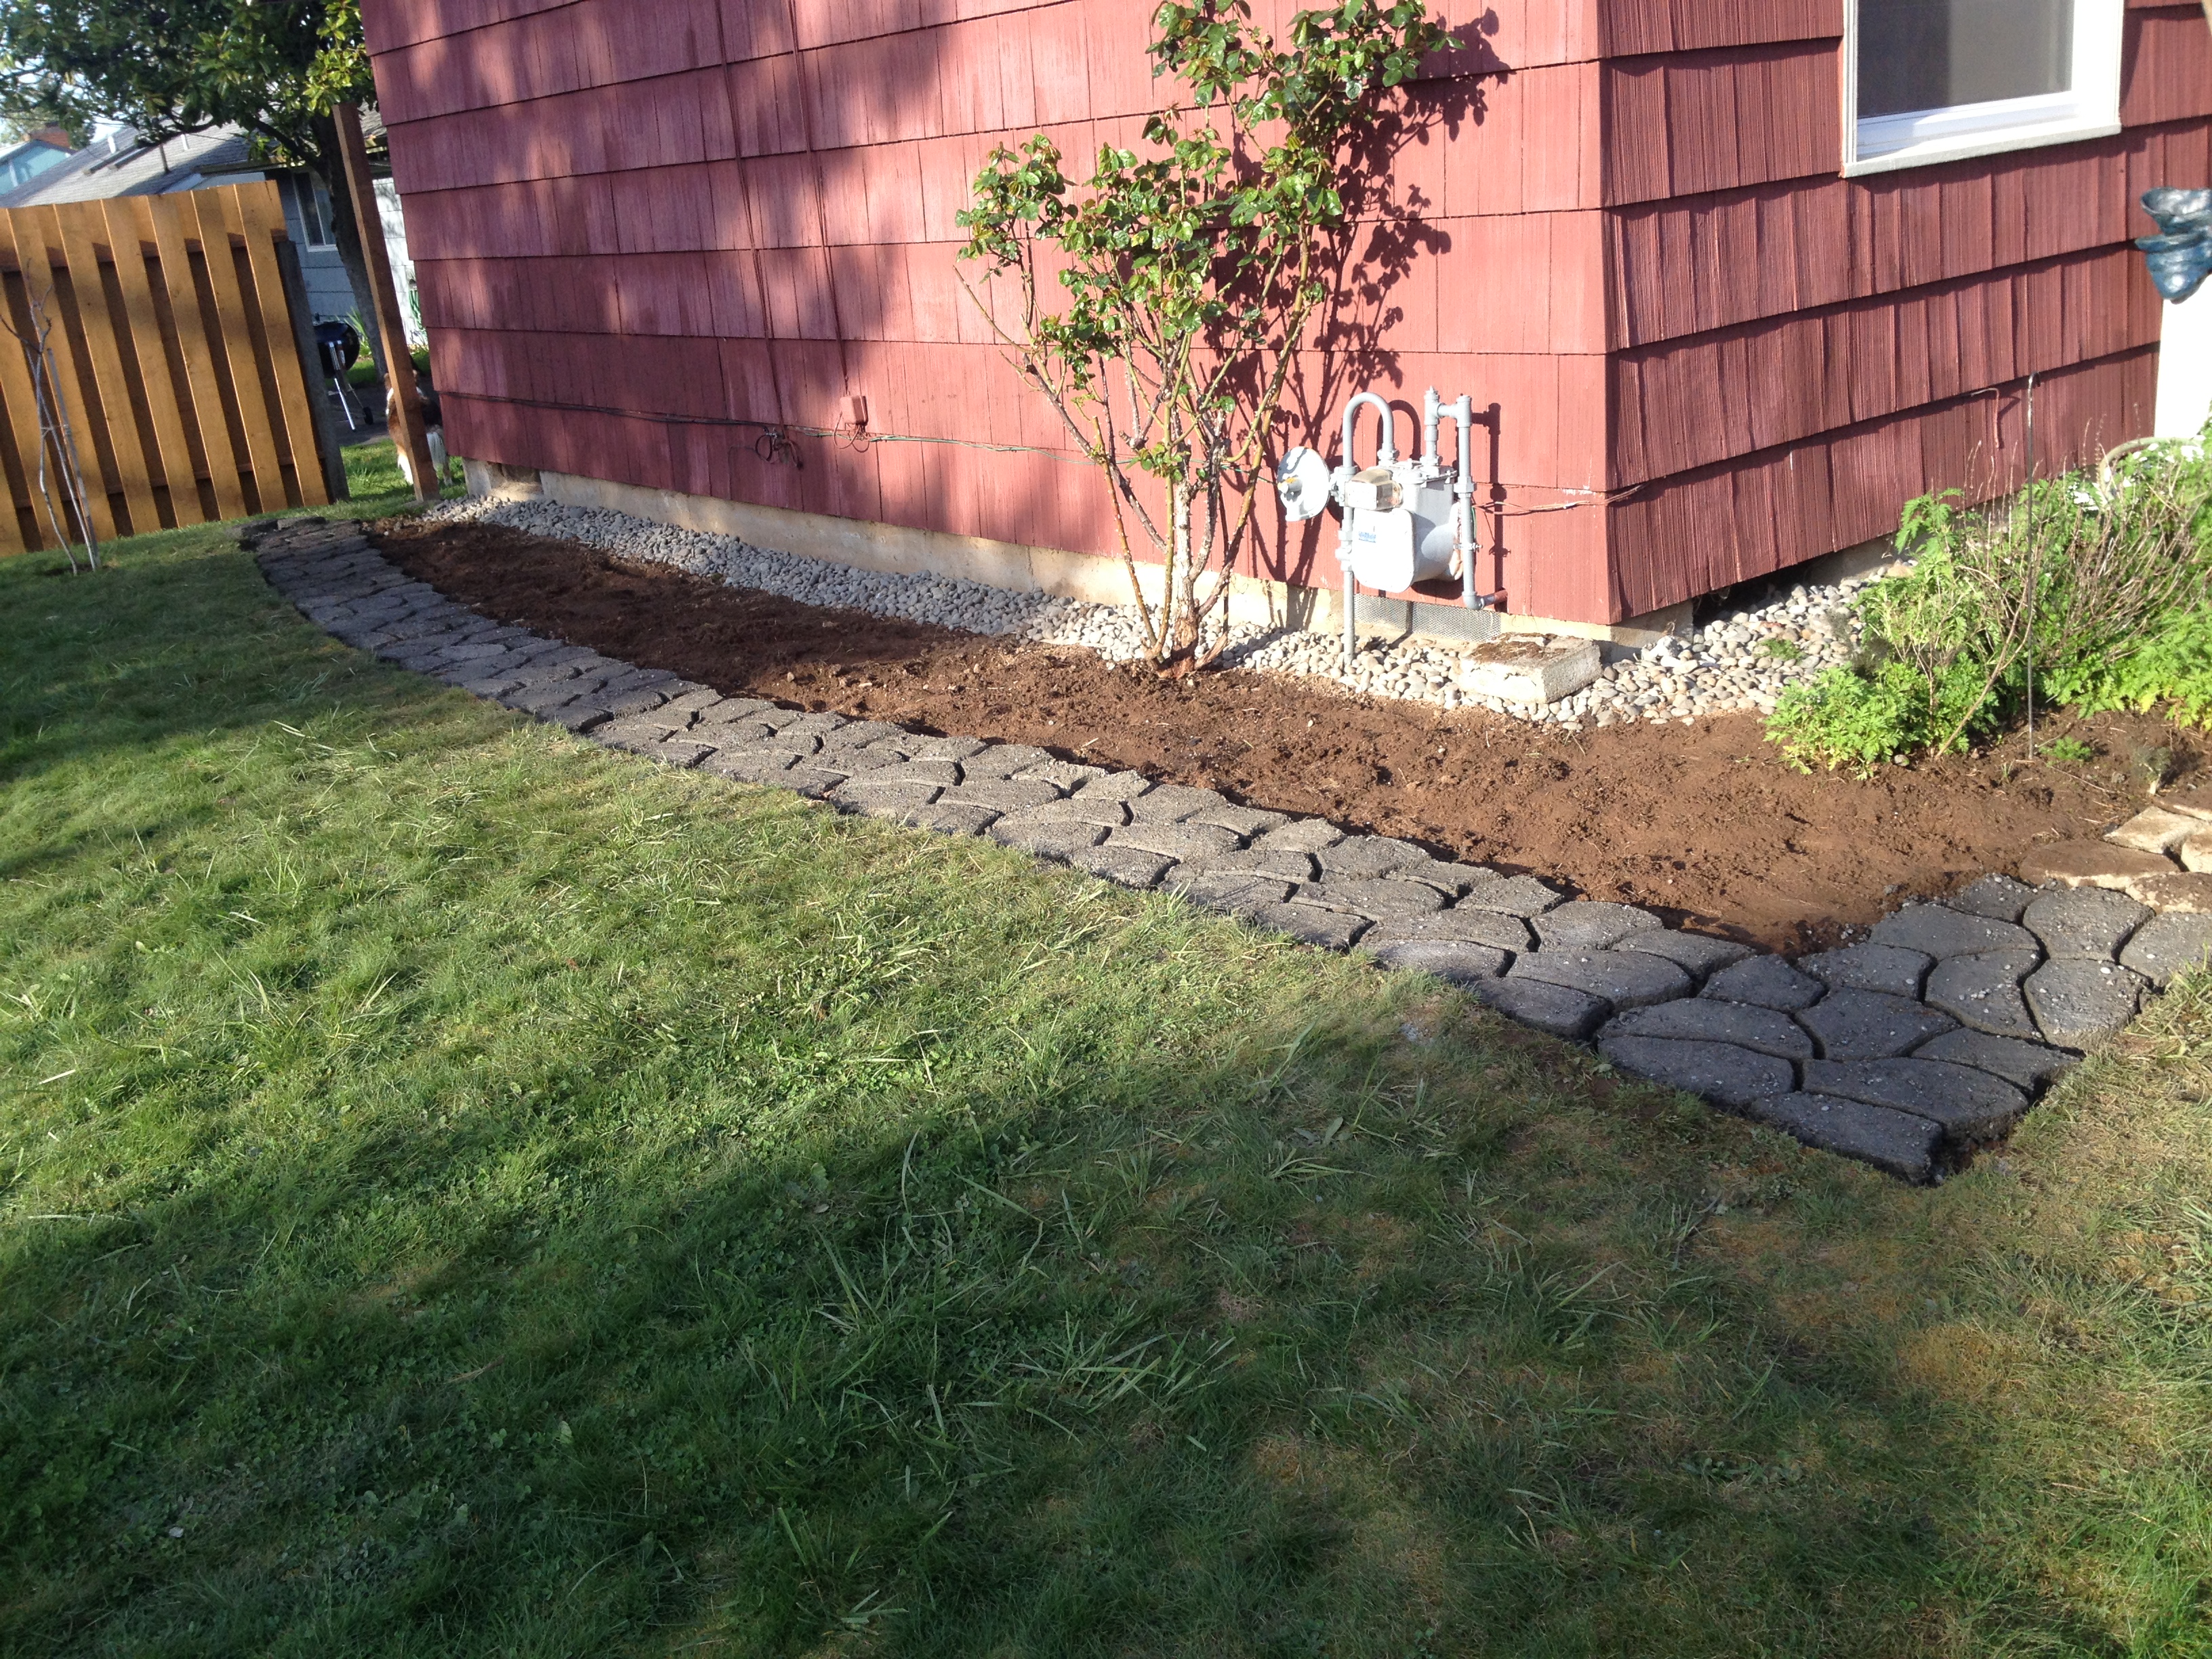
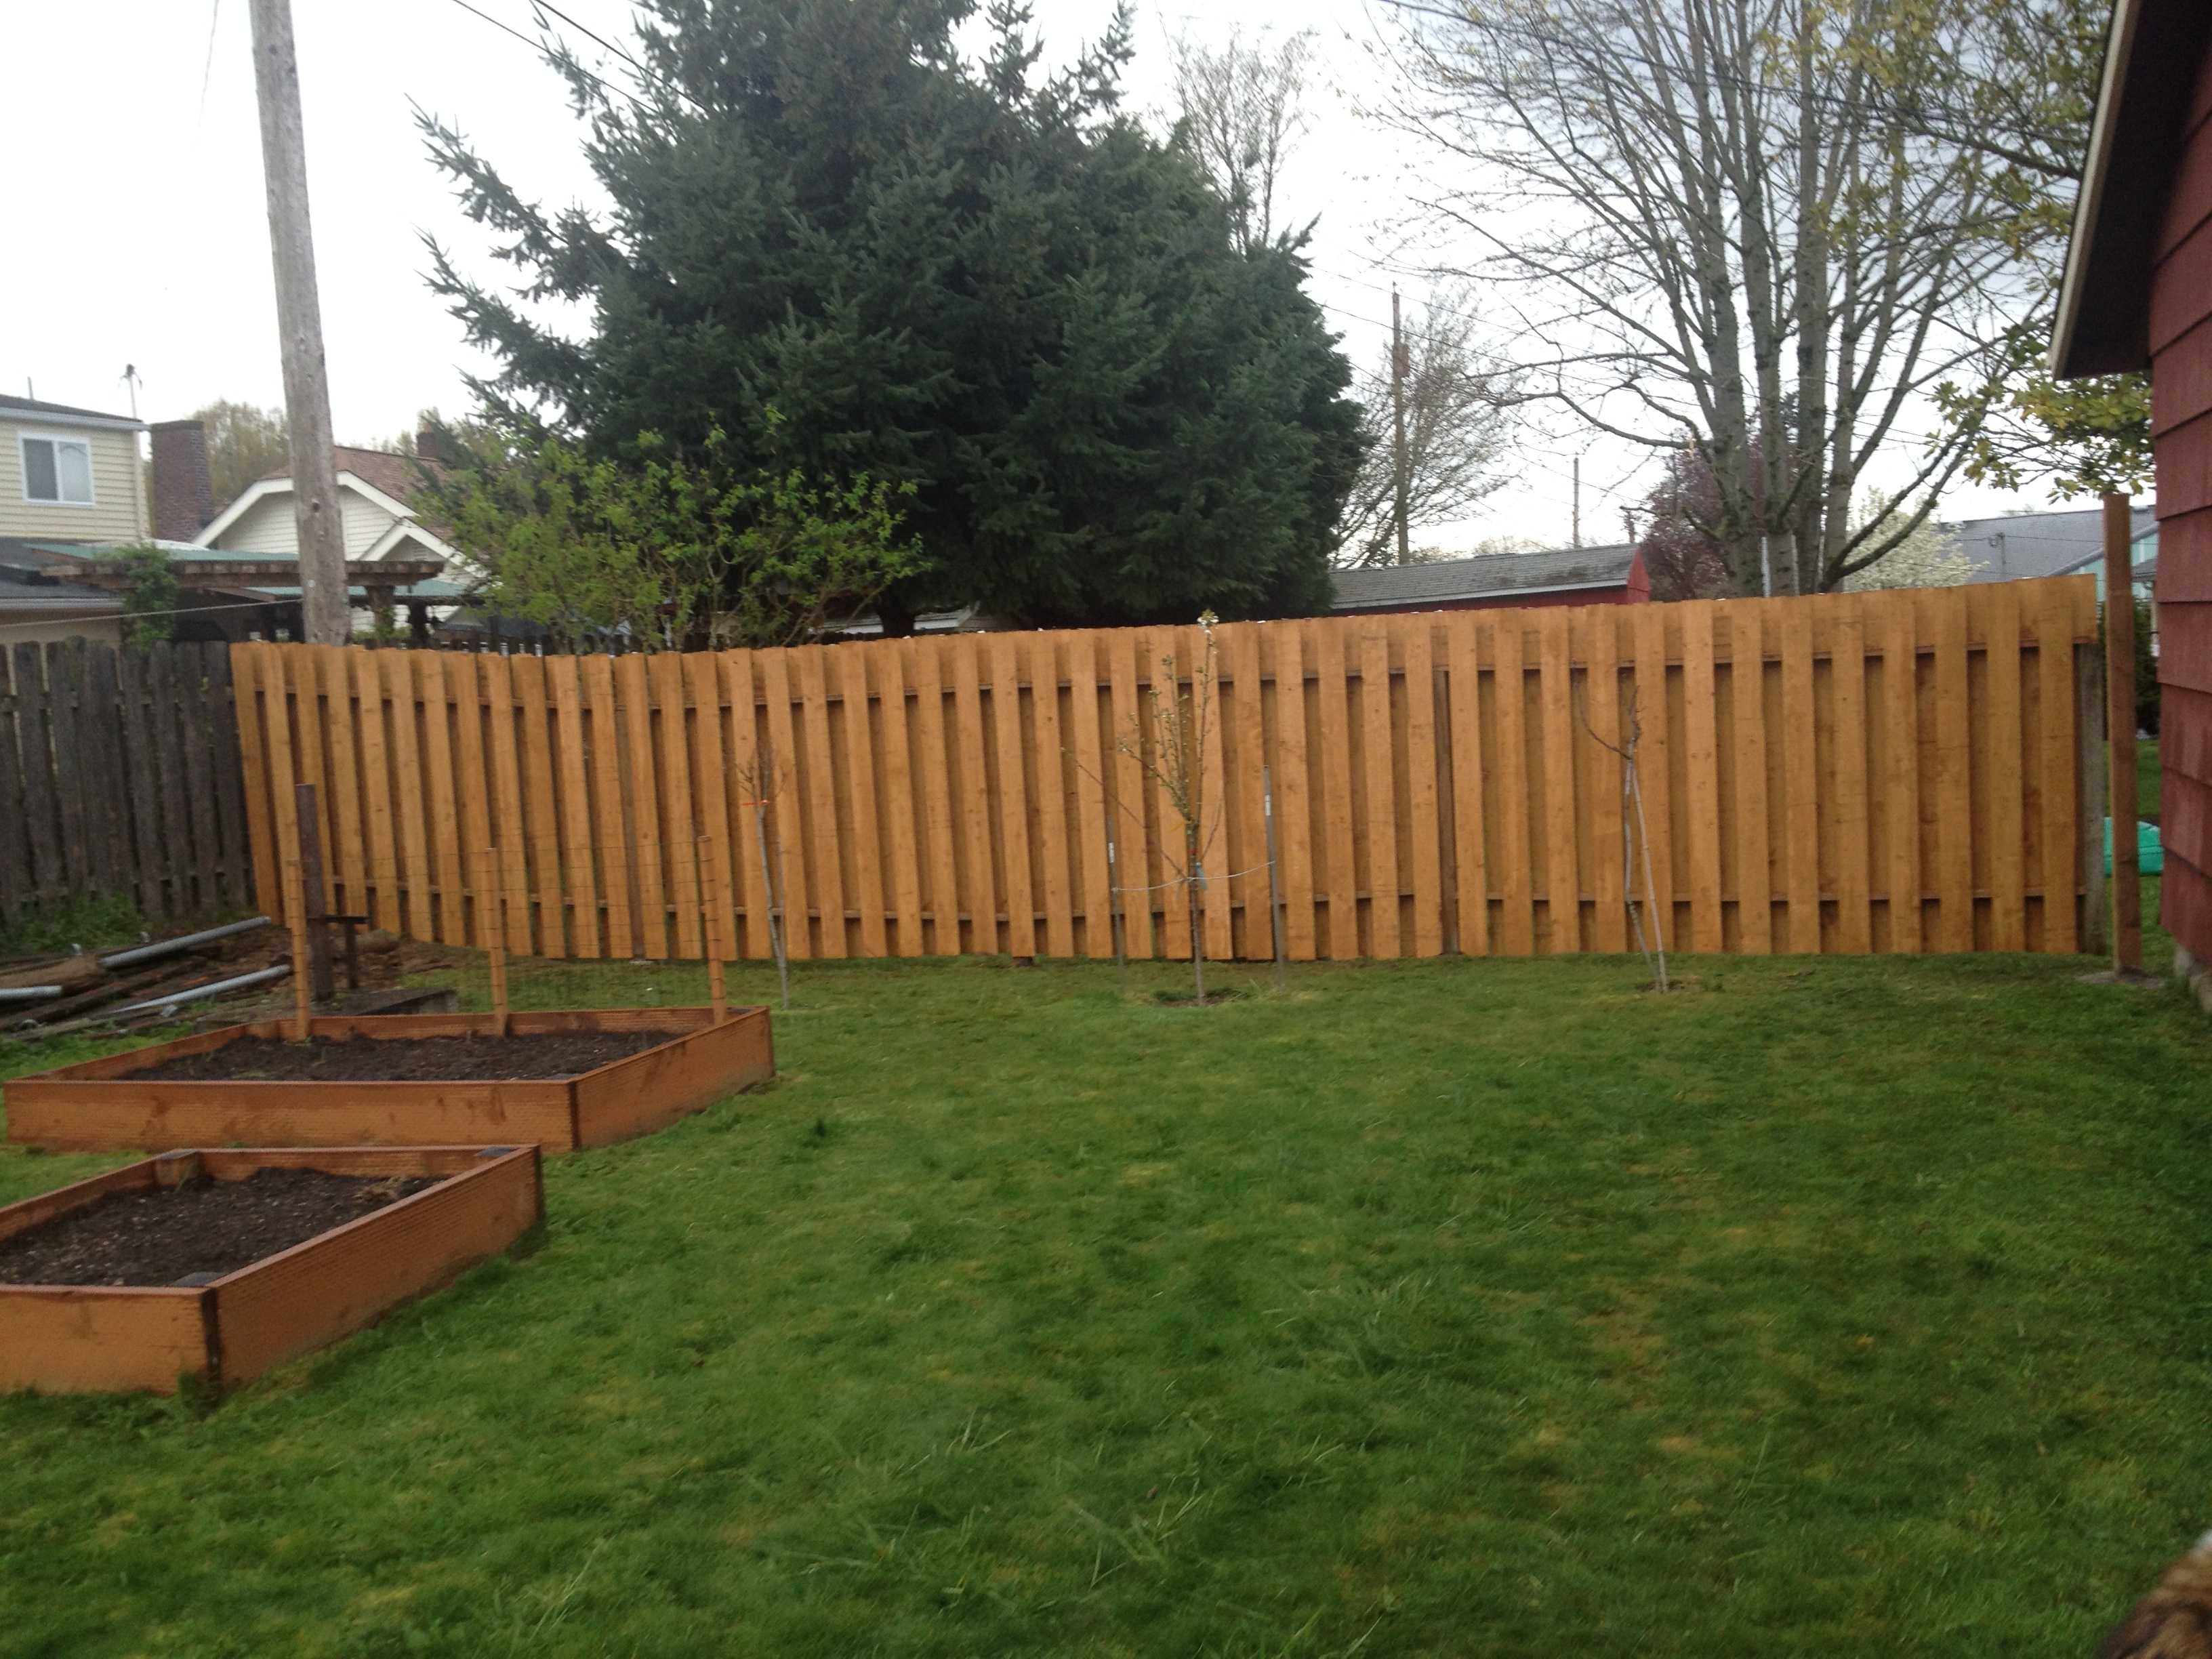
There is a slope along the back fence-line that doesn’t really look like that big of a deal — until you have to mow it! And all of the “grass” on it is crabgrass and weeds. My poor little reel mower and my body hate it with a flaming passion. It didn’t take too many times with the mower before I knew it was the future home a flower bed.

kimball backyard

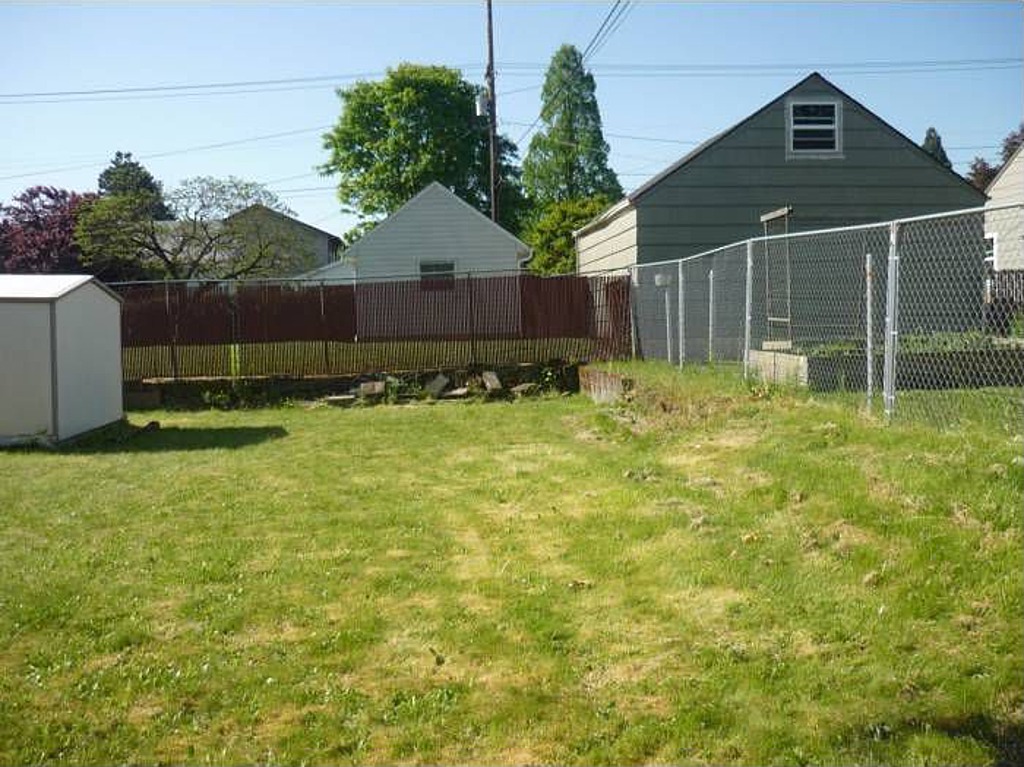
Starting point when I was looking at the house back in 2012.

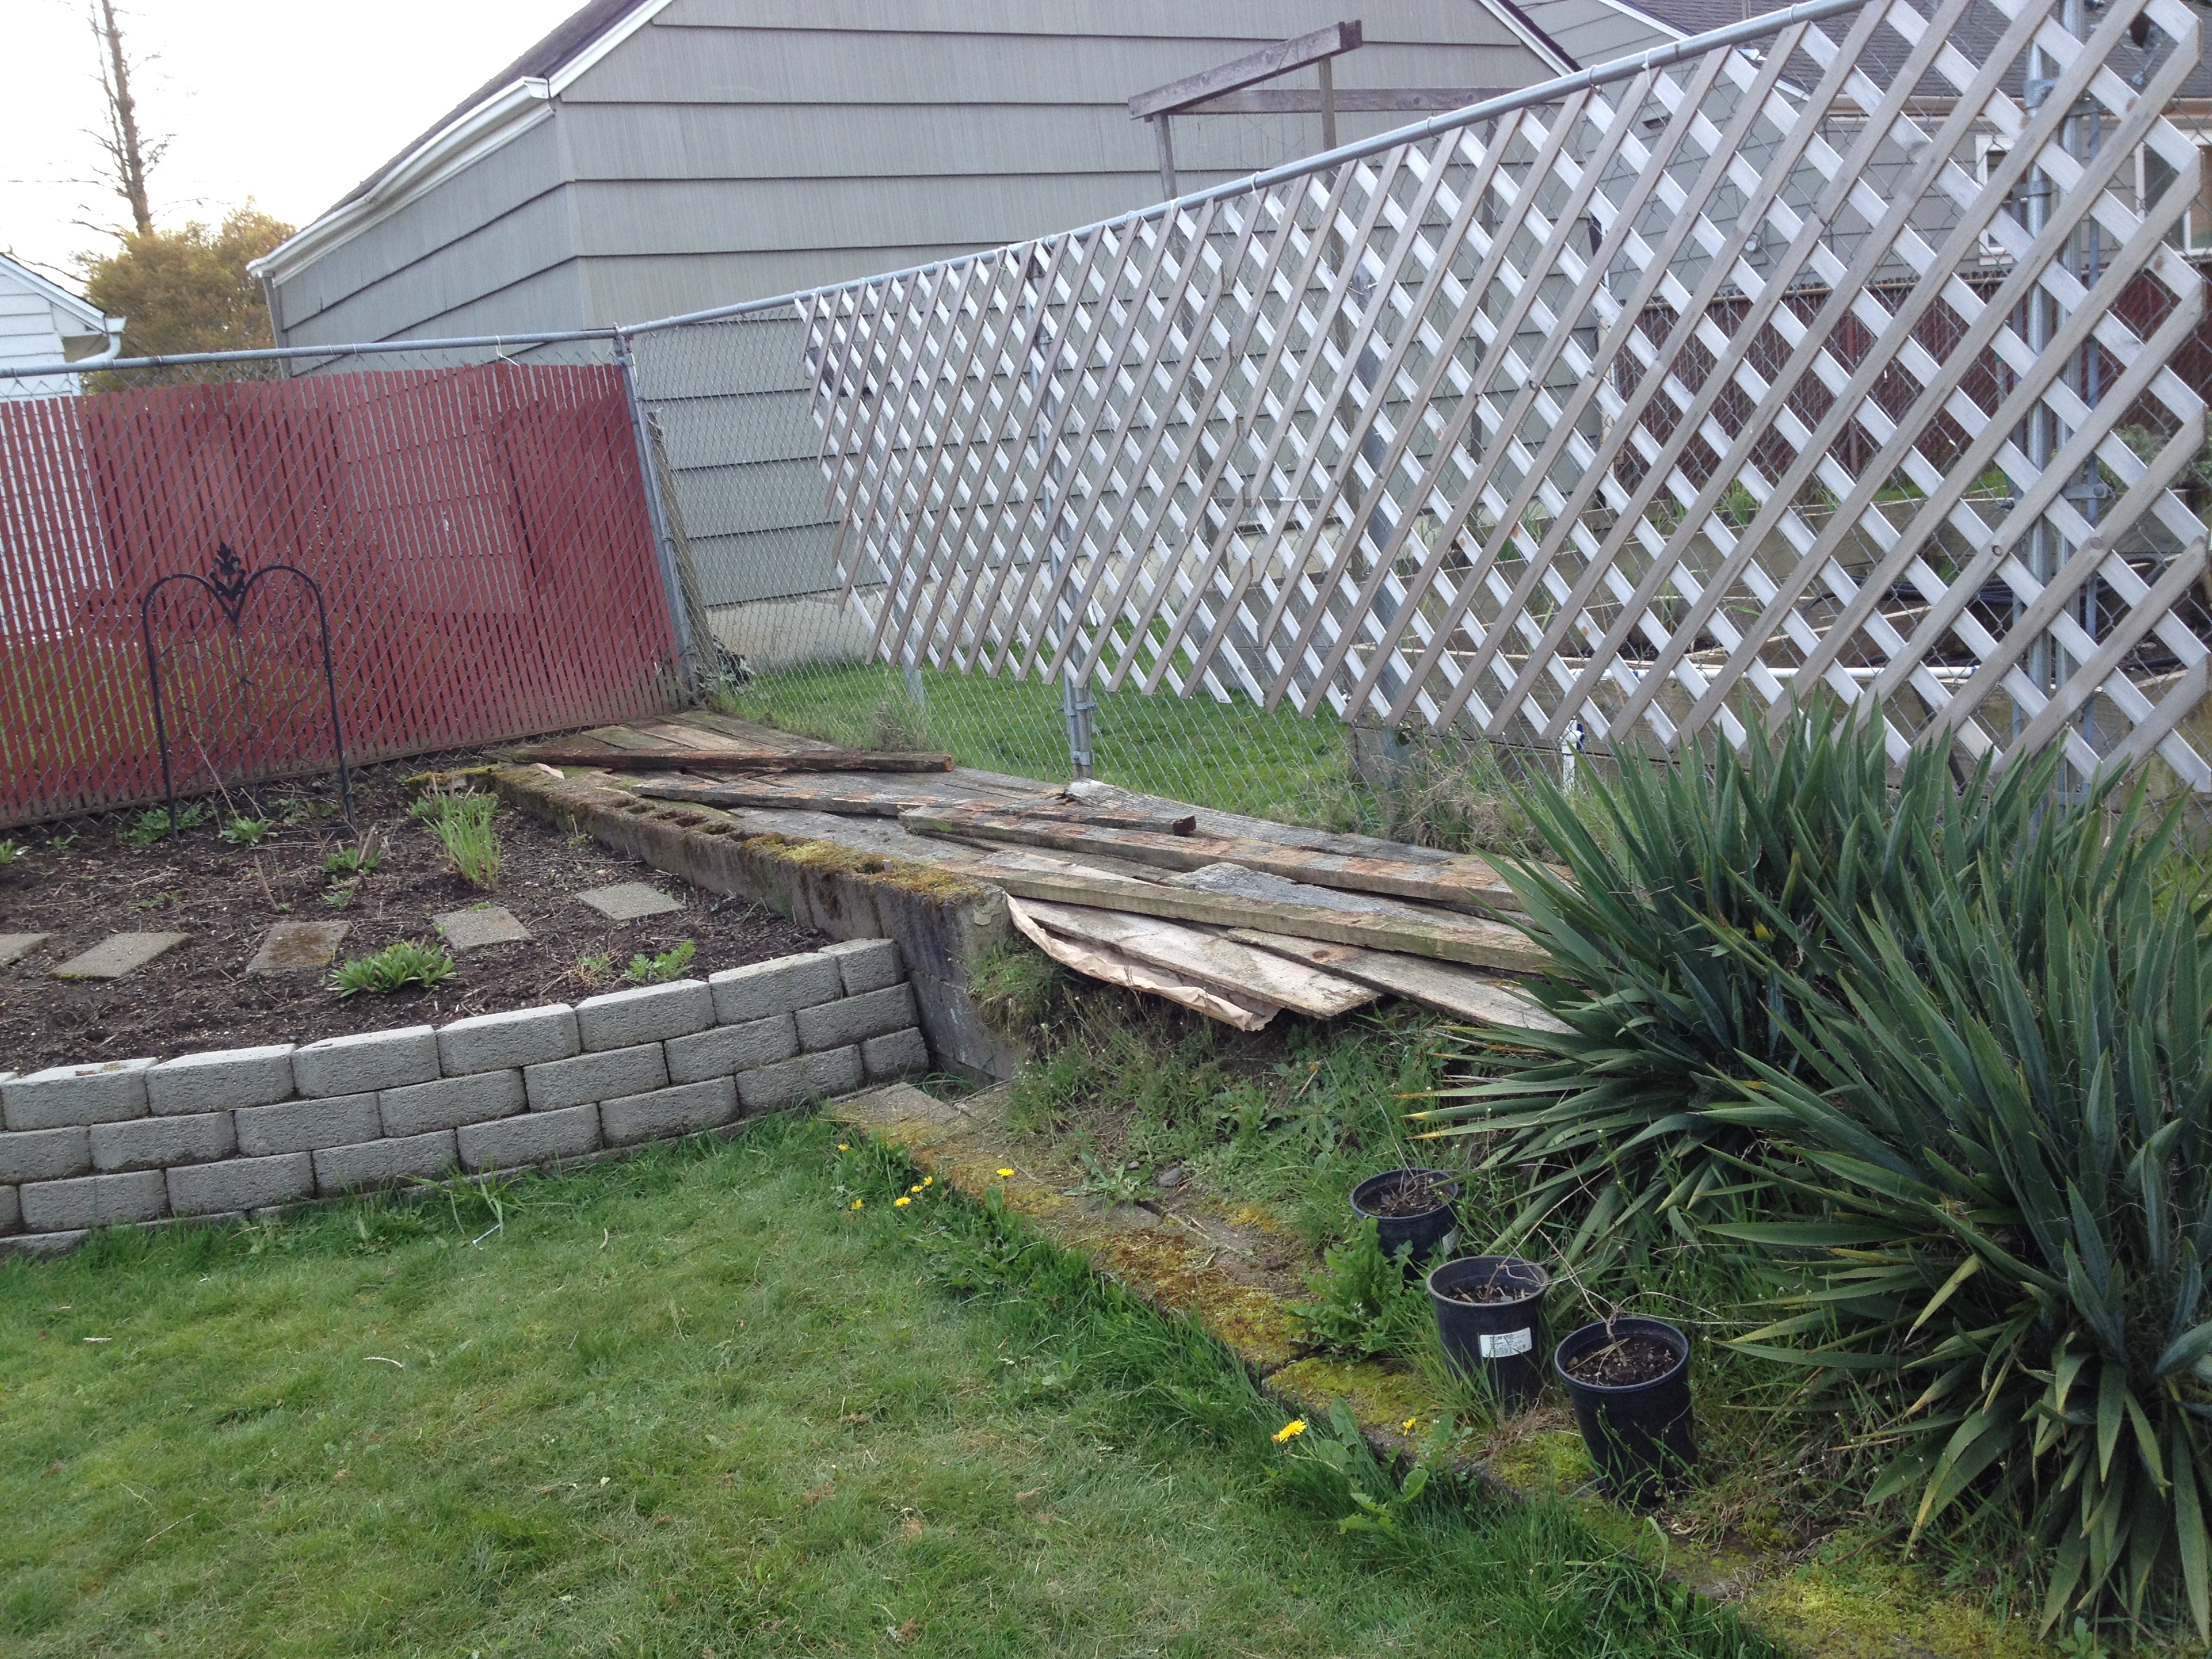
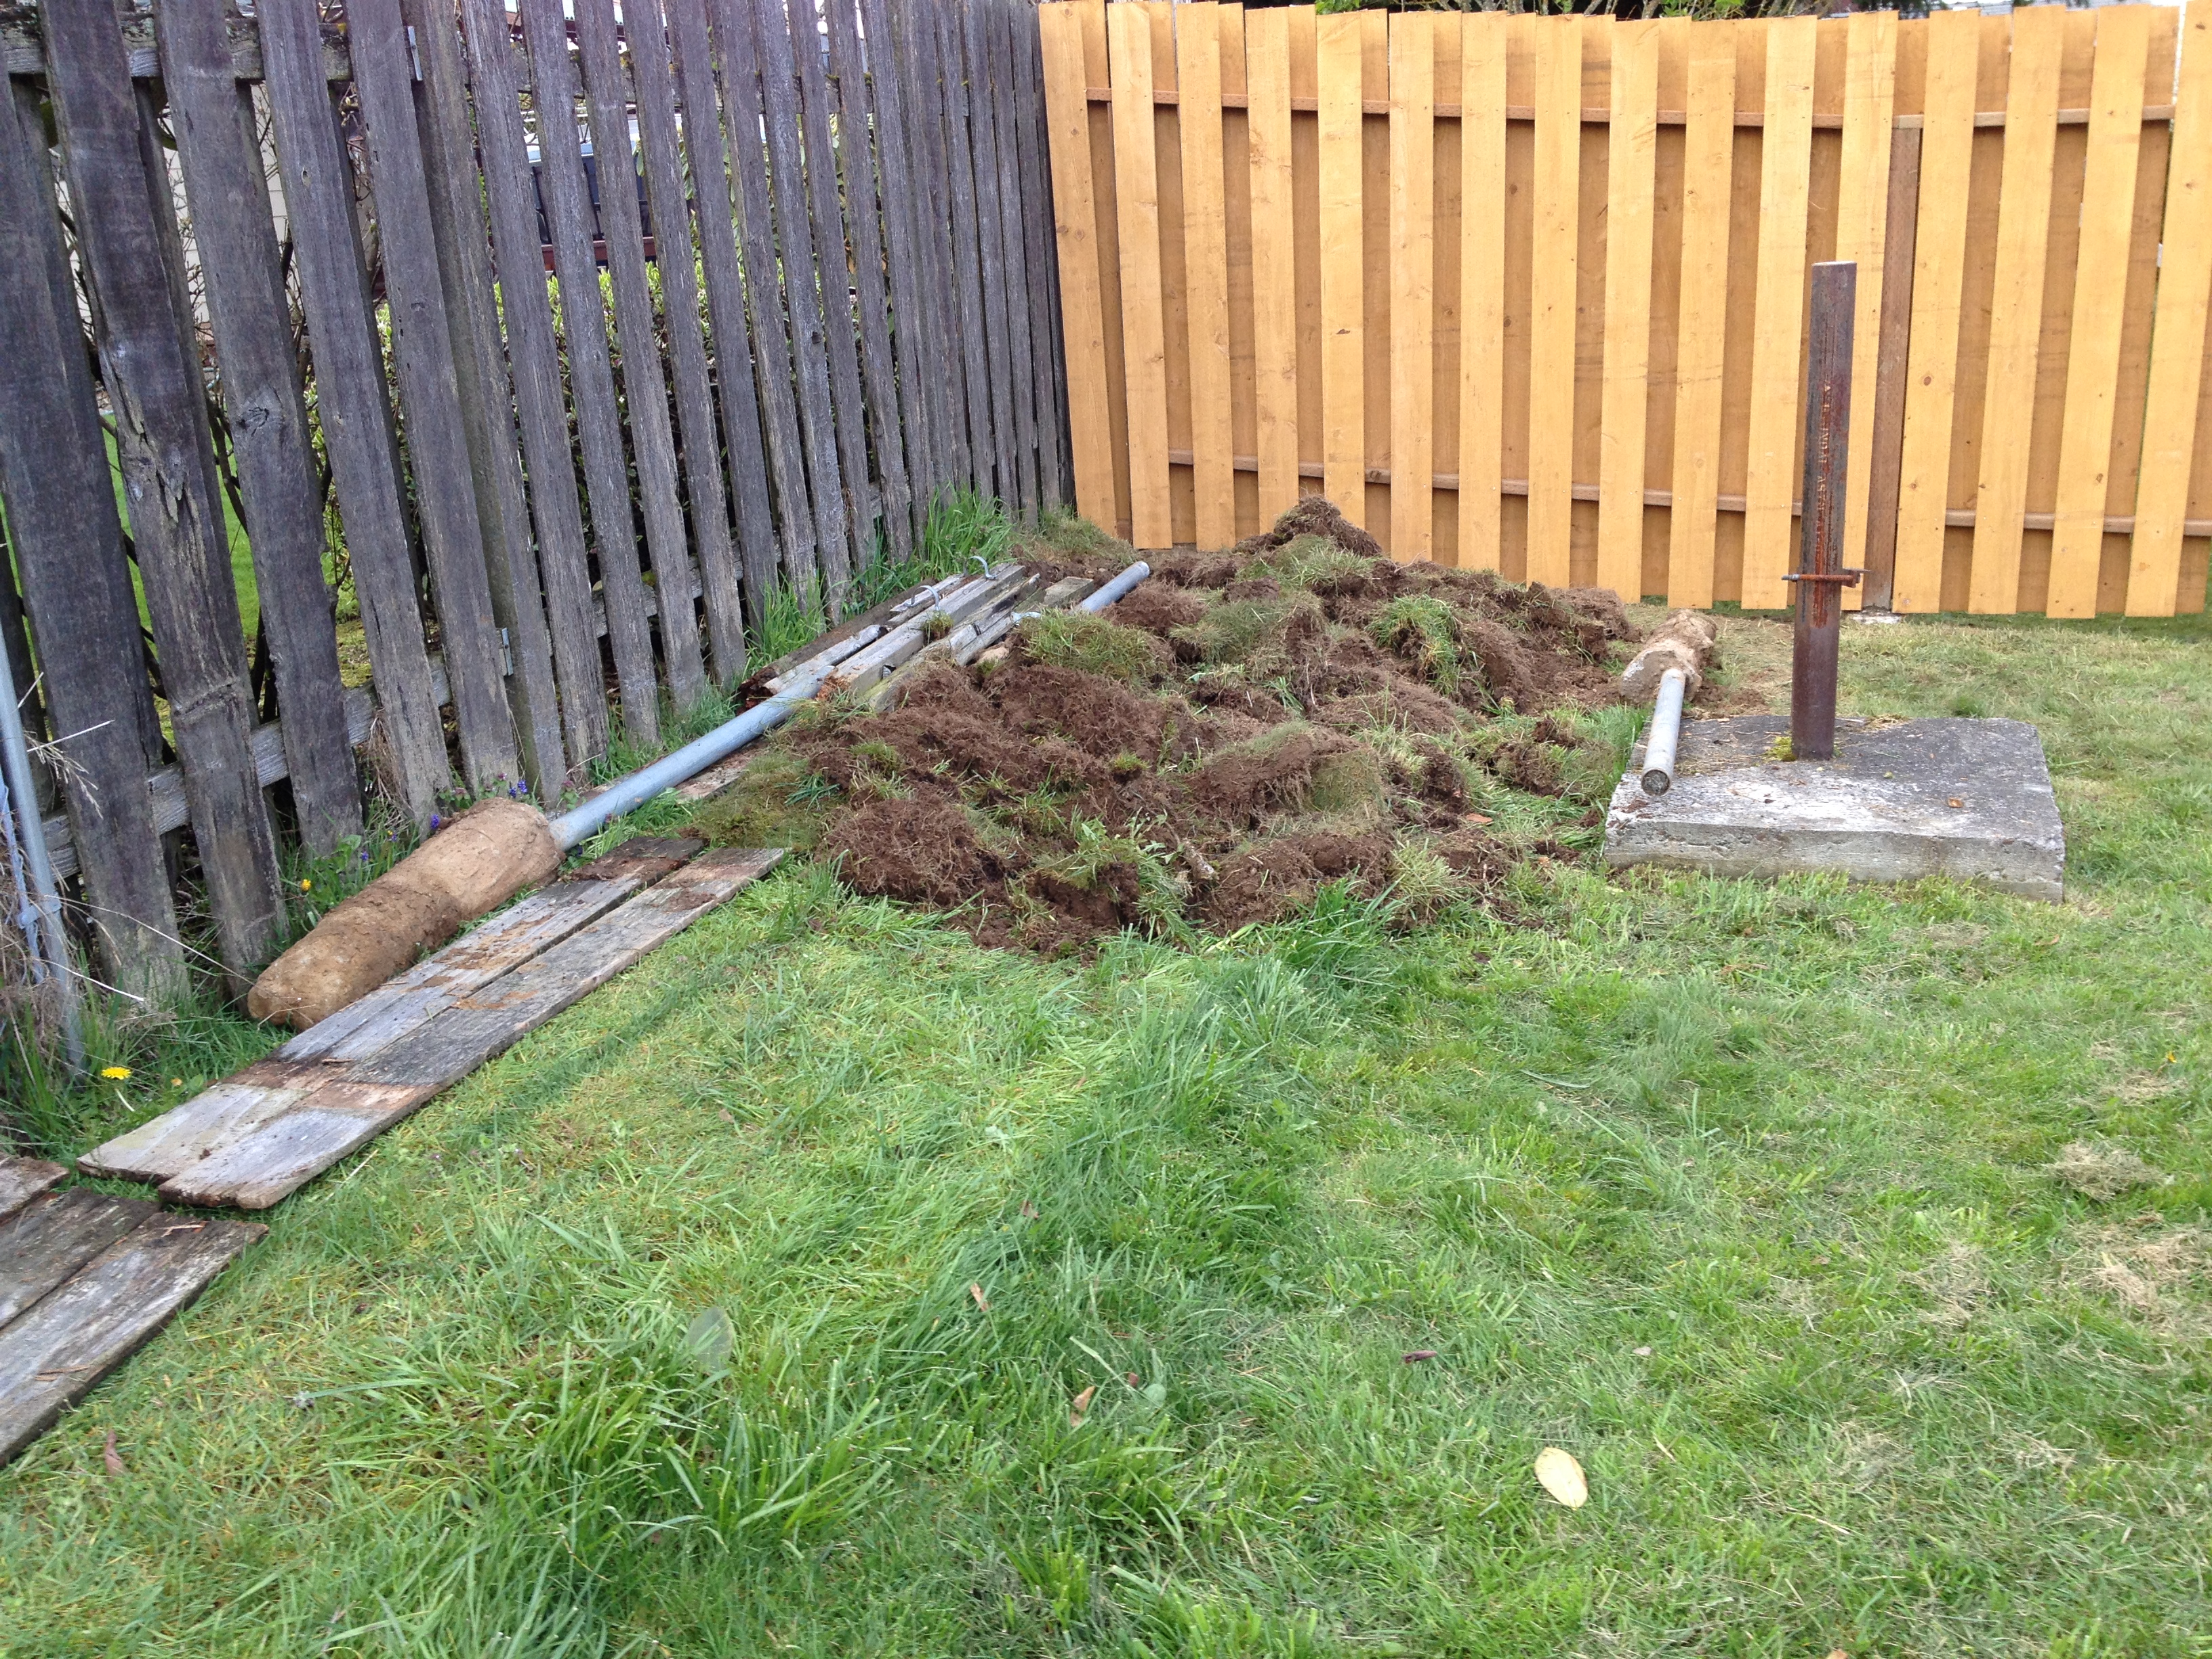
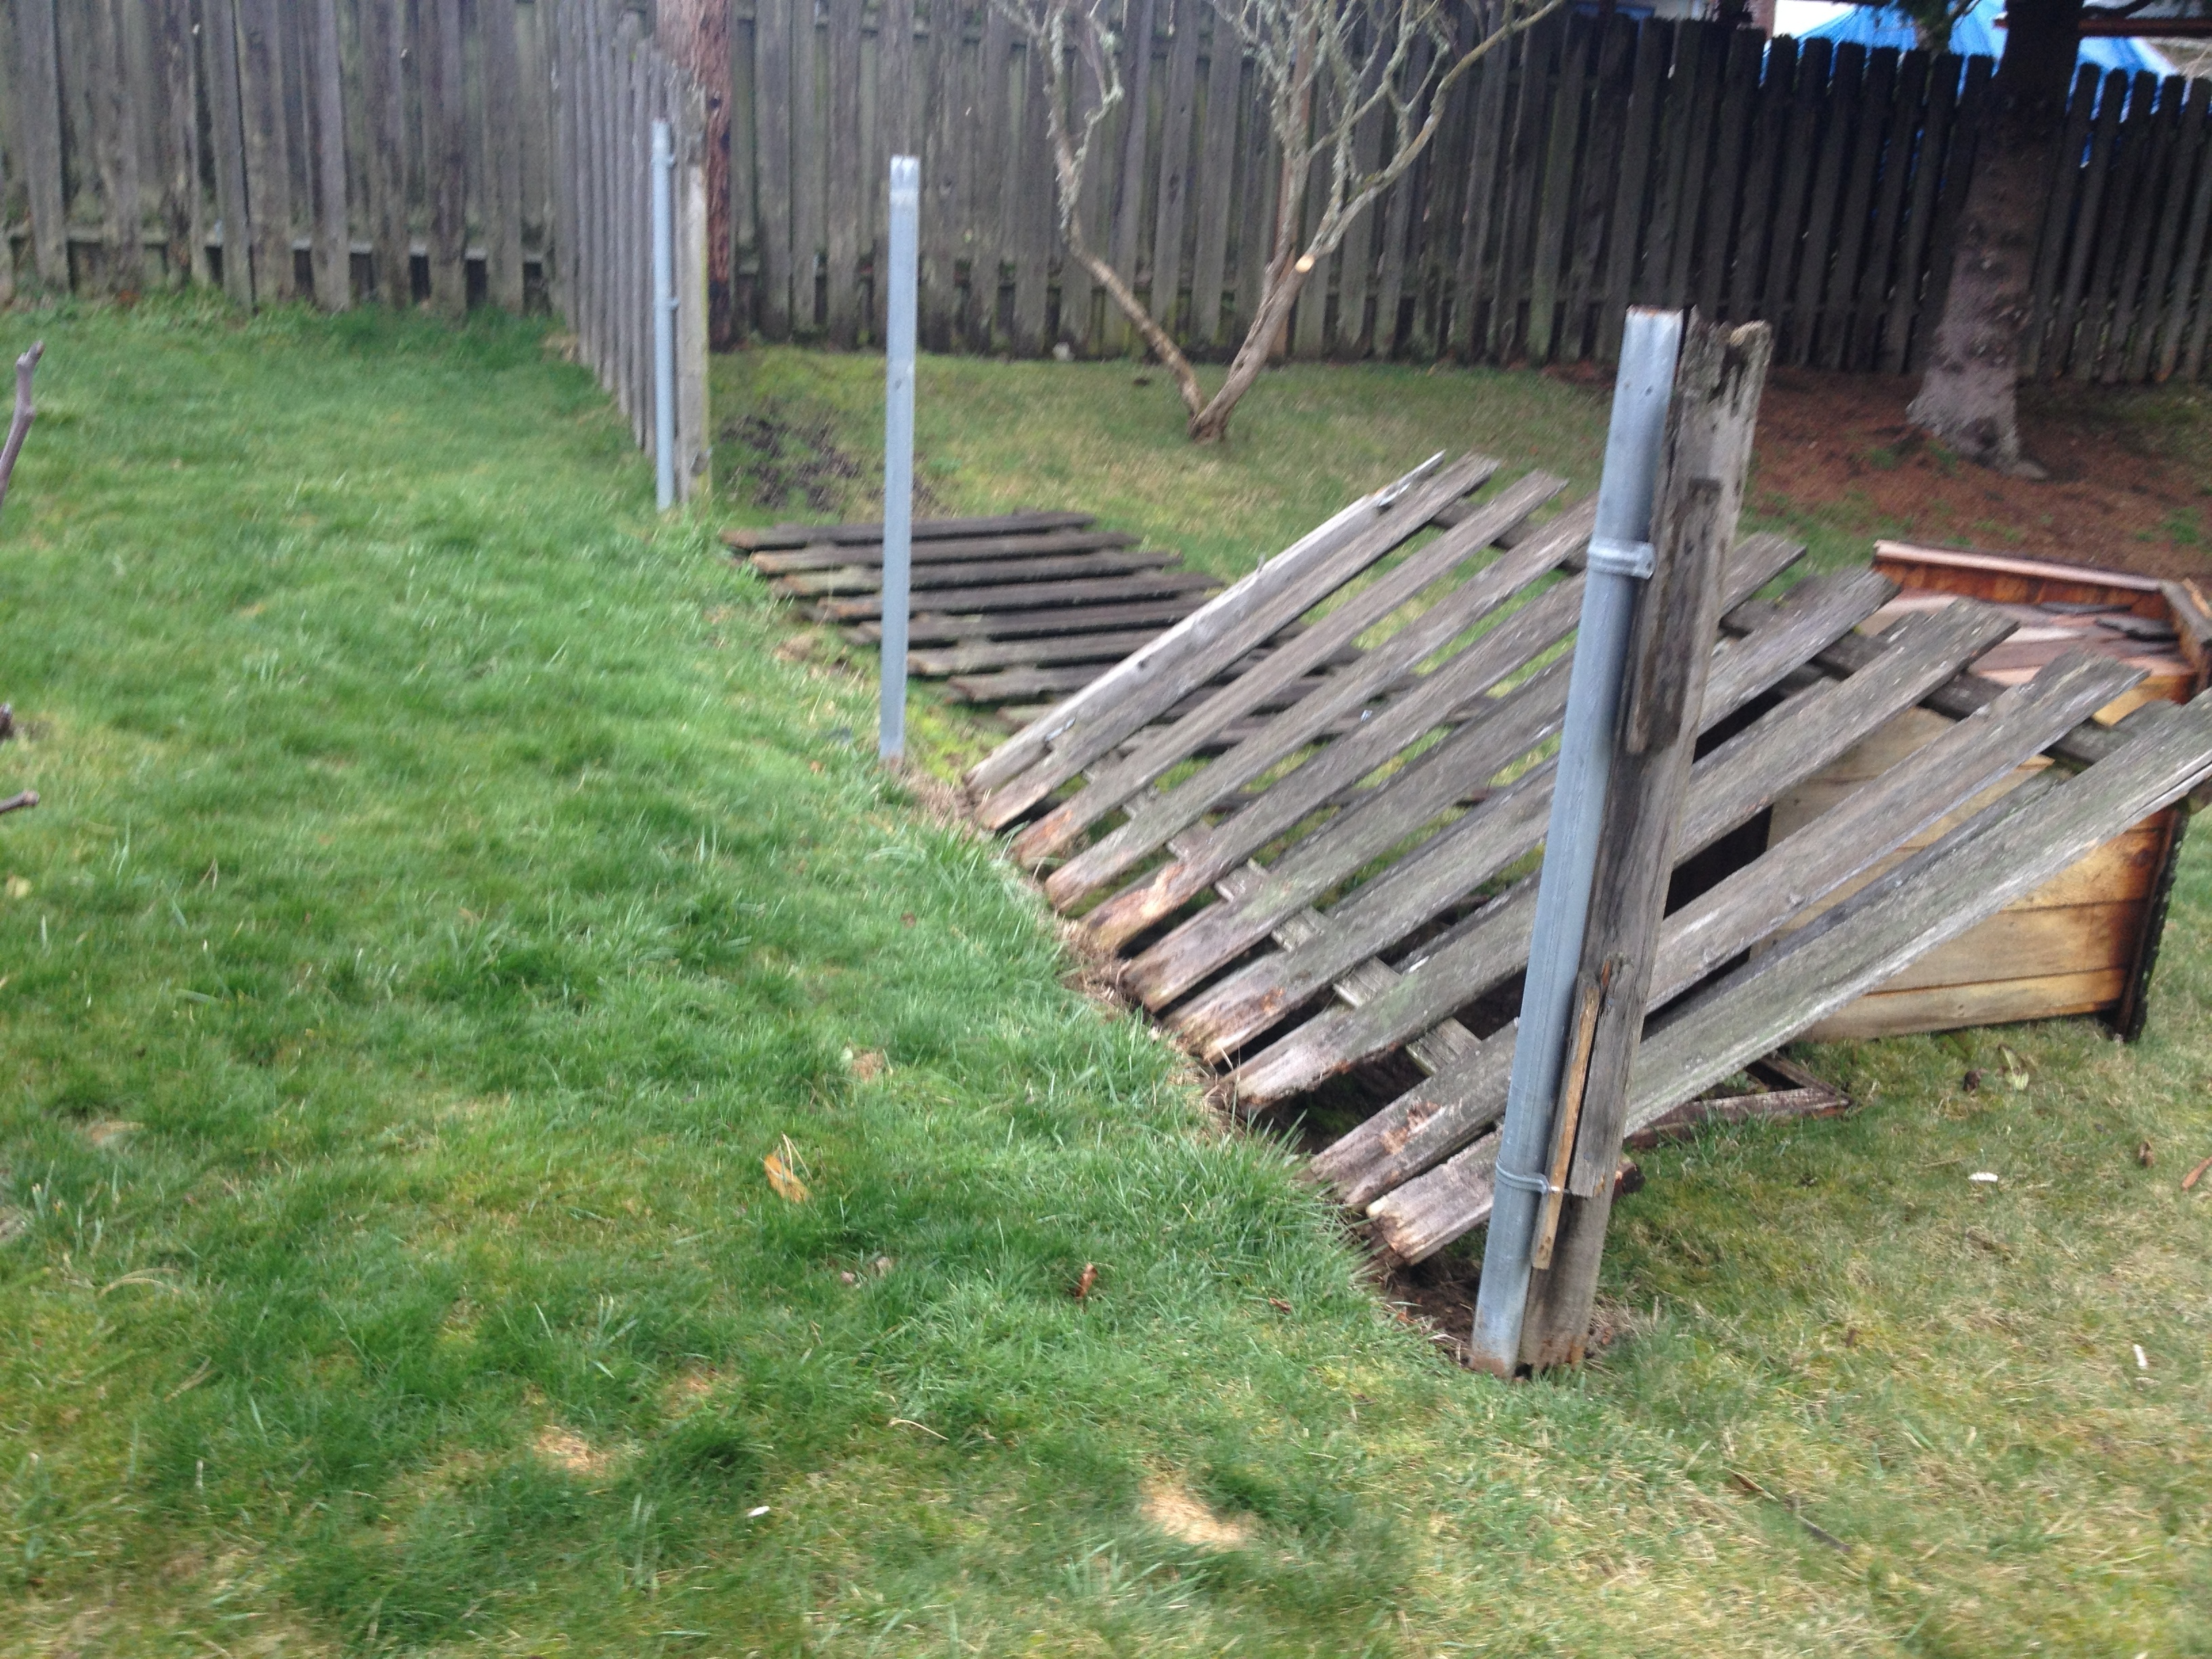
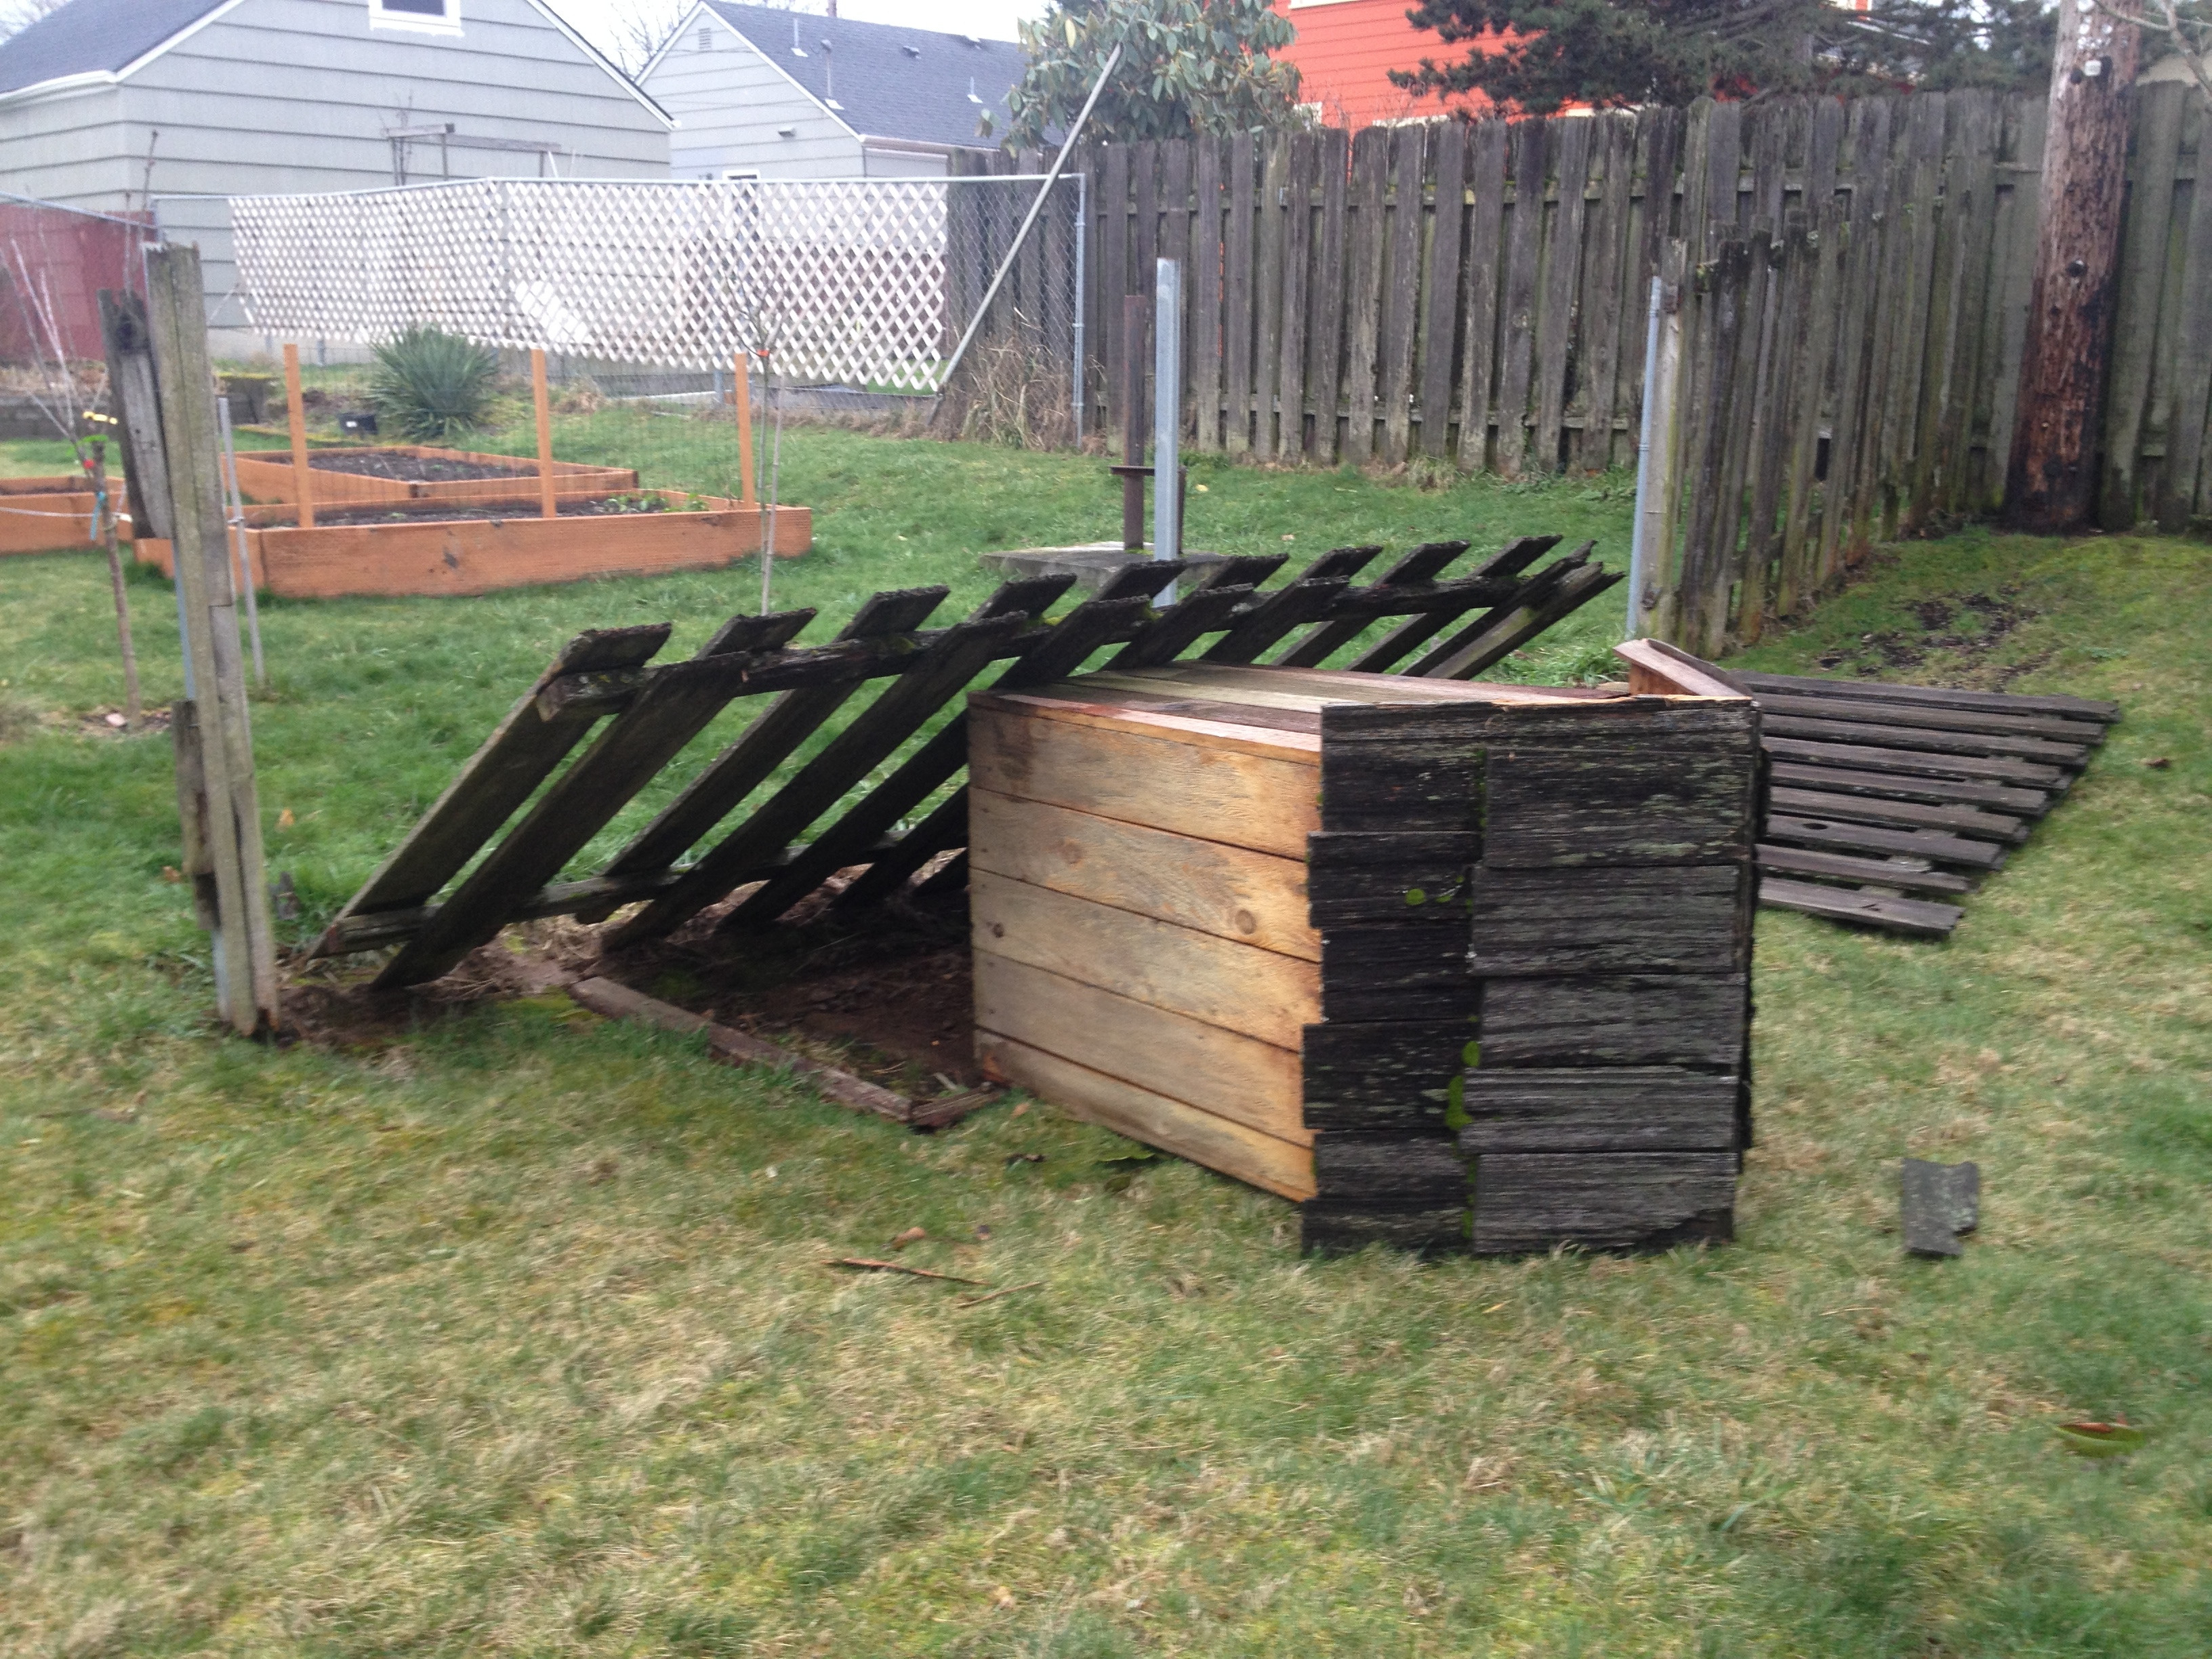
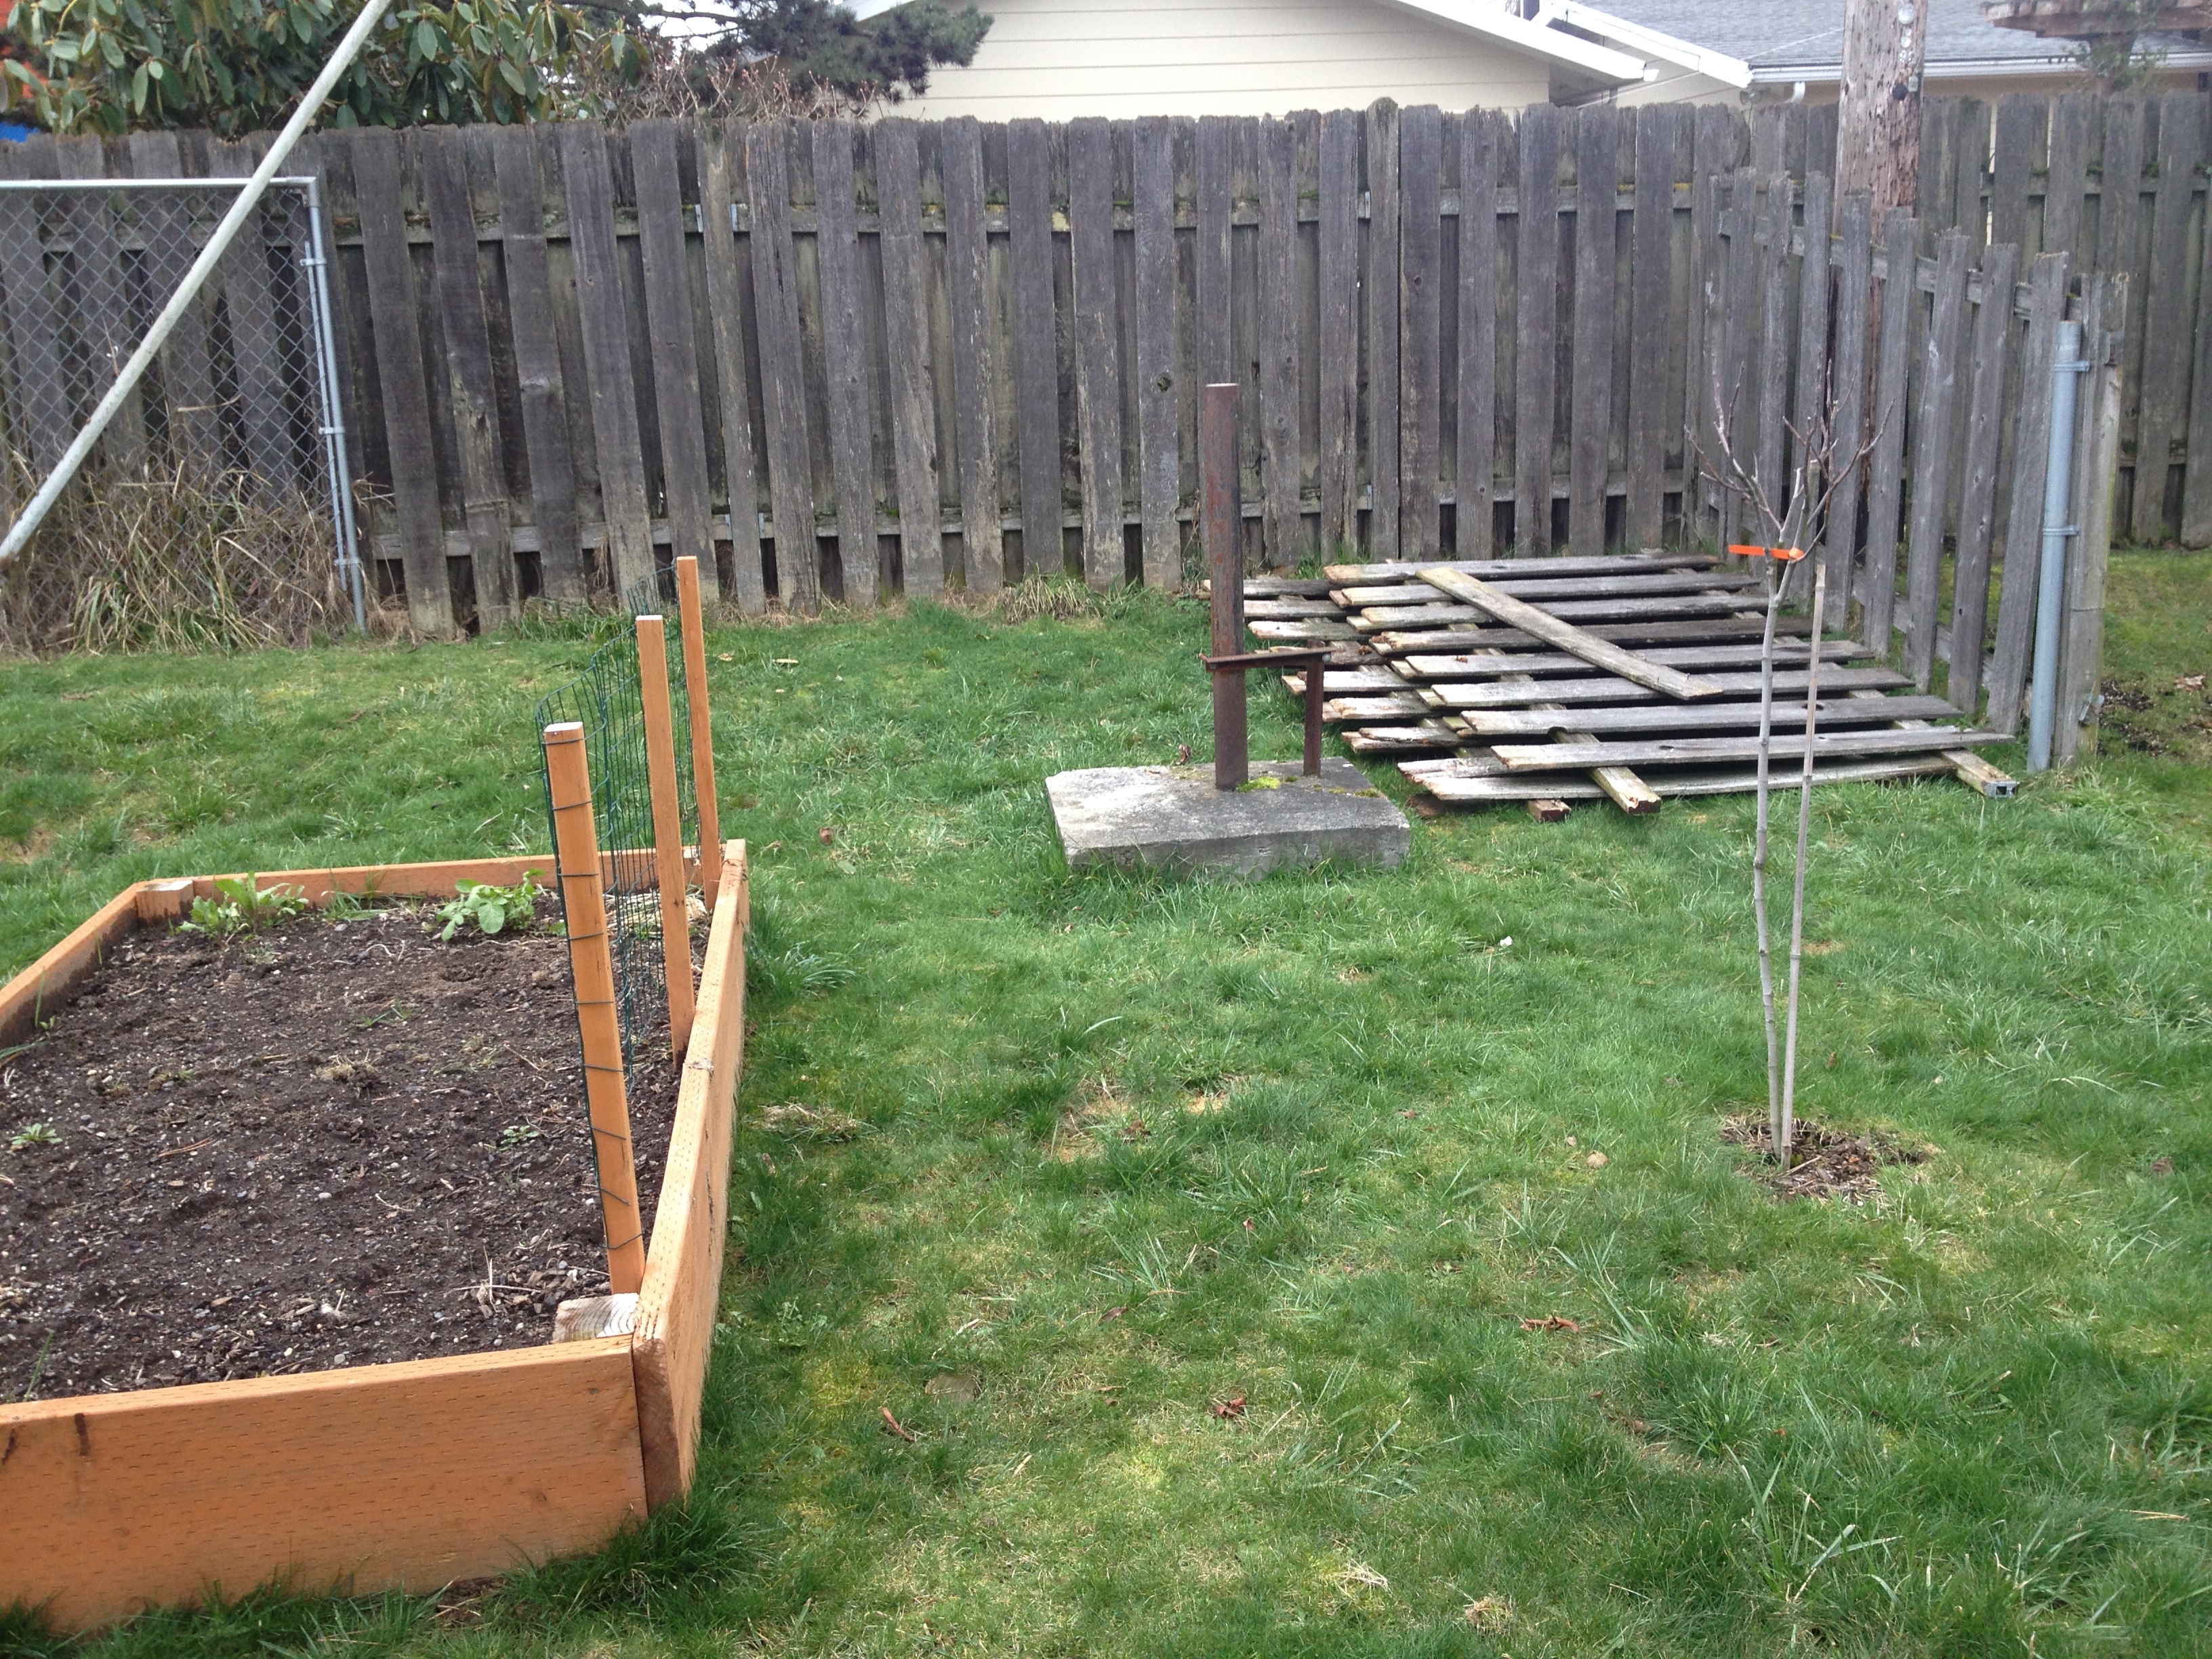
Last spring when the north fence came down, I used the north end of the area to “store” the broken fence panels. Then it became the home of the sod I dug out when creating the new bed and walkway along the back of the house. I have been slowly trying to kill off the grass and stockpile “dirt” to fill it in later. The project has been on the agenda for about 8 months but I was always too busy, or it was too hot, or there were bigger priorities on my gardening calendar. Then this winter, I got serious about it.

outline

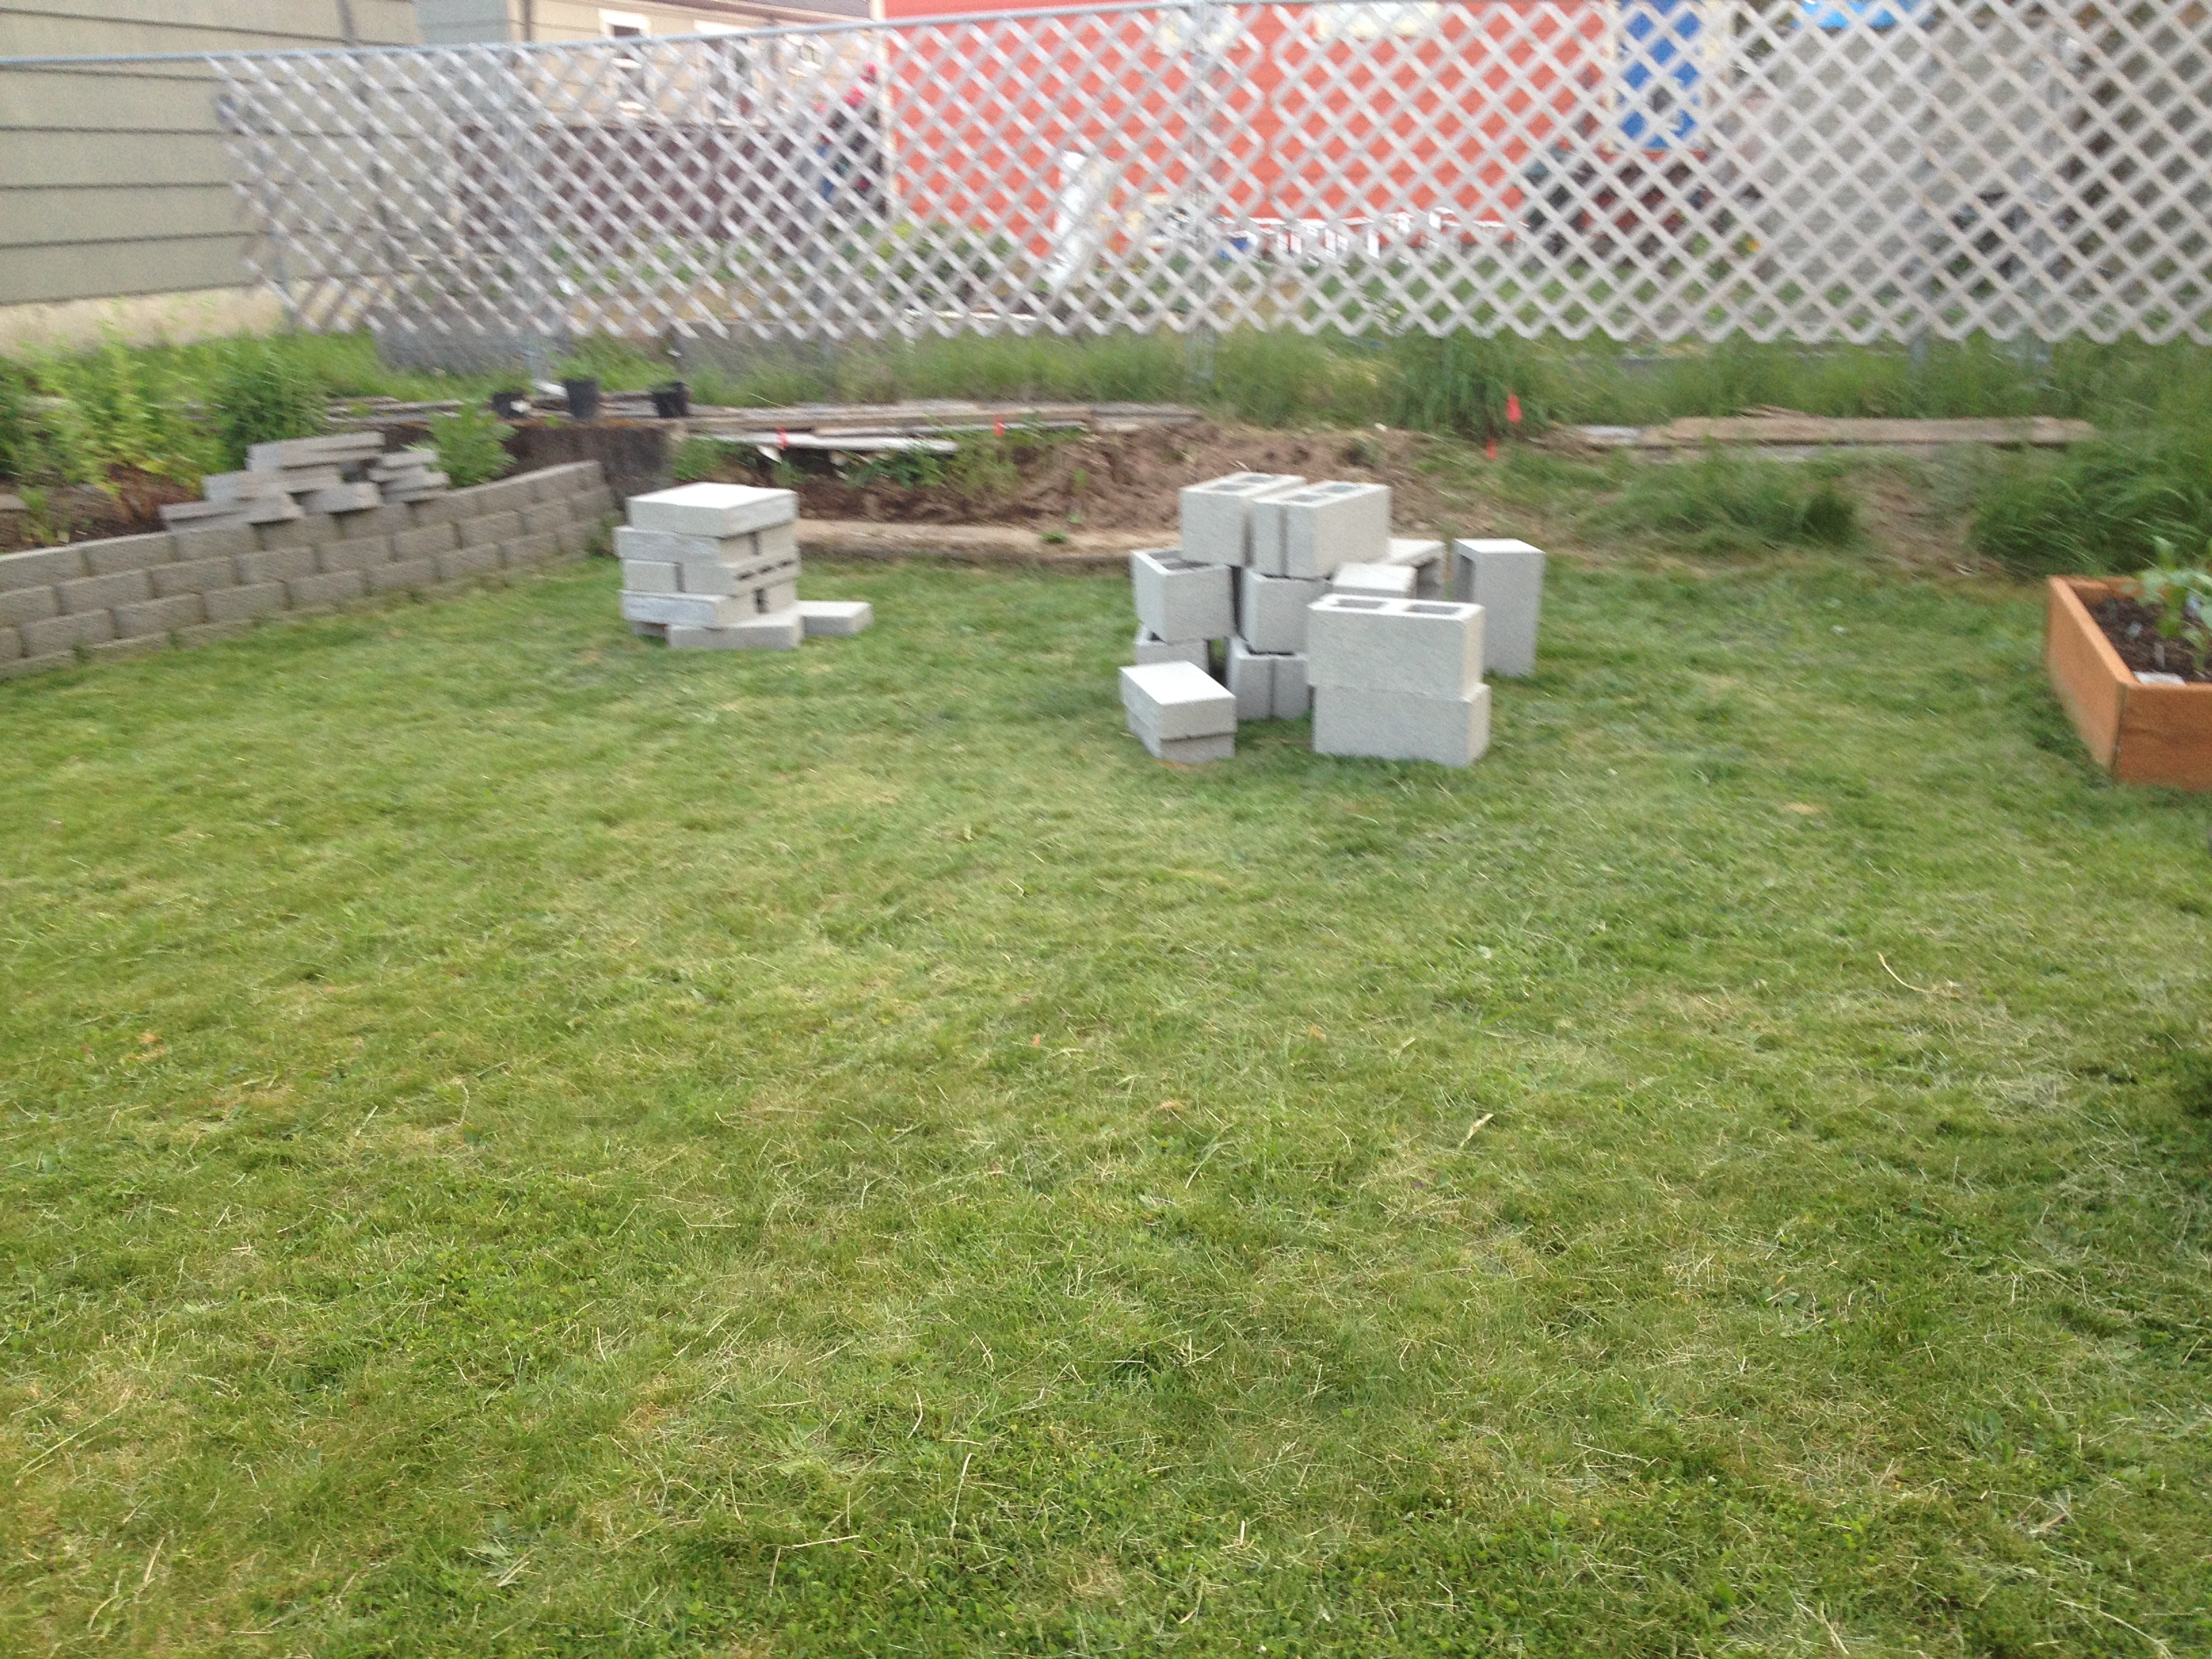
There is a slope along my back fence line that is a total pain in the ass to mow, so I decided to put in a retaining wall and level it out. This is mid-February — blocks laid out just to make sure I don’t suck at math again.

Blocks hung out for a few weeks until I had time in the middle of March. Then with my trusty black truck and diligent wheelbarrow, we got to work.

wall built

Didn’t take any pictures of actually making the wall but I followed the usual basic steps — Dug out trench for blocks, leveled it, filled with 3 inches of paver base, tamped, and set the block. After the first layer was done, I unloaded the wheelbarrow straight on to the wall. It went pretty fast. Only had to stop a few times to cut end blocks. 130 blocks total.

waiting for dirt

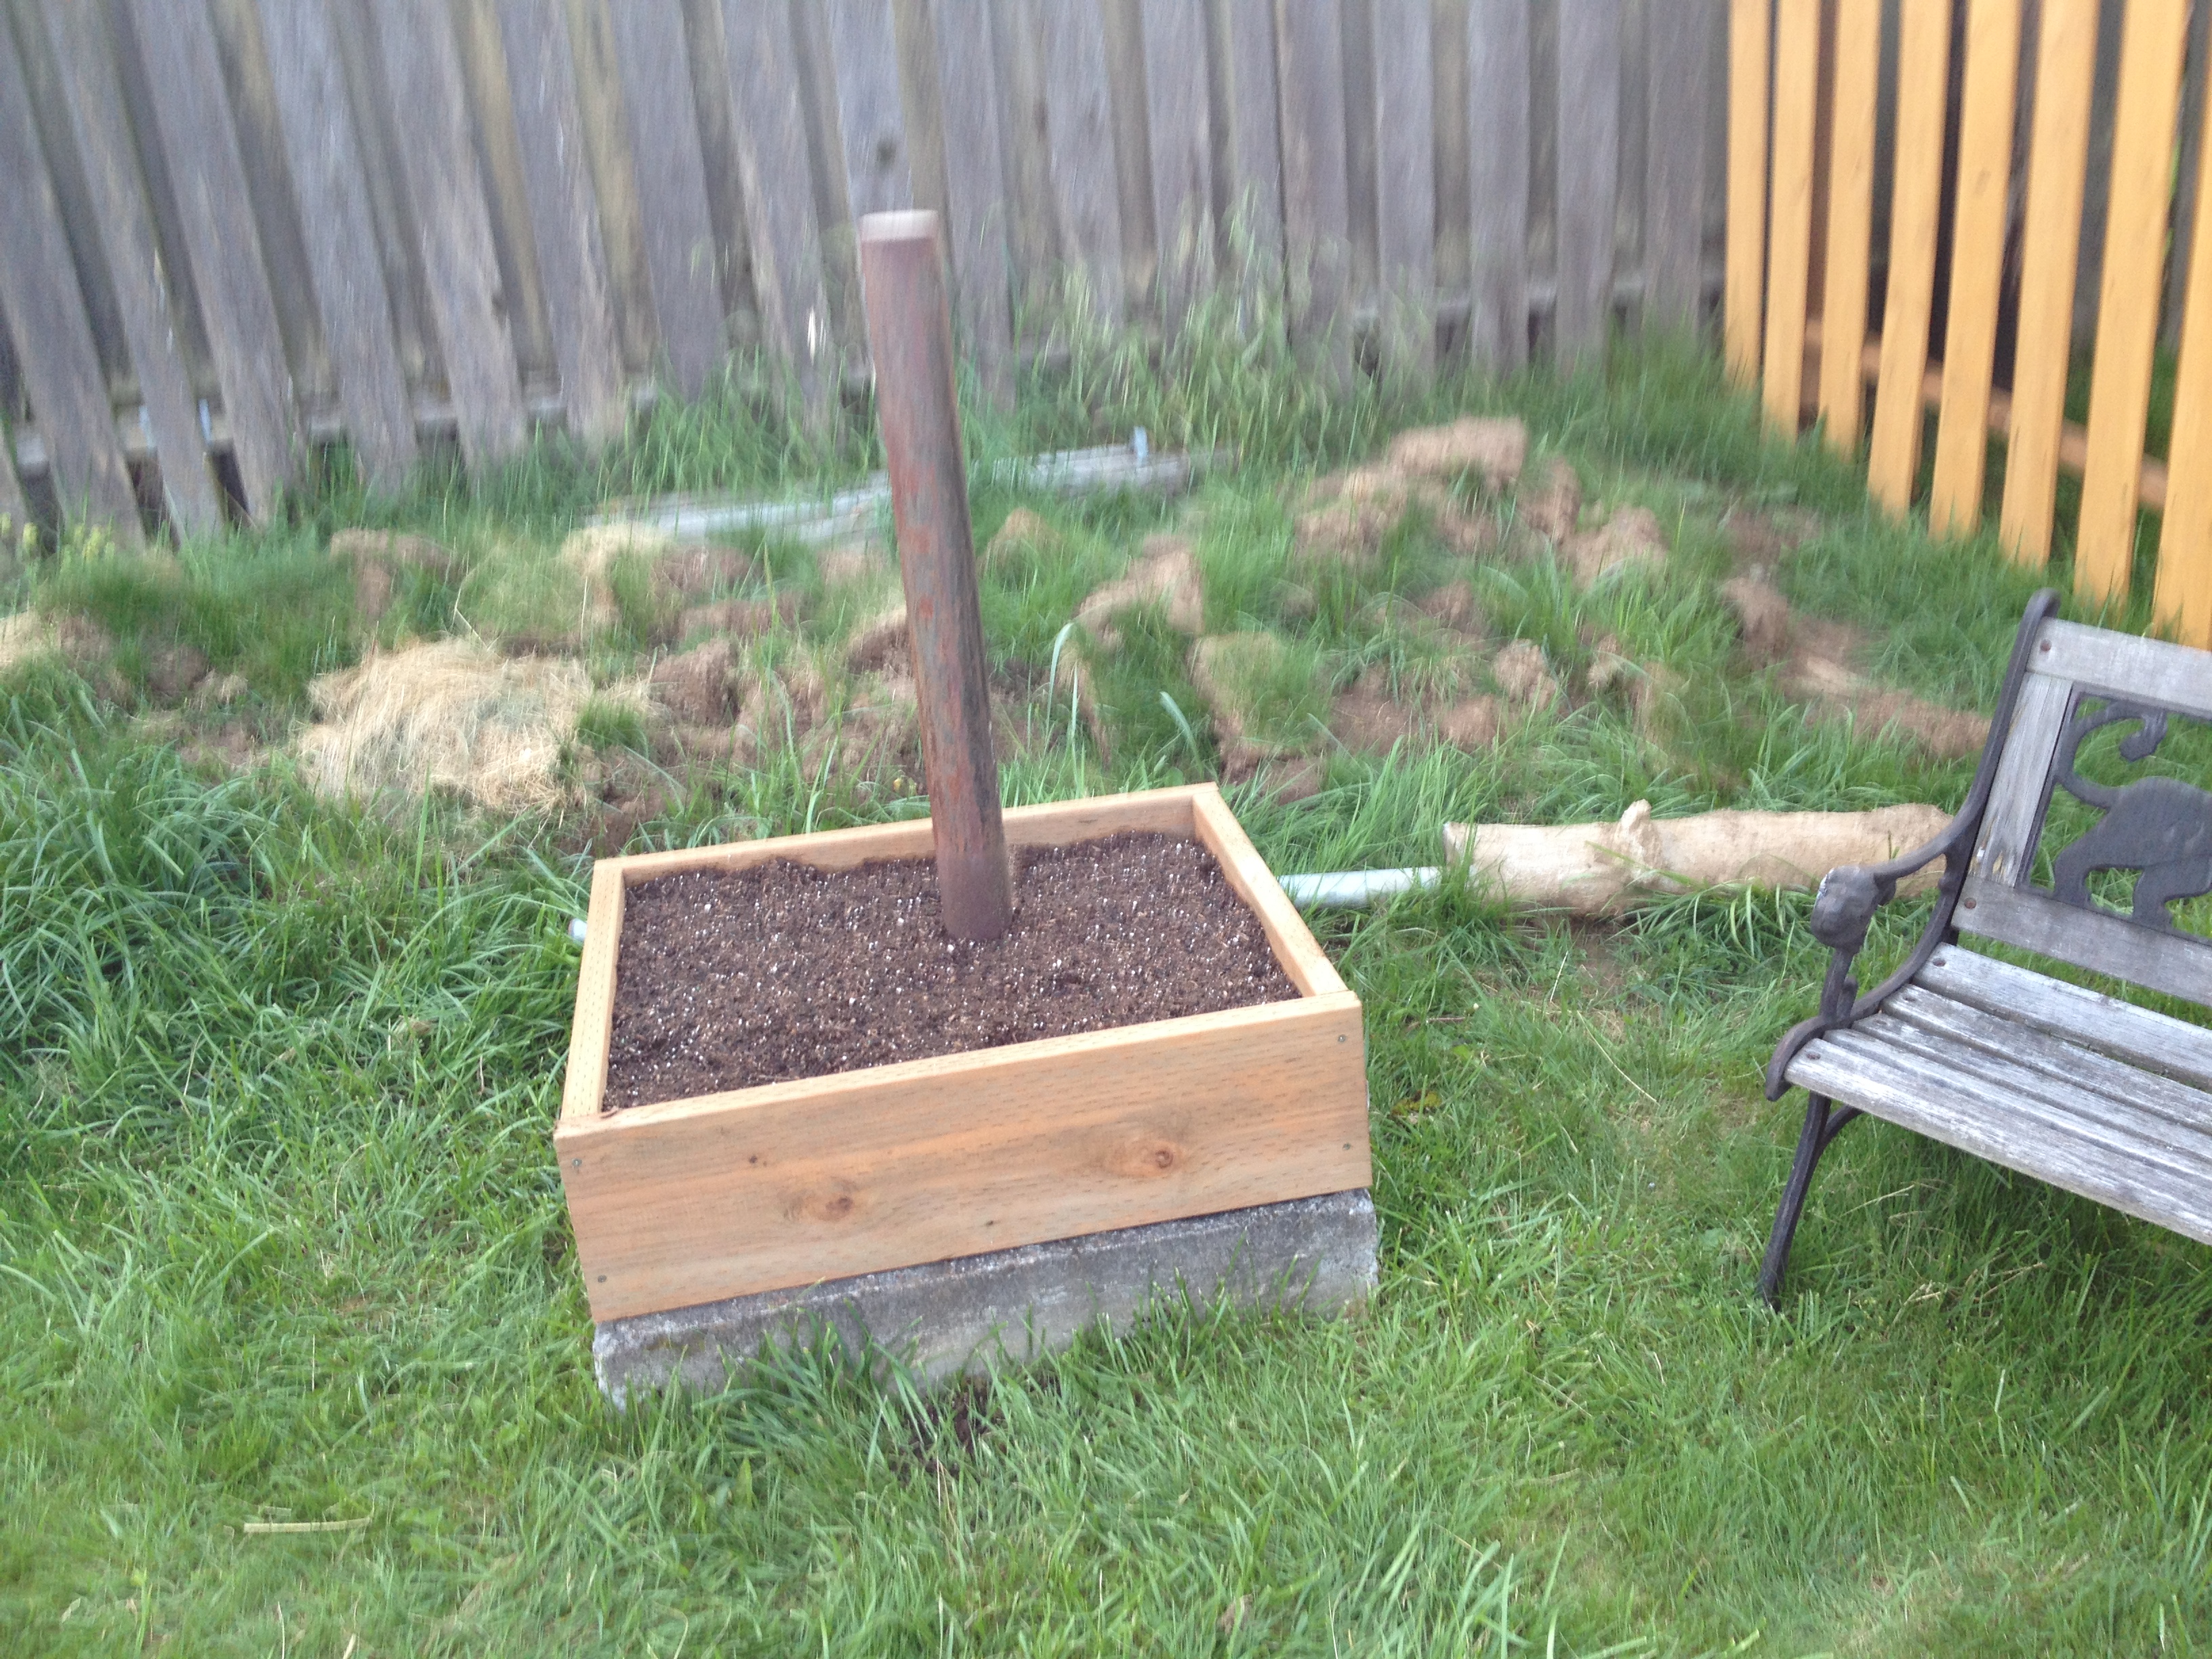
I leveled it out sod and other random dirt the best I could and then laid newspaper on top of it, then held the paper down with old fence boards. The wood planter box here is built on top of an old satellite dish base that I couldn’t find anyone to rip out for less than $400, so it became a planter. Cucumbers did great there last year.

Lily supervises

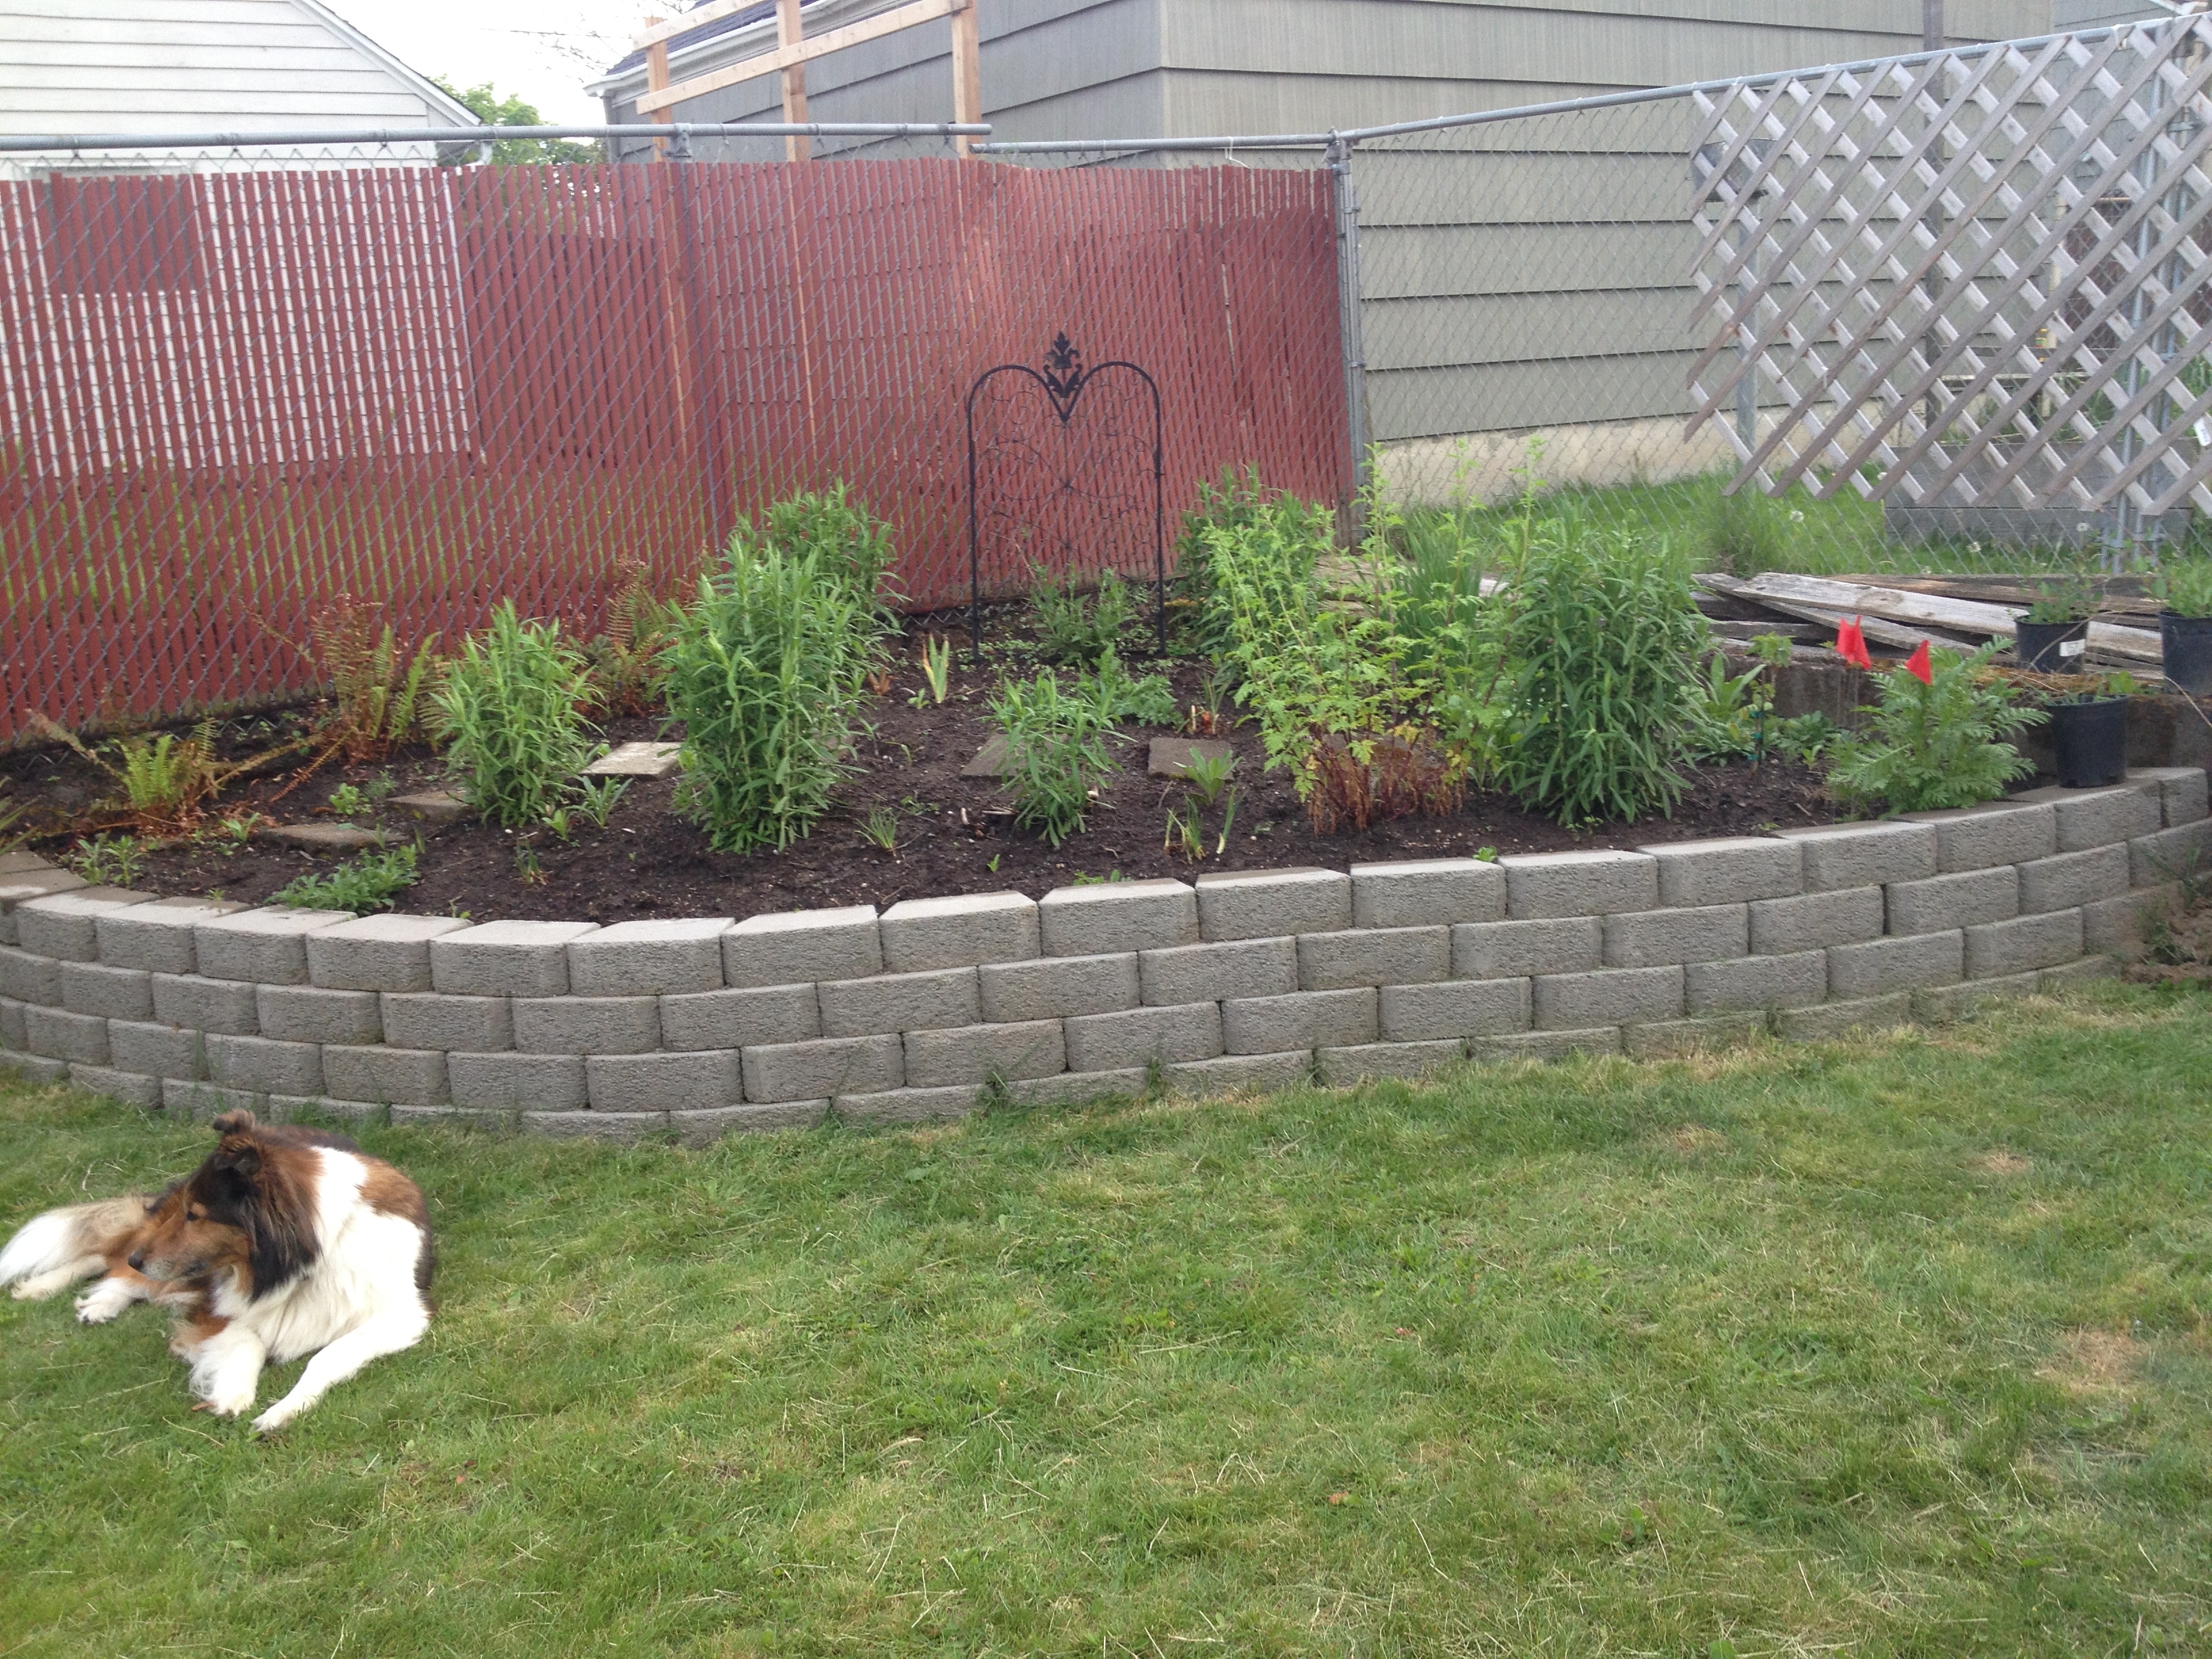
Lily Dog is an excellent supervisor!

Now I had to wait a few weeks for my April vacation to get some dirt delivered. In the meantime, I was hoping the grass and weeds would die back under the newspaper.

big-ass pile of dirt

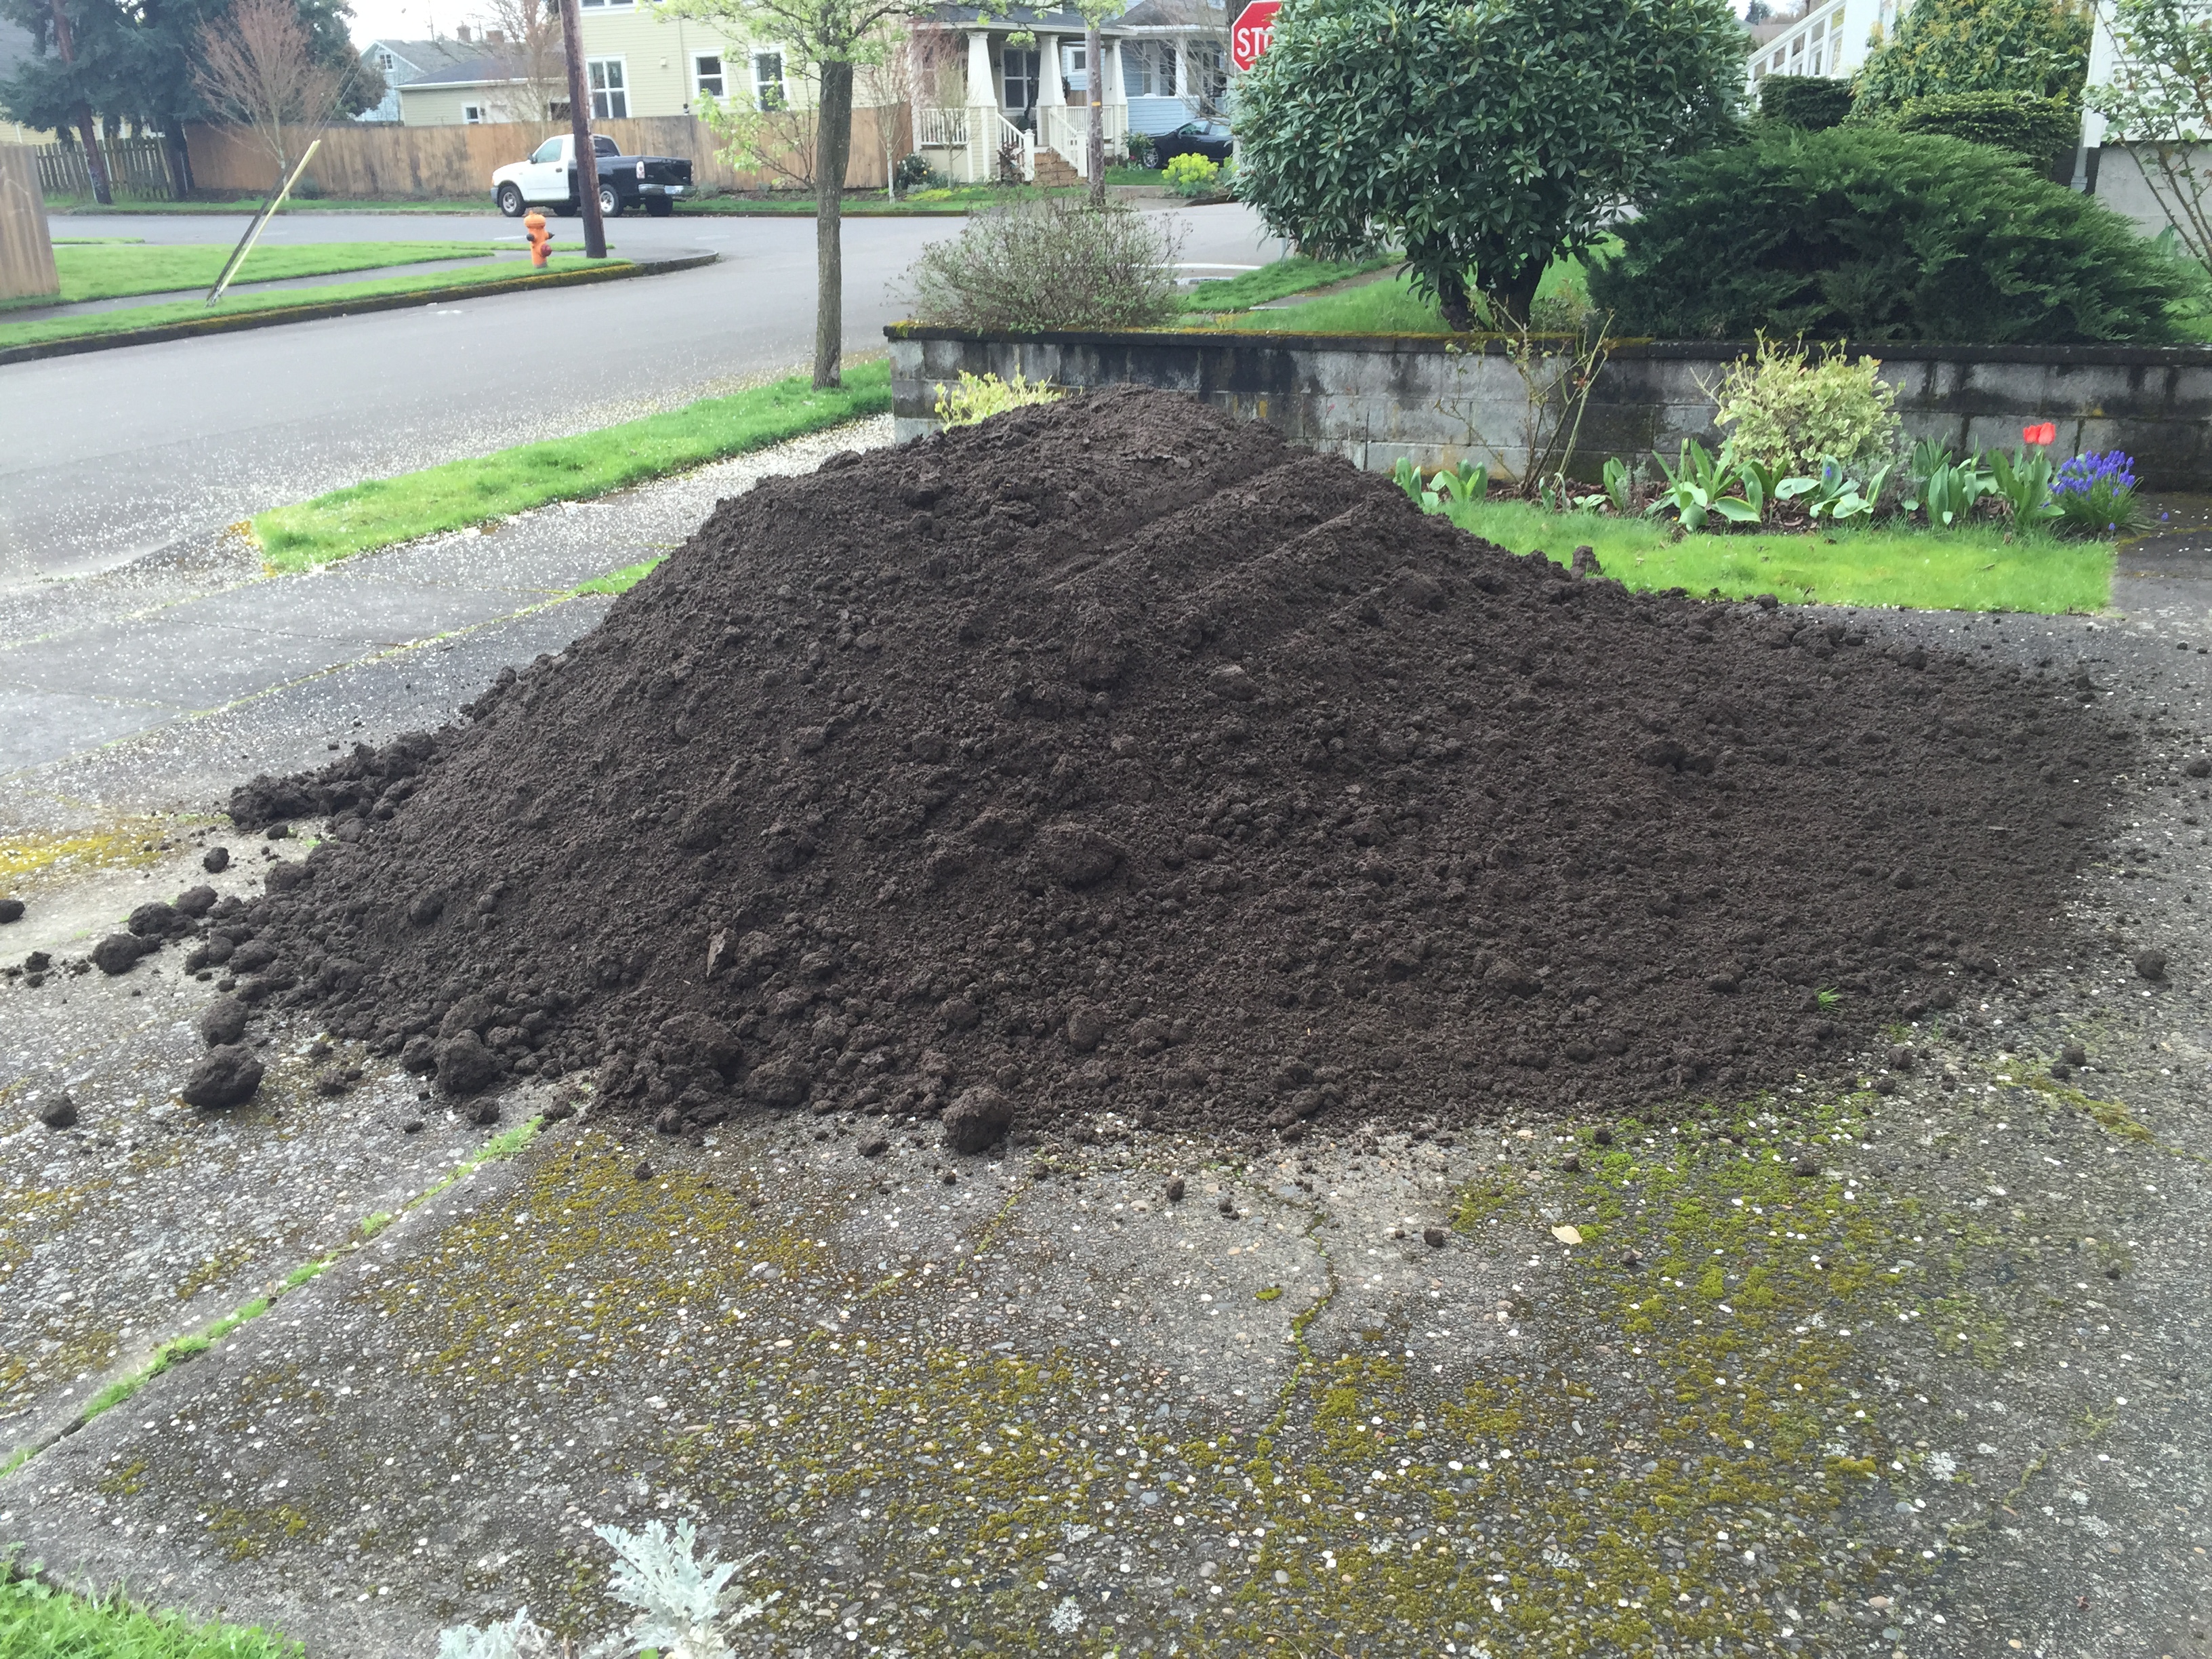
A big-ass pile of dirt — 4 yards of 4-way garden mix.

Took a solid 3 days to move and pretty much broke my body.

dirt moved

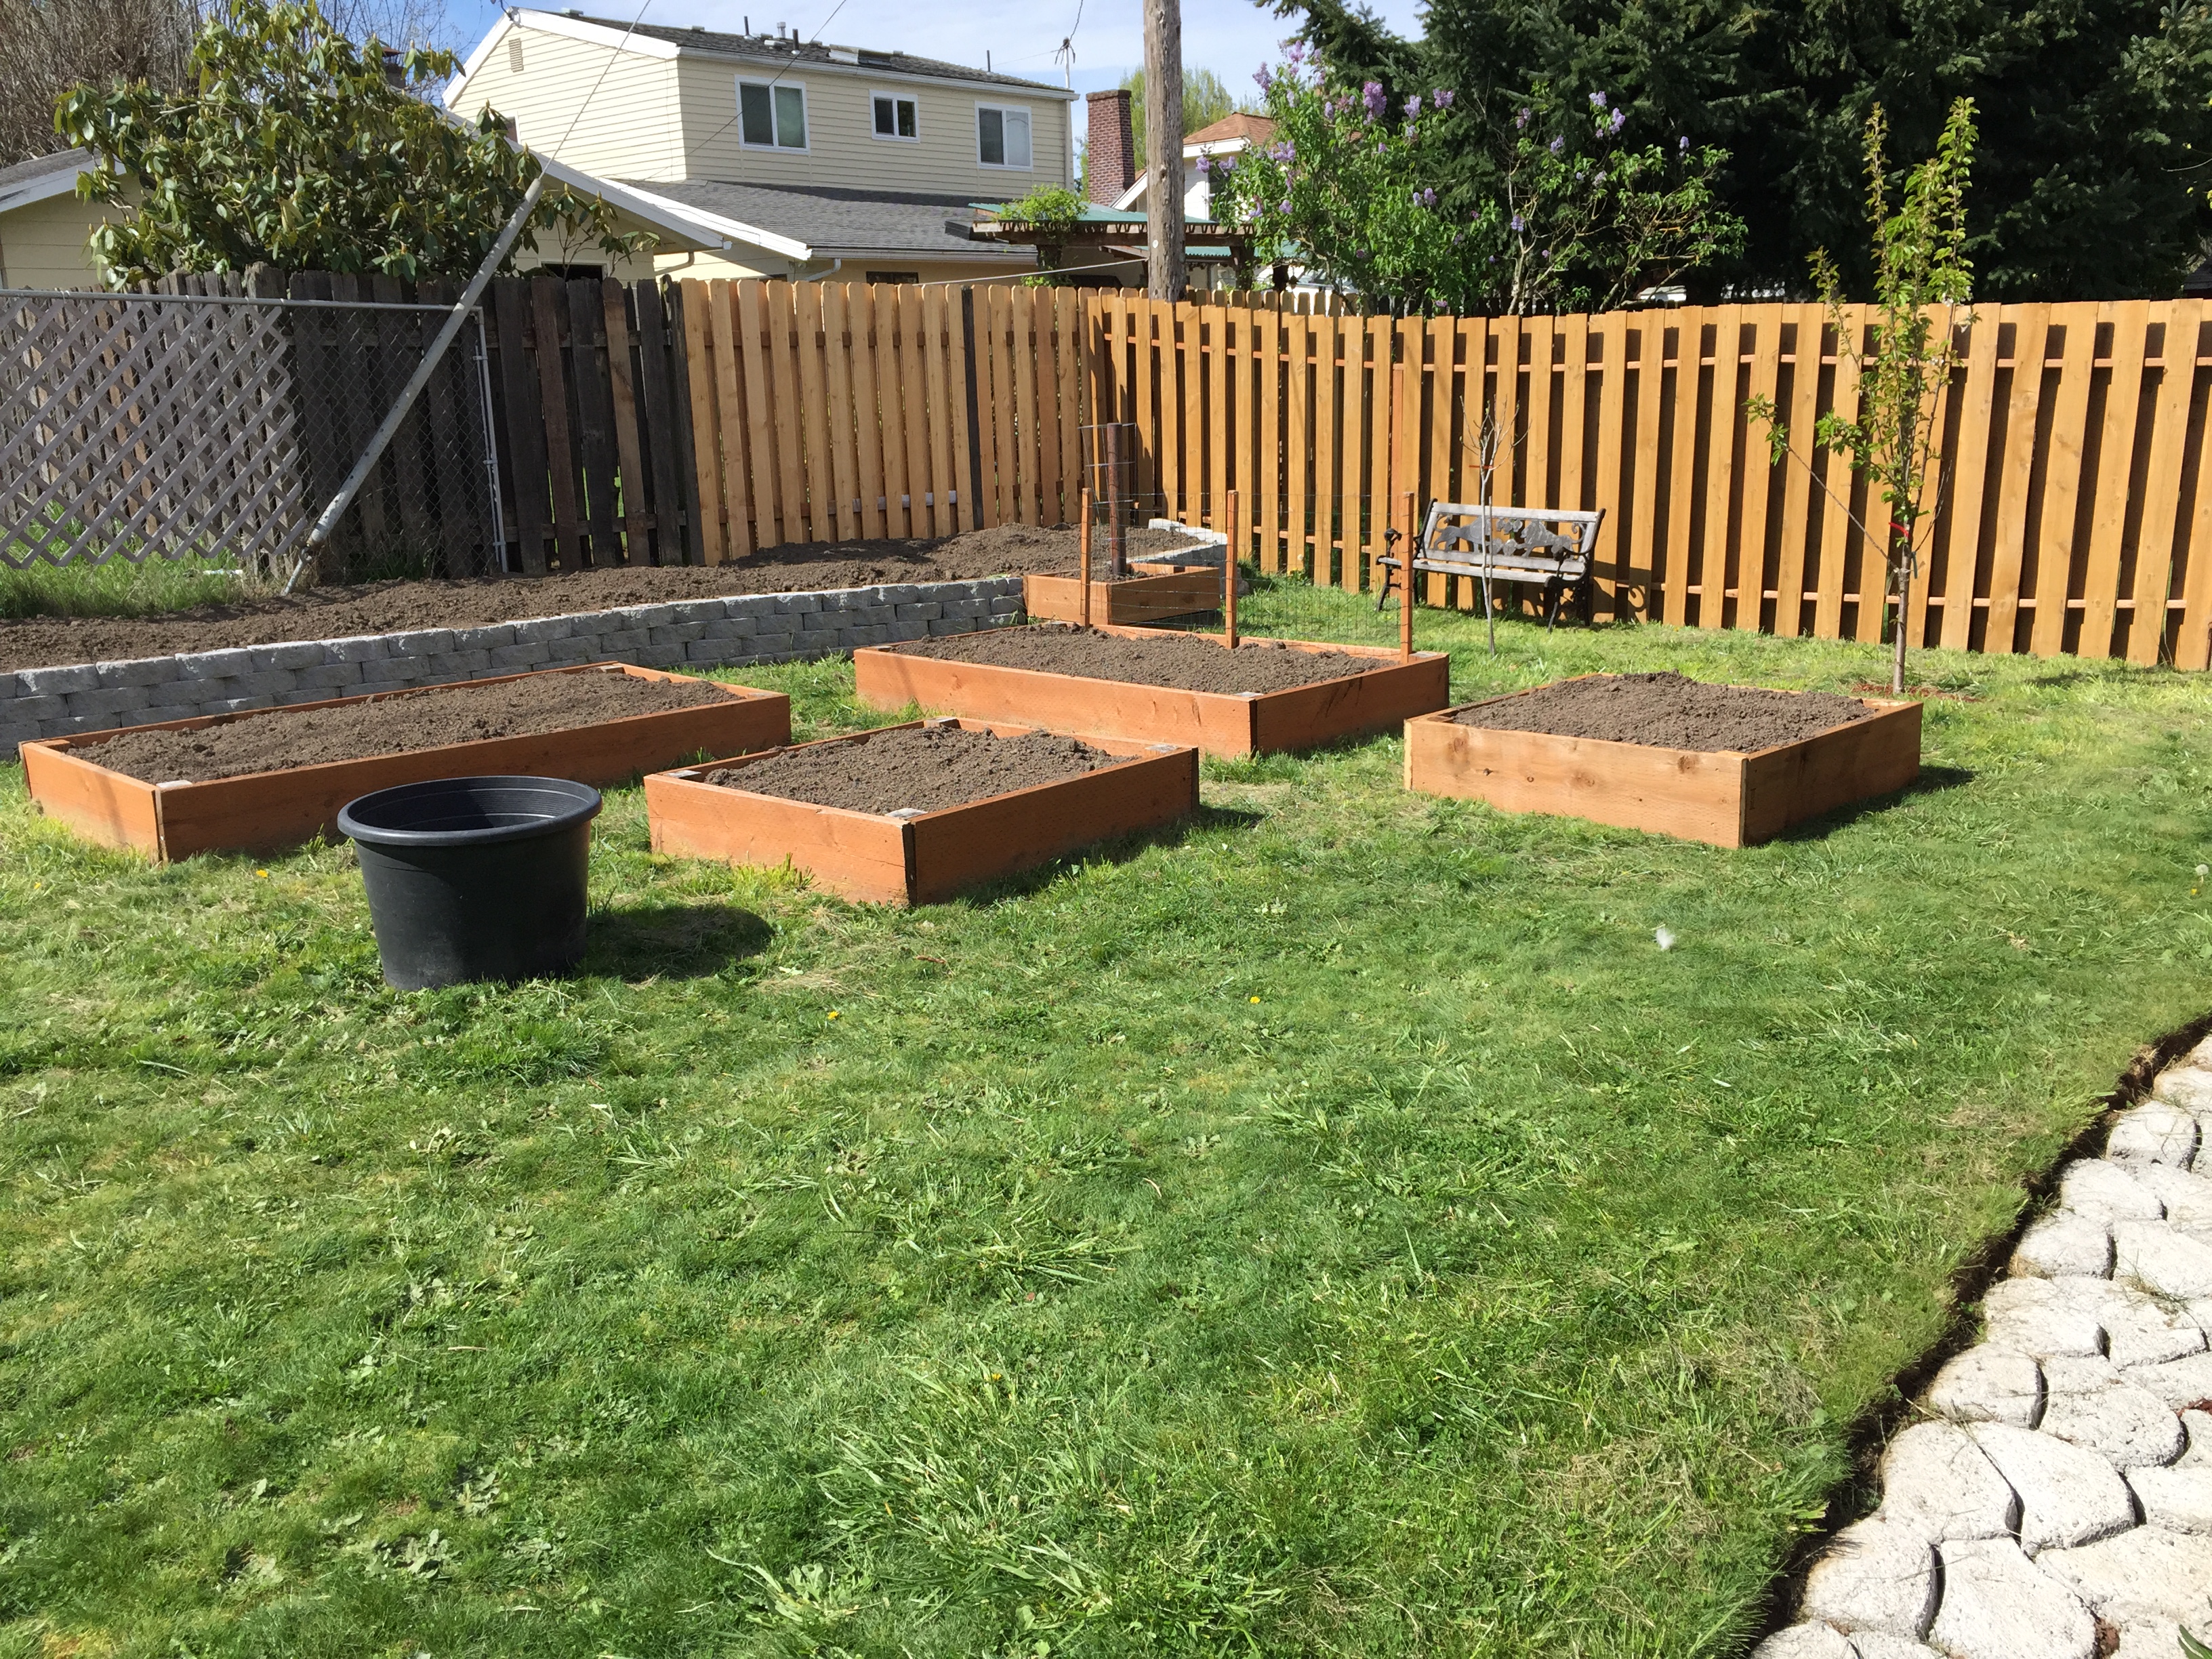
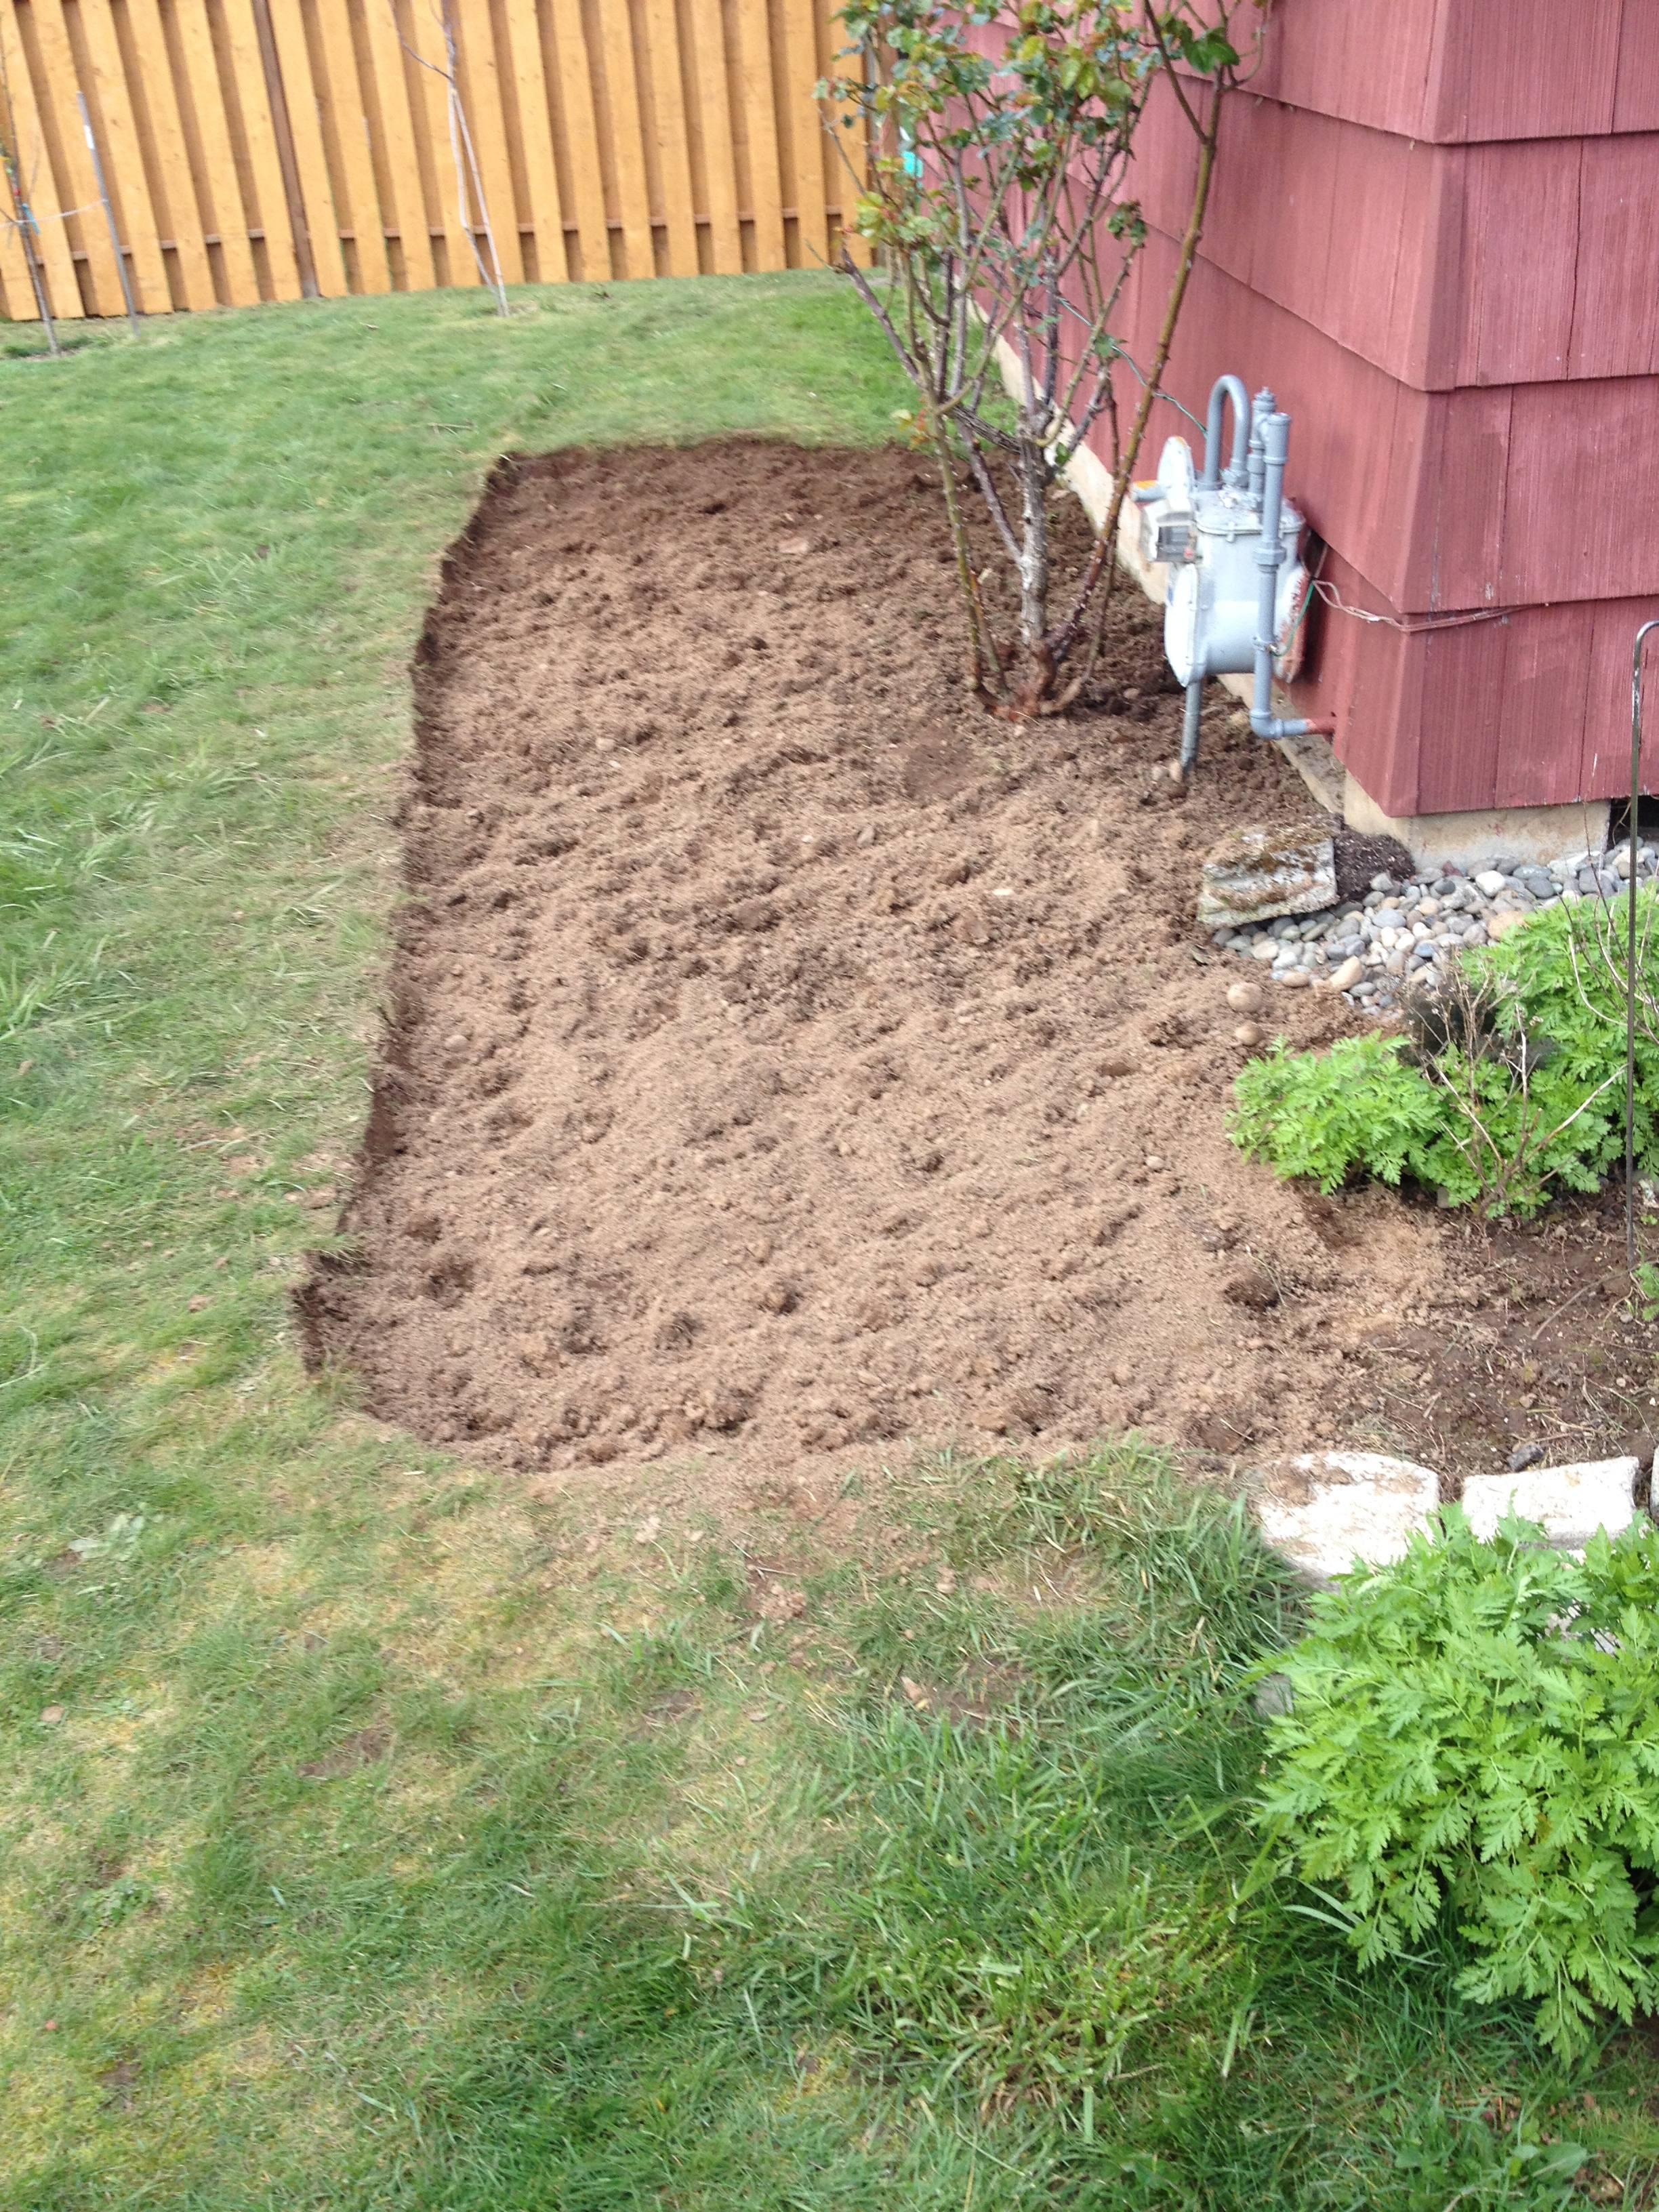
Retaining wall bed and new 4×4 planter filled. Also topped off my existing beds. Still had way too much dirt, so there is huge pile of it on the other side of the yard. Figured having too much good dirt is not a bad thing.

bed planted

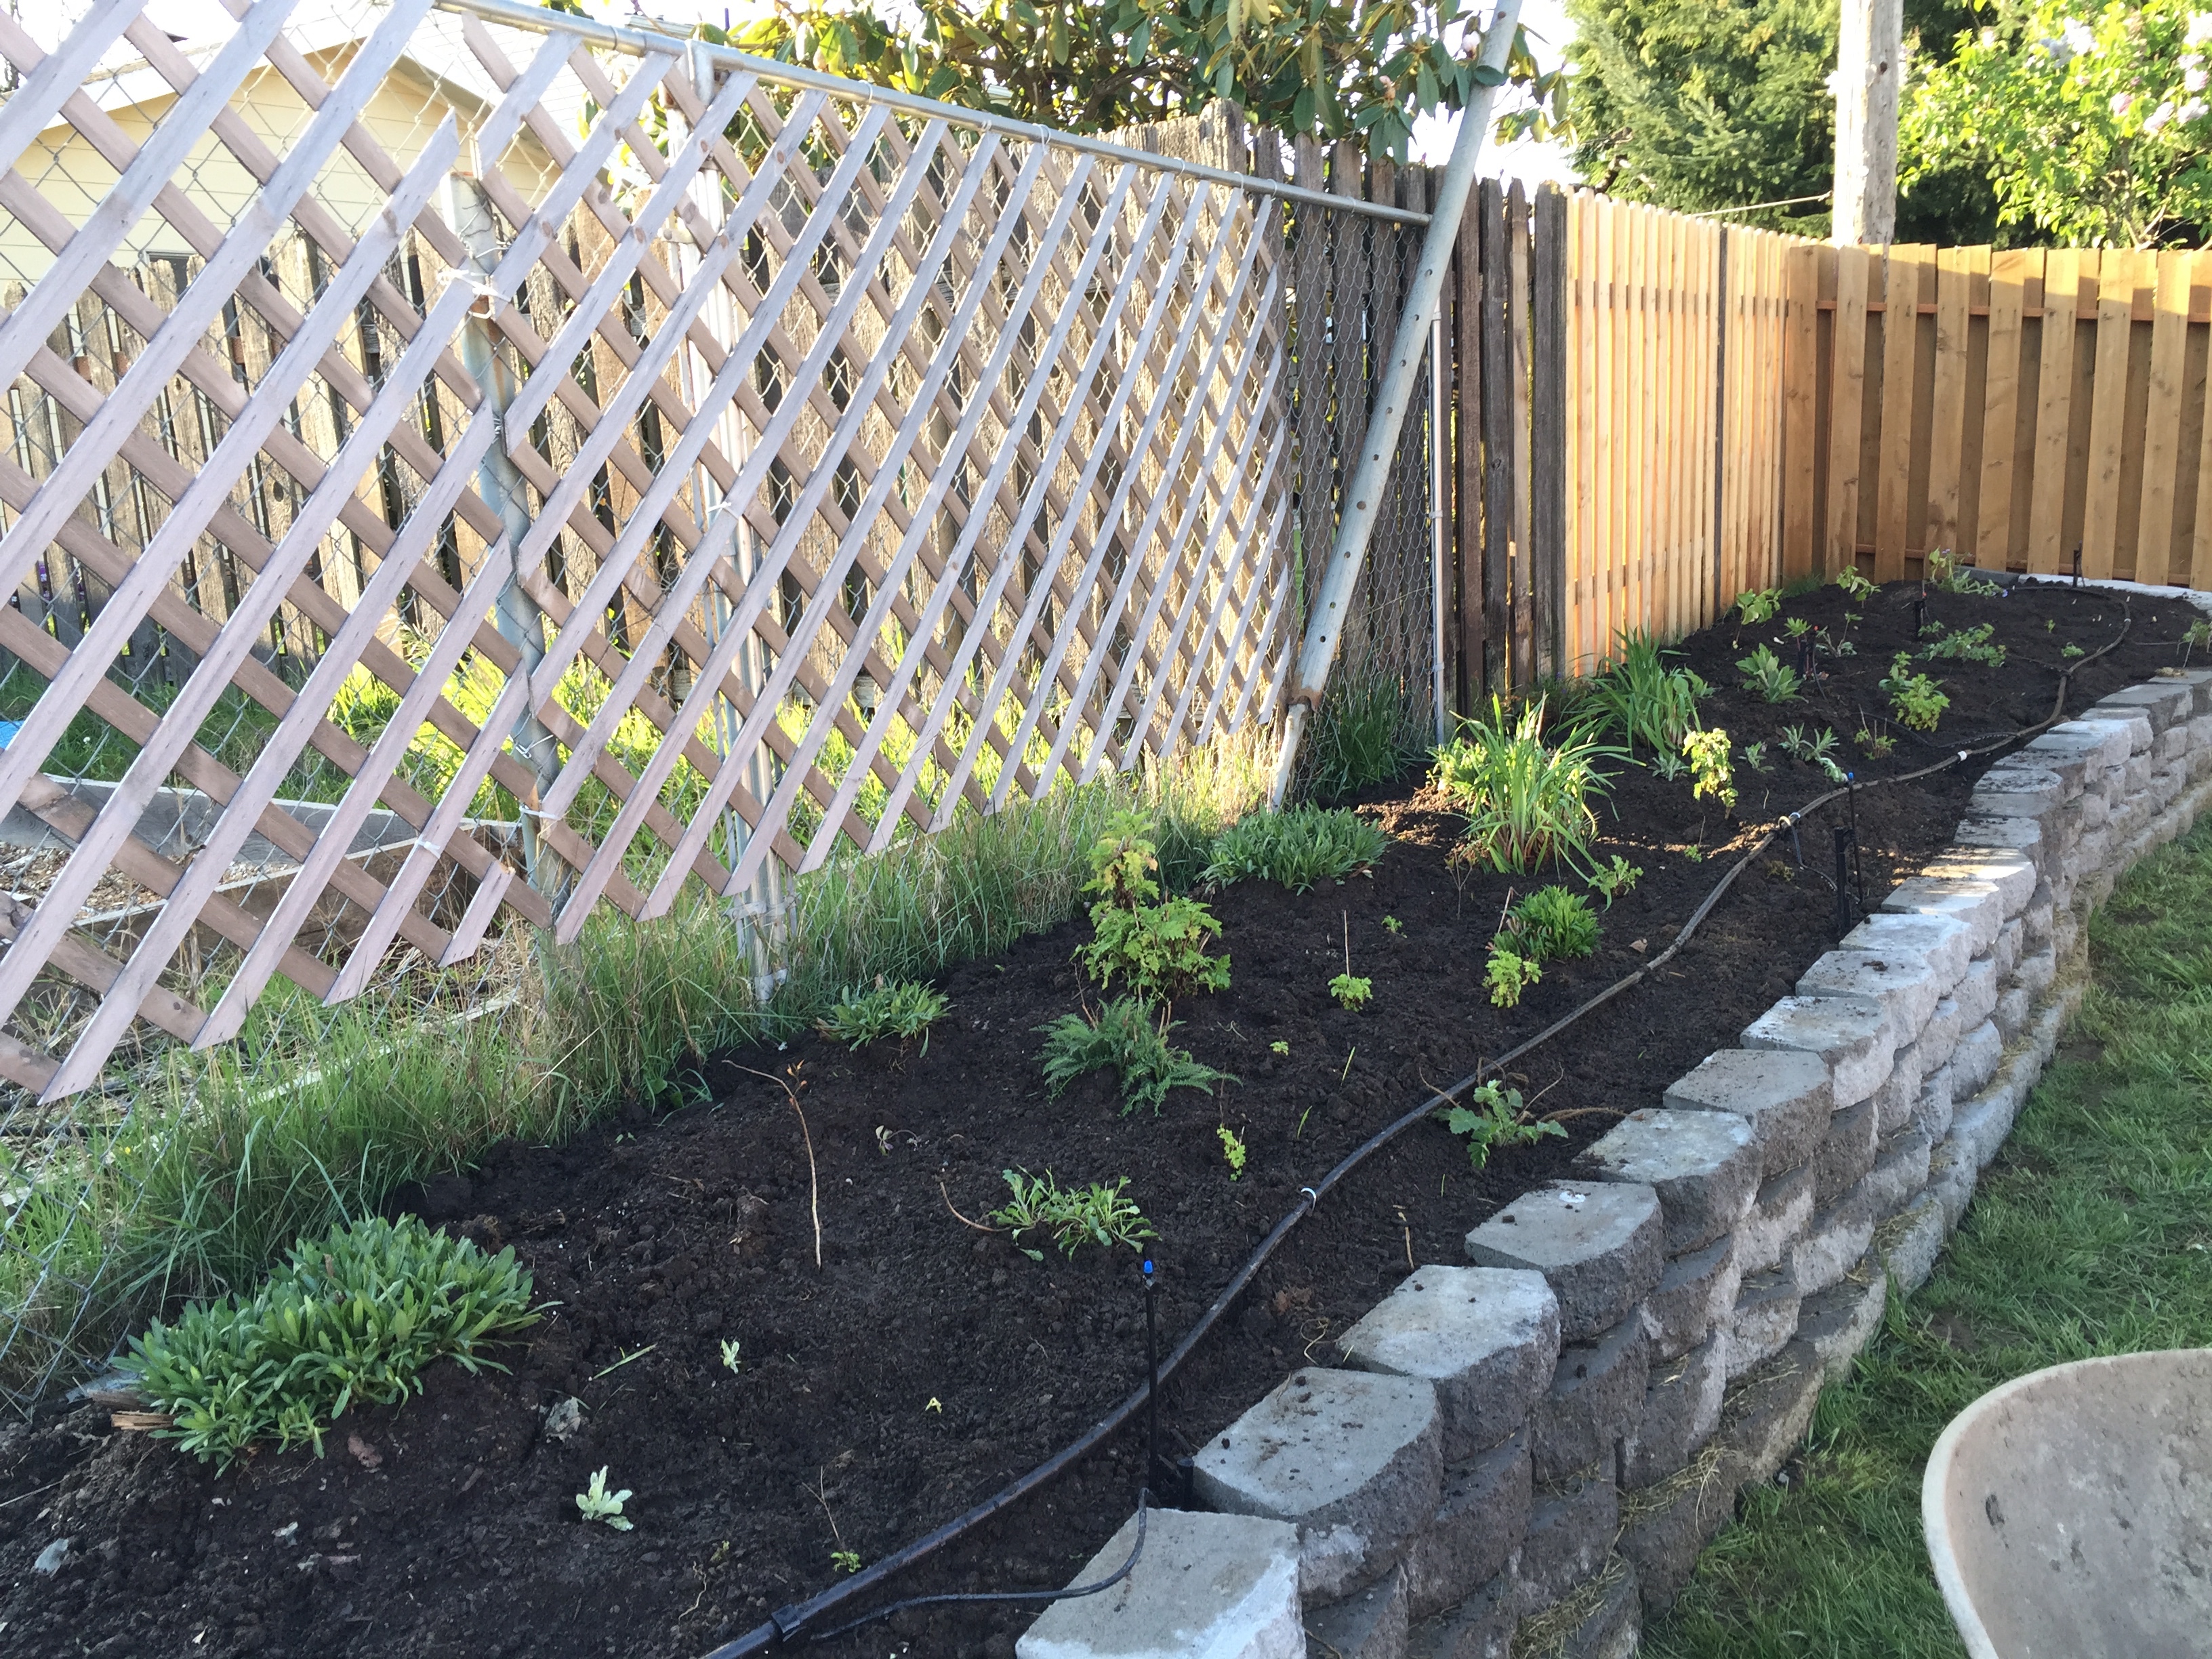
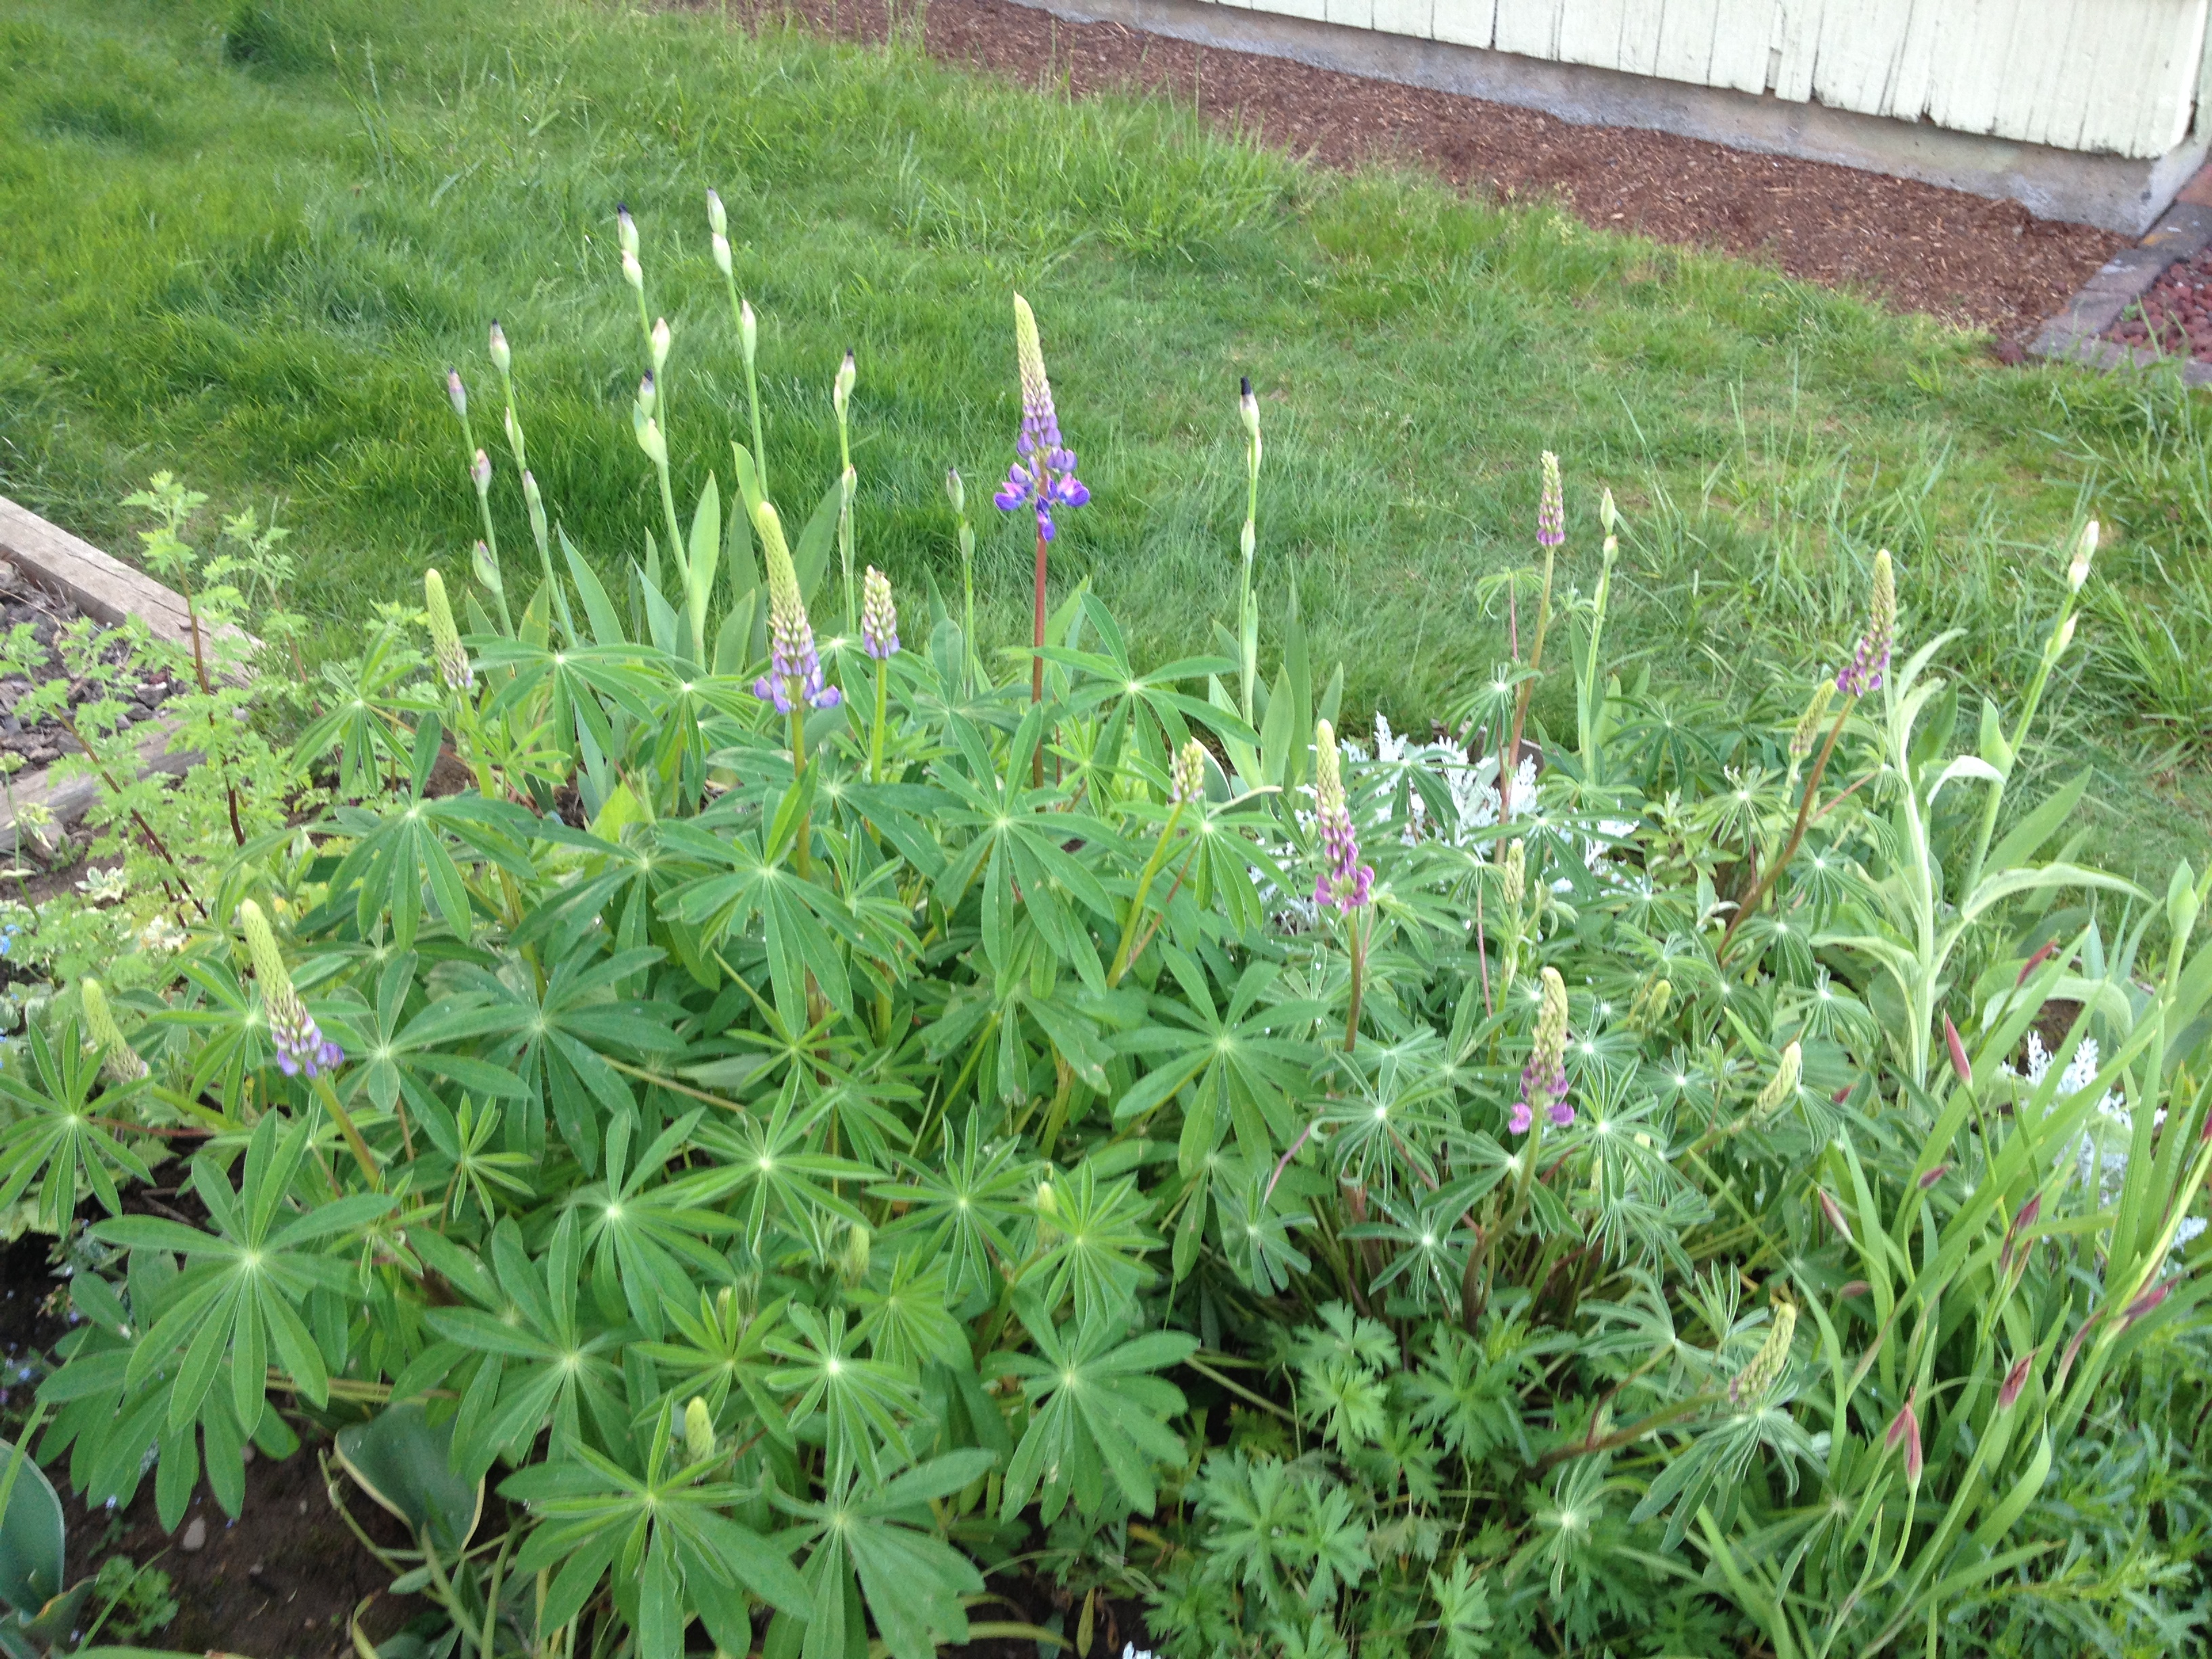
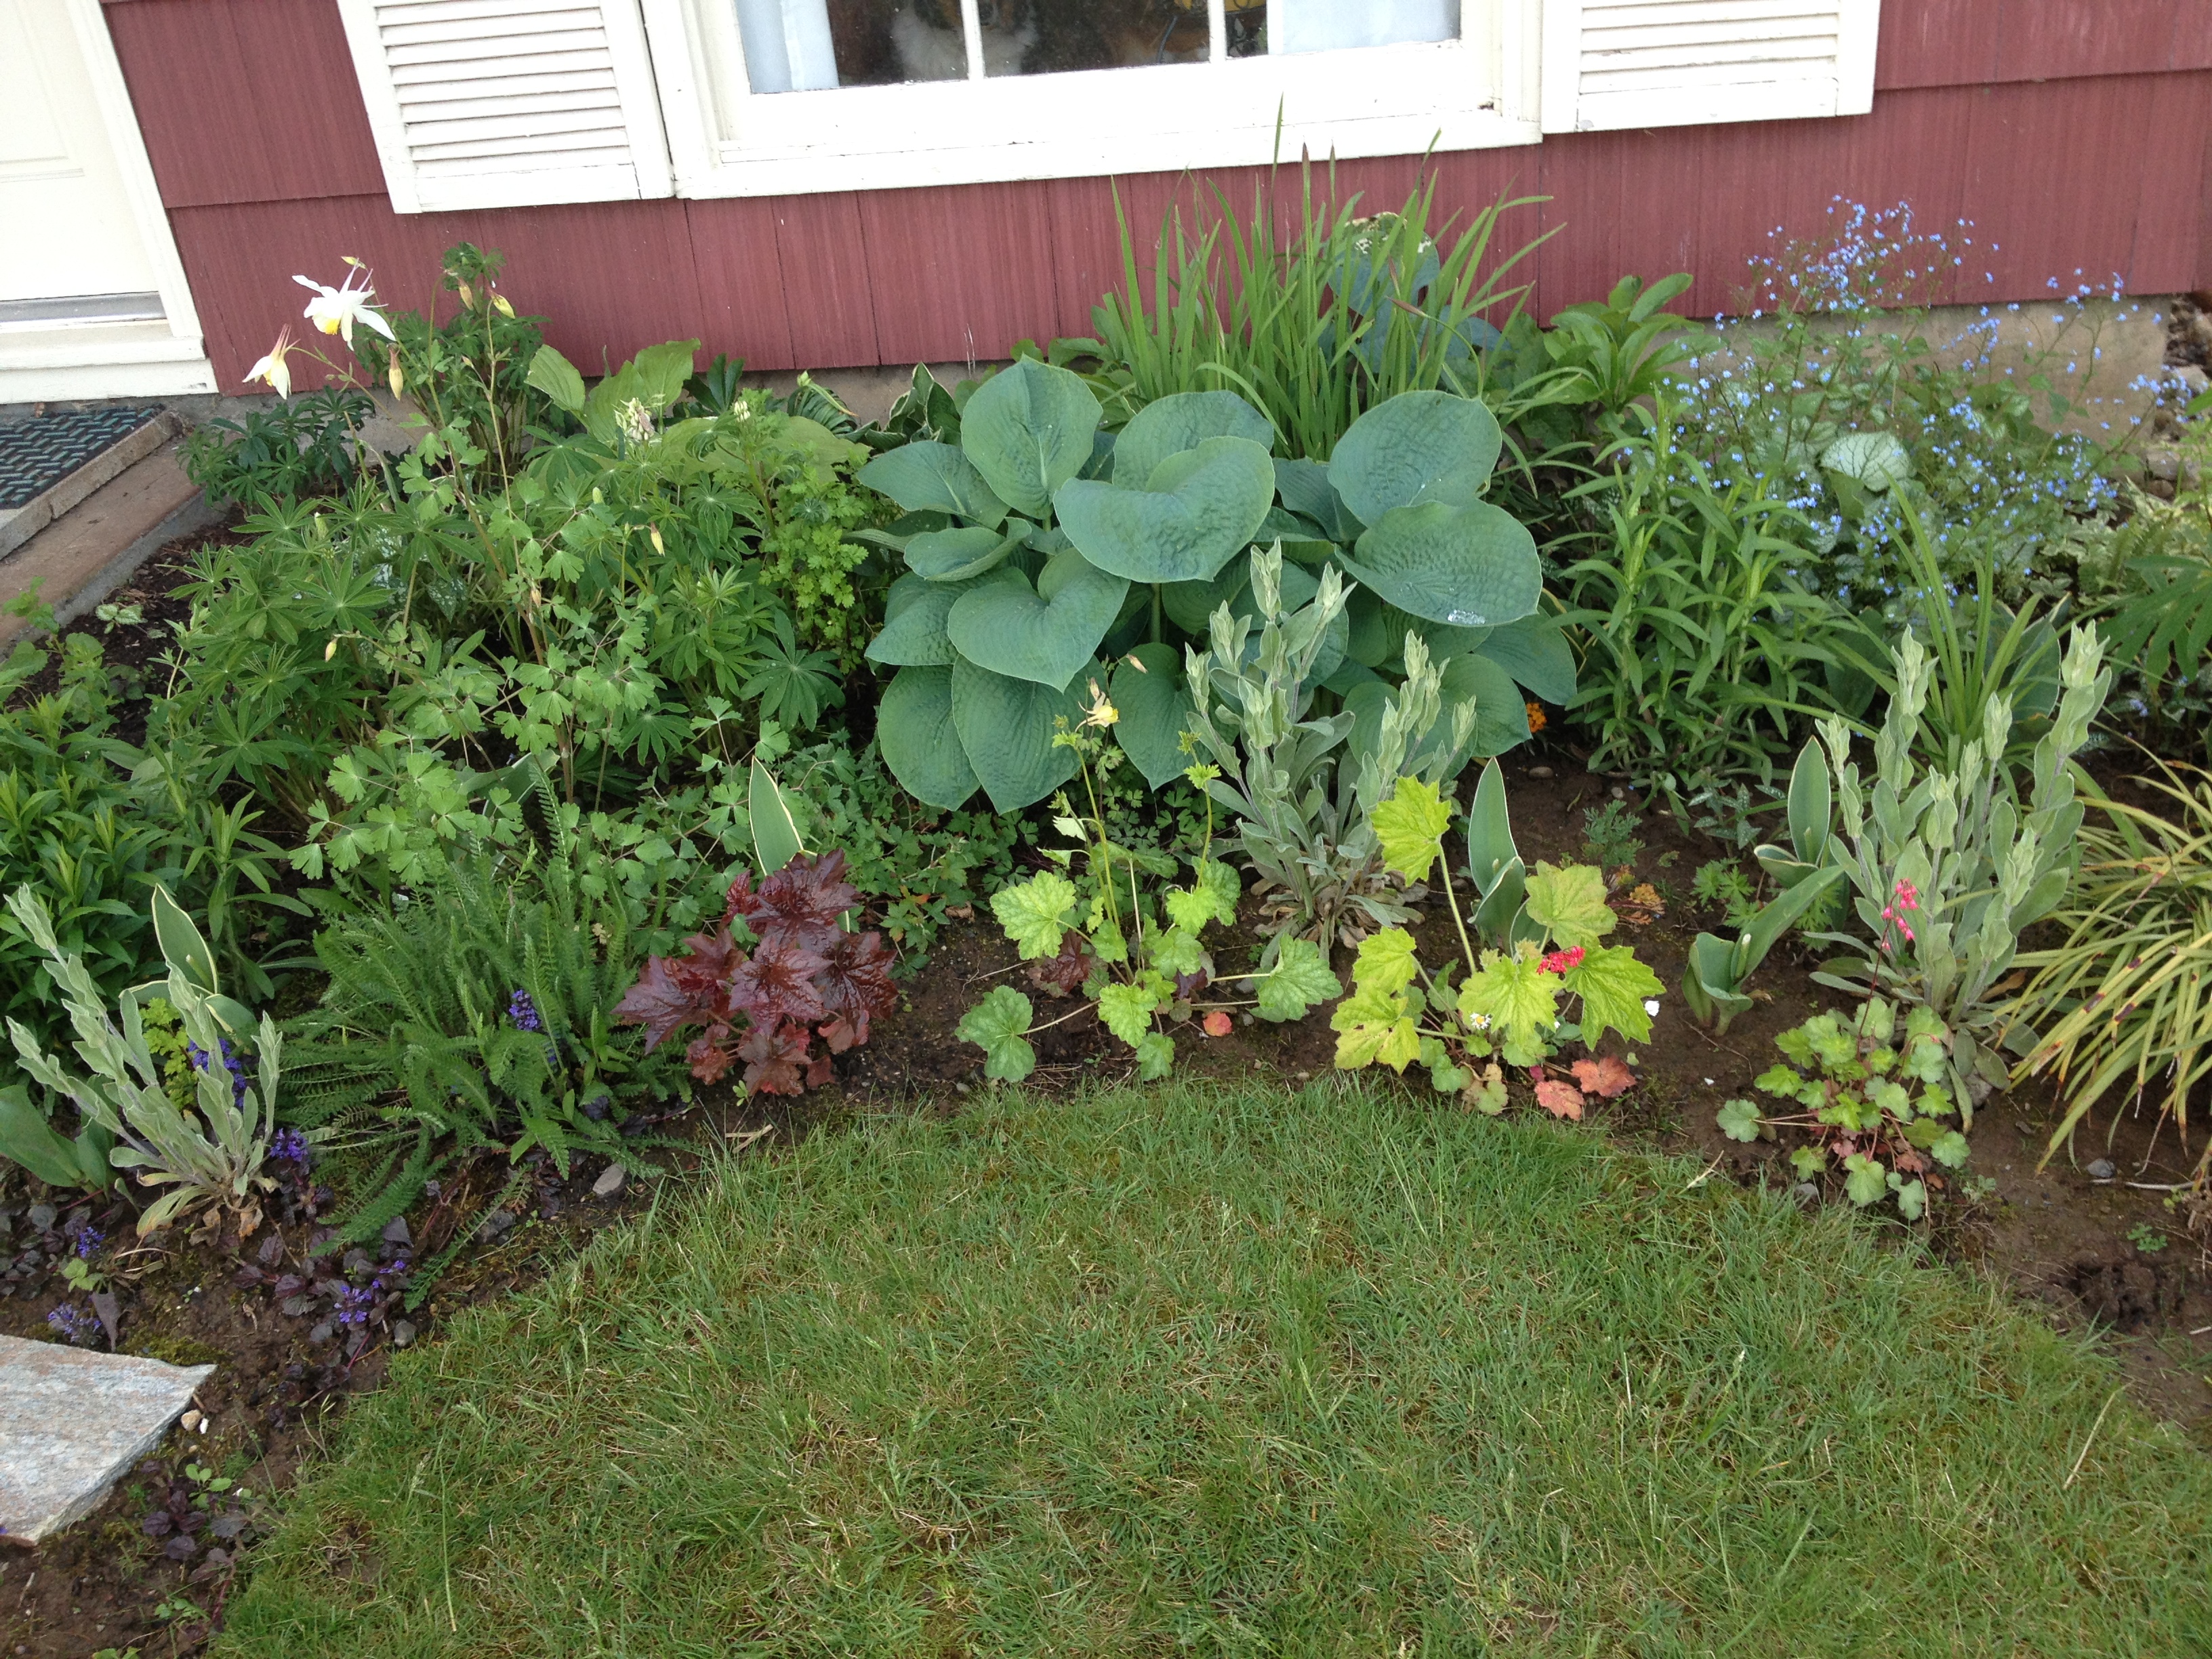
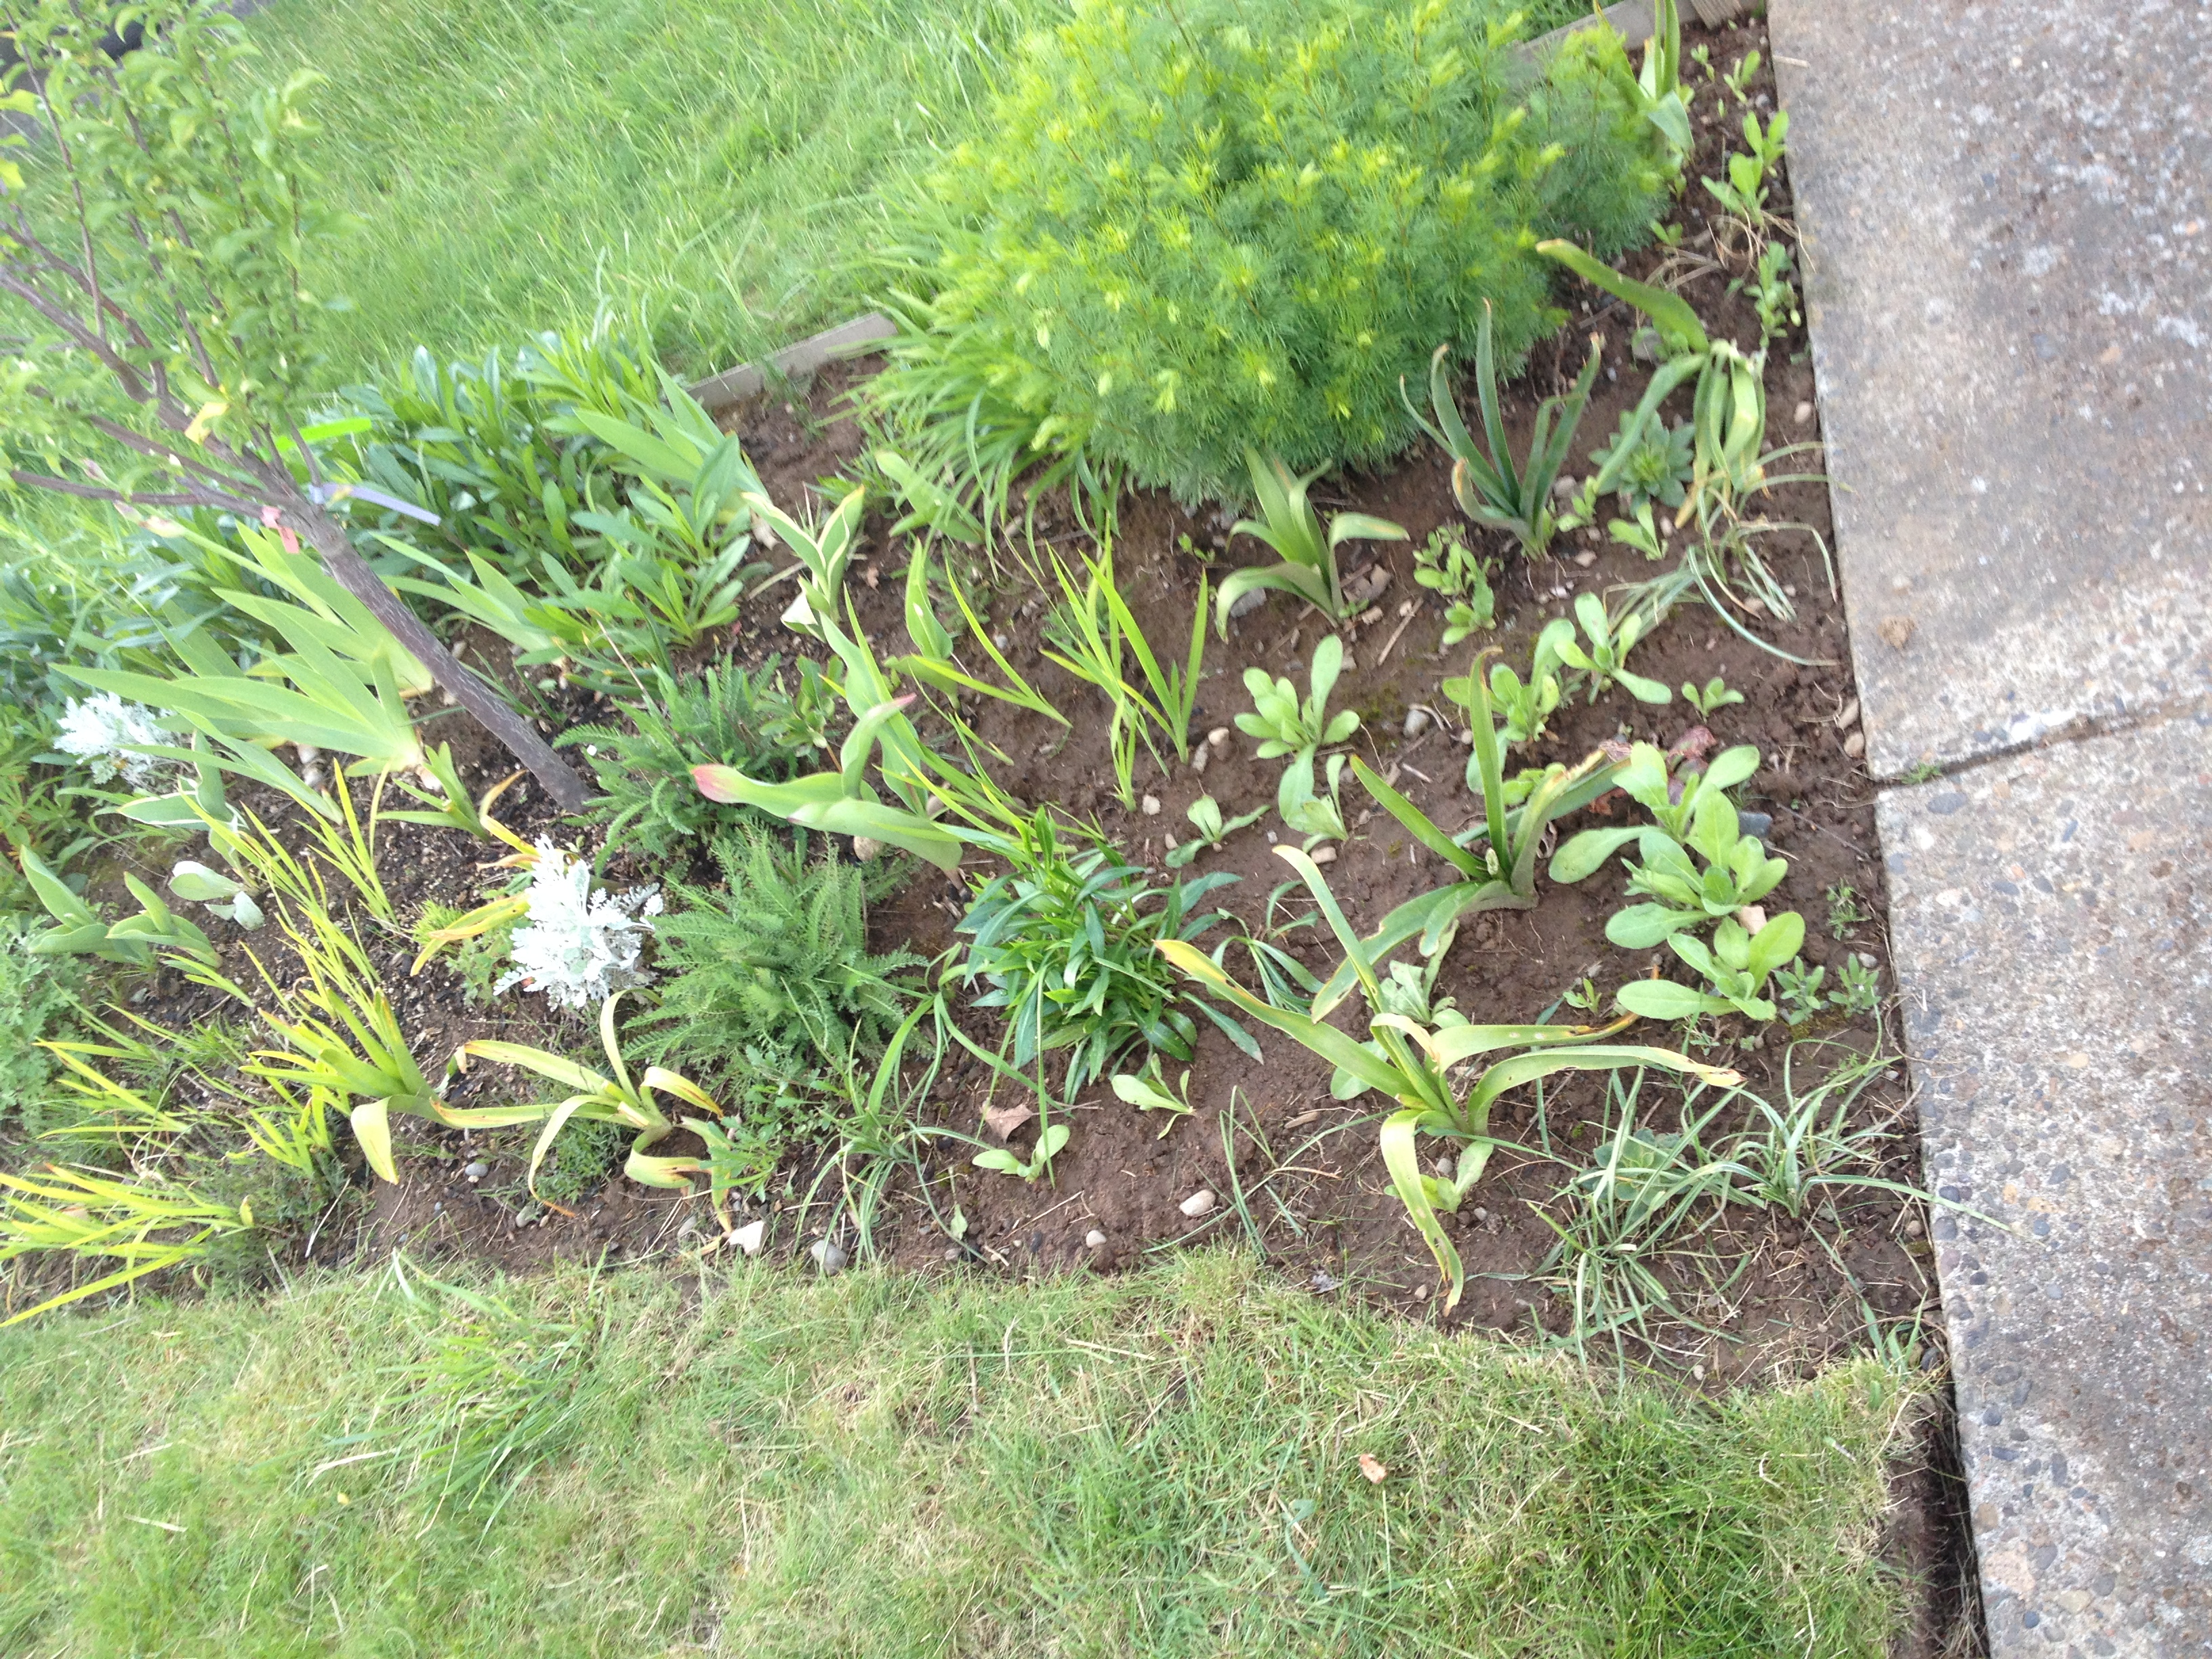
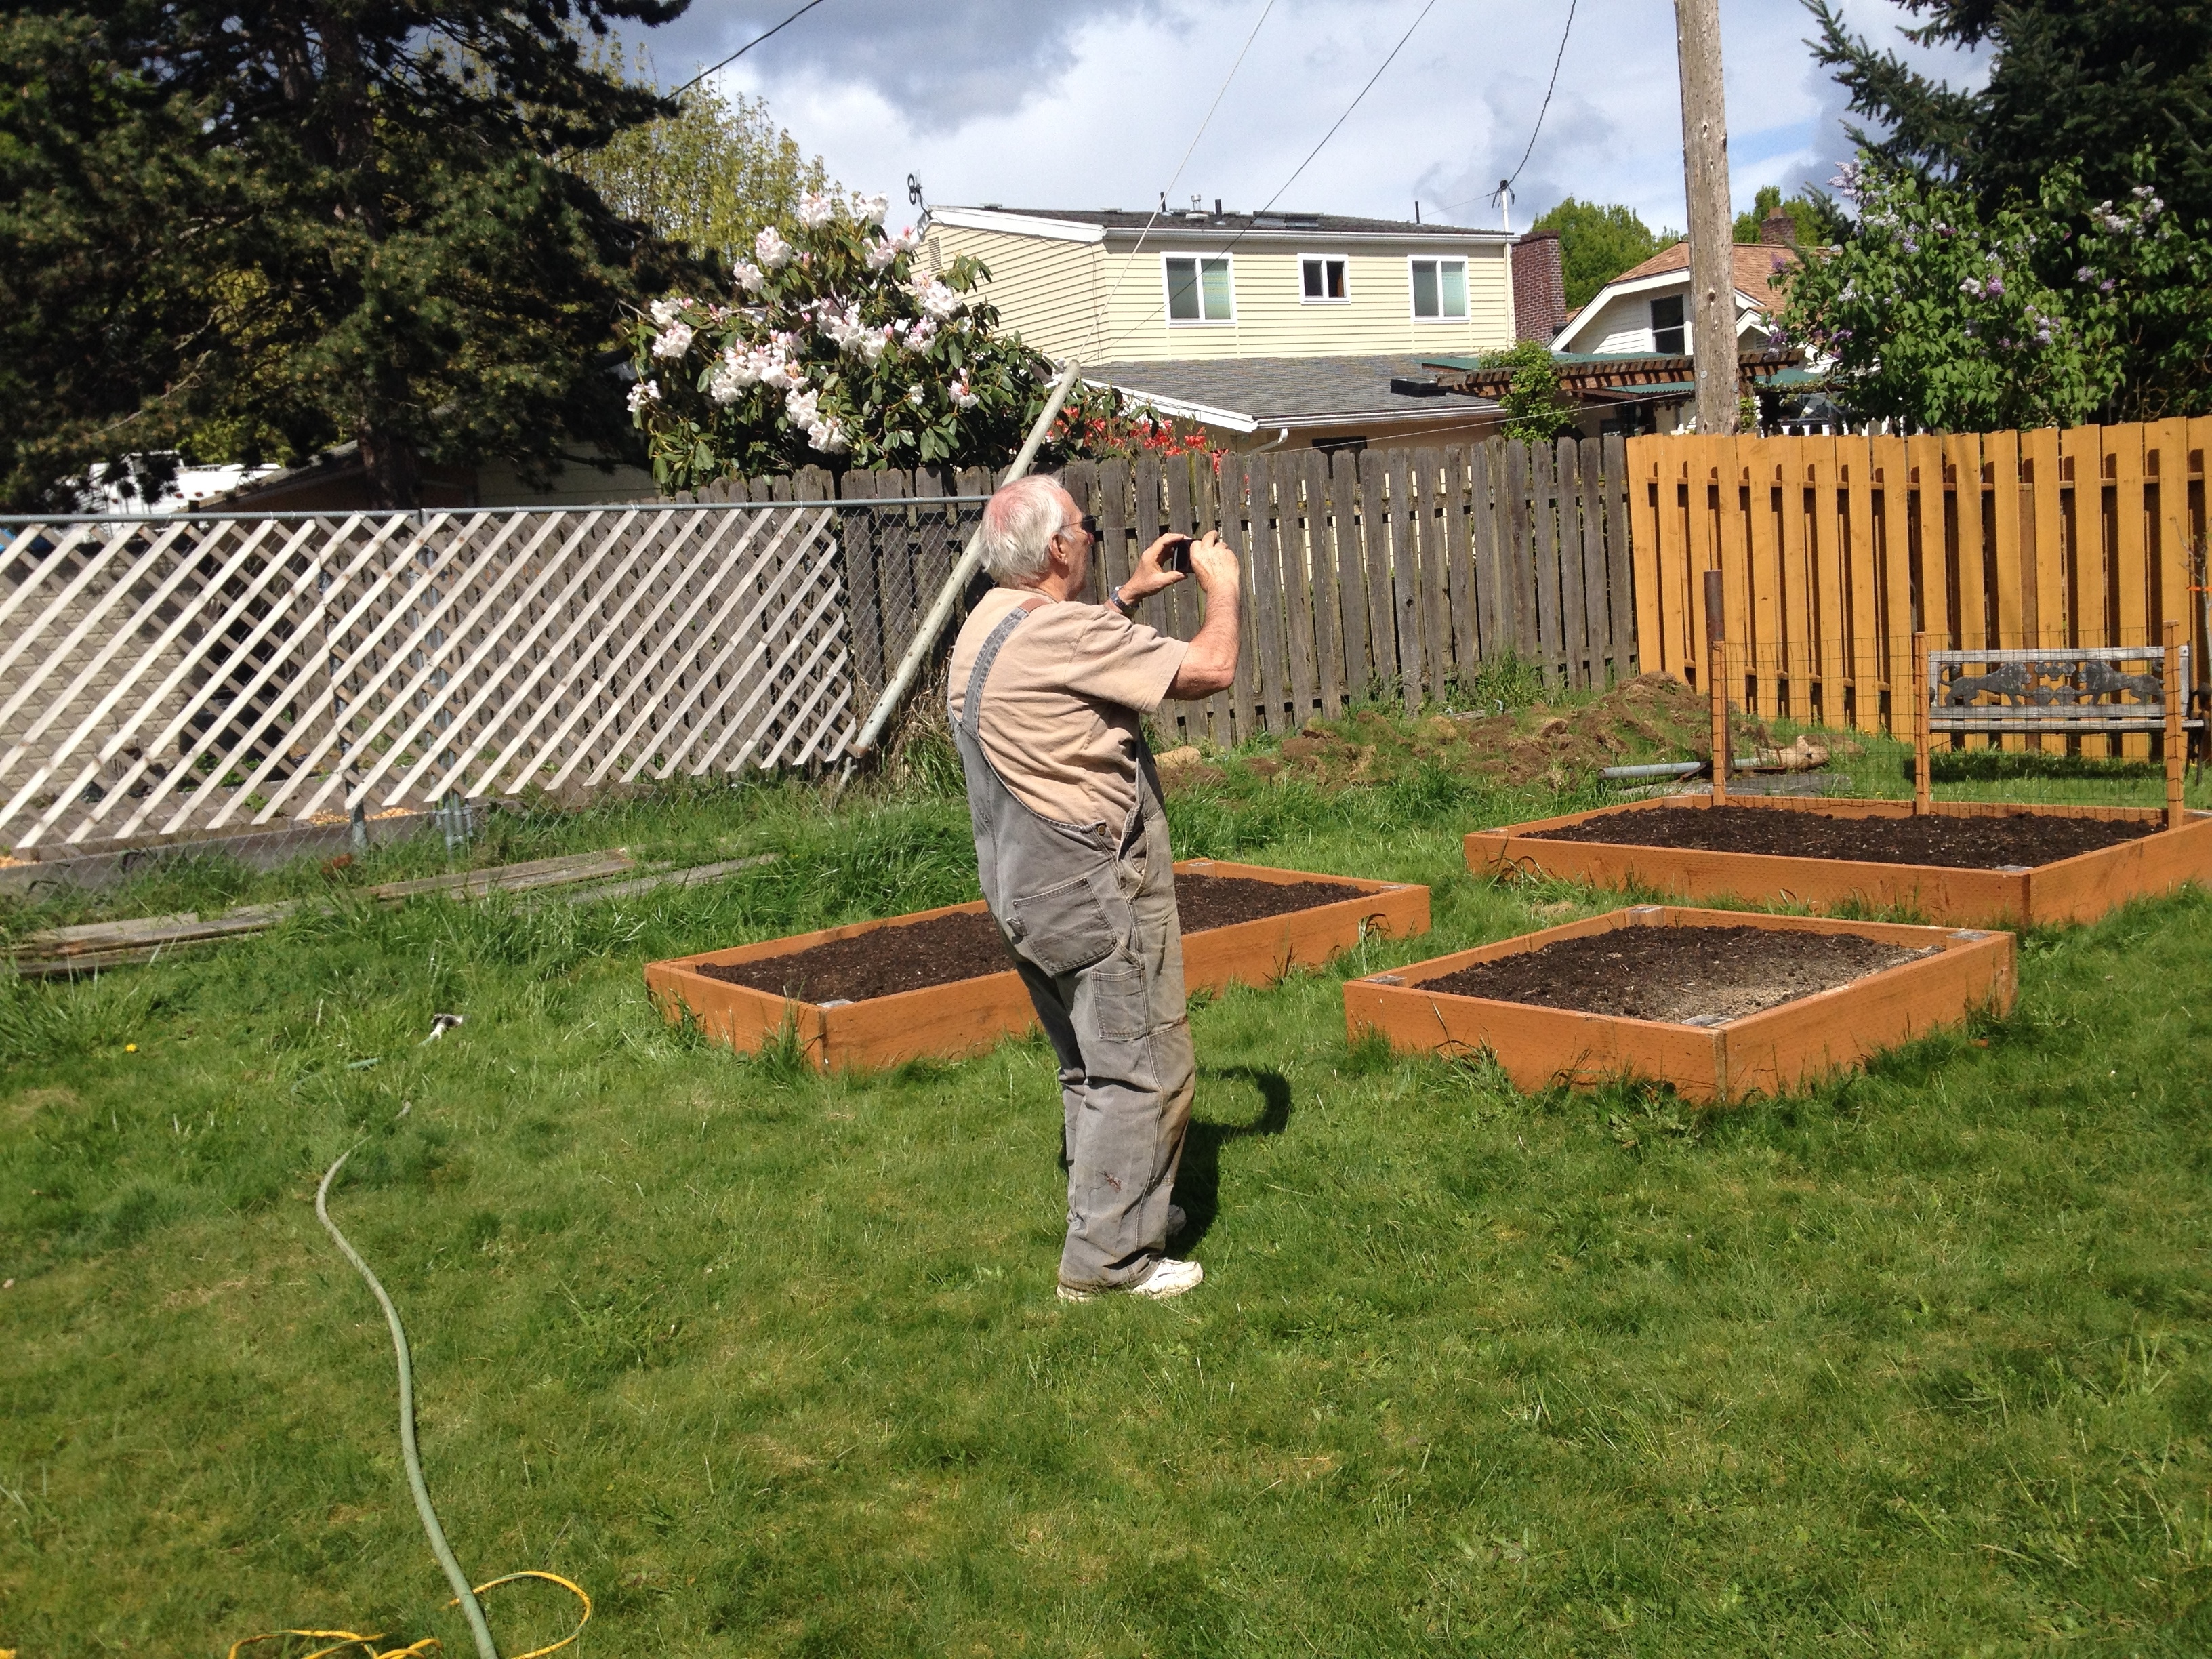
Put in irrigation to all of my beds. Filled in with plants. Since I spent almost $800 on the blocks, dirt, irrigation, there was no budget left for plants (expect for garden veggies), so I had to make due with moving and dividing stuff all ready have. Might be kind of thin this year but it is going to look great in the long run. And I don’t have to mow it!

Mom and Dad came down the second week of my vacation and helped me put in some irrigation and then I divided and moved a bunch of plants to start filling it in. It looks great and is kind of in the shade in late afternoon, so I can sit on it and rest.

Full-blown Sparkle

After the totally lovely results of redoing Grandma’s chandeliers, I was eager to do something about my light fixture in the dining room. The only redeeming quality there is that they are nickel and that is my medal of choice. But everything about it is boring and wrong.

dining room before

dining room before — check out the reflection for the full scope of the cheap, boring.


Sconces

Once the arms were turned upside down, I went to Lowes and picked out a few options for new sconces. A poll of my family and design savvy friends confirmed my choice of the sparkly one. Of course, they are about 4 times more expensive than the others but worth it. Also tested how the strings of hexagon crystals looked between the arms. Liking it so far.

This was extent of my original plan but I thought it could use more sparkle. After a few trips to craft and beading stores I was pretty frustrated about price and selection of beads. I found some I thought would work on Amazon but some of them literally were delivered via slow boat from China. That put the project on hold for awhile. After they got here, I still thought I needed more and visited the craft store again. Found some basic clear beads that would end up being a major player.

crystal strings

I had to hand bead all of the strings that would drape from the top ring and between the arms. Fun project to do while watching tv.

Canopy

I draped the strings from the top ring to the back of the sconces. Original plan was just one string pre arm but it looks weird, so I did a second string for each arm.

canopy strings

Still working on the canopy strings. Also found a larger pear-shaped crystal that I have had for years and decided to hang it off of the bottom for an extra little piece of bling.

Between arms

The strings between each arm. Haven’t added the second canopy strings yet.

Finished

All finished. Love how it looks. Even with lights turned off, super sparkly in natural light!

Not Funny

I don’t usually post stuff about work on this blog, other than to say it is keeping me busy, but this latest project took up of big chunks of my life over the last 9 months, so I thought it deserved a mention:

Fool me, I decided the comics pages needed an overhaul. So I put together a committee and tackled it. This the A1 article I wrote announcing the changes.

comics A1

The A1 story I wrote

a1 jump

The jump page from A1.

These are the Life pages with the article I also wrote and designed, introducing the new strips:

d1 intro

Life cover. Wrote story and designed

Life jump. Continued the meet the comics story. Still written by me.

Life jump. Continued the meet the comics story. Still written by me.

I set up feedback lines, but still got screamed at more than I wanted to. My big mistake was cutting the bridge column (that card game that old people play) — yeah, apparently Vancouver has a nationally known bridge club and I got over a hundred complaints in 3 days — so I had to bring it back. (serious teeth gnashing here). Oh well — win some, you lose some.


Illuminating family history

I have tons of lovely memories of hanging out at my grandparents Doman’s house. And I have been very blessed in the gifts of their stuff that they bequeathed on me both when they were alive, after Grandpa died and as inheritance after Grandma died. When my relations visit my house, most note how much stuff in my house came from my grandparents — some people are pleased this old “junk” found a affectionate home, from others I get the sense they think I’m a bit of a bandit — but I was in the right place at the right time and wasn’t overly picky on what was “dumped” on me. One of the reasons I like this house so much is all of my inherited pieces are from the same time period and so it fits.

Anyway,  one of my fixtures in my grandparents’ house was their formal livingroom light fixtures and was pleased when Grandma took them with her when she downsized after Grandpa’s death. I was even more pleased when Mom asked it I wanted them! I love sparkly things and these are the kings of bling! When I lived at the Rex, I had one of them hanging in my bedroom for a while. But then I move down stairs and replaced the fixture with something more suitable for my renter. The chandeliers have been in a box since. And this was making me sad.

I knew I wanted to replace the ugly “boob lights” in my new house but wasn’t sure what I wanted. I remembered Grandma’s chandeliers but they are brass and I don’t really care for brass and nothing else in my house is brass, so I tried to look for a better option. But after almost 2 years in this house, I came to the conclusion that all of the other fixtures I like are too spendy for my budget and decided to give Grandma’s lights a second look.

Chandelier pieces

So much sparkle — all of the pieces spread out on my desk.

Chandelier before

I posted this picture on a few internet sites to see if anyone had any input of their value. Turns out there isn’t much.

If was going to hang them, they can’t be brass but I was torn about if painting them would “ruin” them. I asked the internet — they said “no.” I asked Mom if she would mind me painting them and she emphatically stressed that they are mine and I could do what I want with them. So let’s paint!

I didn’t take pictures of the painting but here is the hall light installed.

Hall base hung

base hung in the hall. As usual – was harder to install than it should have been.

hall hung lit

In the hall — all assembled and lit. Pretty!

hall hung unlit

In hall — all assembled and unlit. So much nicer than the horrible boob light!

It was a week or so after I got the hall light in before I tackled the kitchen. Thought it would be a breeze after struggling with the hall light. Turns out it was worse! Shocked myself (3 times actually — but the second 2 were almost expected and not as bad as the first, which inspired some really colorful language and almost knocked me off of my stool.)

braker box

The braker box — sent this to Dad to see if I was smart enough to replace what I thought was a blown breaker — turns out, not blown, just some dumb wiring on kitchen switches.

Good to know I am smart enough to swap out a braker — could be handy to know at some point. I think the wiring in the kitchen used to be controlled by 2 switches (both on different lines, which is super strange.) Anyway, 4 hours on a ladder and trip to the hardware store in the middle and I finally got it hung.

Hung kitchen

Finally installed in the kitchen — light off. So lovely!

Kitchen lit

Finally hung in kitchen! Such a pain but worth it. Also noticing the bulbs get really warm to stand under.


Love them! Going to tackle the dining room light next — probably another DIY glam up (since the fixture I want is $400 and that isn’t going to make it into the budget.) I hope Grandma is smiling down and enjoying the incarnation of her beloved chandeliers. Happy I can have this new reminder of them lighting my life every day.

Stepping it up

When I bought the house there were some issues in the back yard with retaining walls. I patched up the one on the south and handled the southwest corner with the raised retaining wall bed that I built last year. The wildflowers I planted in it last year were a lot of fun, except when they fell over. This years I’m going in a more meditated direction, so it is still a work in progress.

retaining wall bed

Fixtures are doing fine but I need to move some things around that came up from seed and then fill the holes.

Bob's Redwood

My friend Bob gave me a redwood sapling that he got in California last year. Happy that it is hanging in there!

Ferns

I told mom I wanted ferns. I do but not really for this bed. May be a temp home or maybe not — I like and they like it there!

But back to my wall woes. North of the retaining wall bed there is a section of old wall that fell down. I decided that it would be fun to build some steps and pillars to the back area along the fence. The first part of the project happened when the old fence fell down. I took some of the old board and cardboard and covered the weeds along the fence.

Weed kill

This has been covered since early March — 2 months isn’t really long enough to kill some things but it was a good start. Black pots hold honeysuckle that have been very patient and getting a real home.

Weeds on their way to dead, I need to deal with the horrible yucca. As a rule, I don’t like plants the hurt me (hence my dislike of roses.) But digging these out proved more of a challenge than expected! Huge roots masses — I guess that is how they live in the desert — store up as much moisture as they can in their big fleshy roots.

Shovel

The shovel that I inherited from Grandpa Doman (so it is at least 15 years old) met its match against the yucca. One more reason to dislike yucca

Yucca out (or so I thought — I kept running into big chunks that I thought were concrete but were just more roots), time to get building. I knew that I would have some challenges since I was building on a not super level old retaining wall stones. But I figured it would be fine.

rocks

Ready to rock and roll. Guy loading the cinderblocks for me was worried that my truck wasn’t up to the task. I laughed!

It was just like my job — just make all of the blocks fit.

Steps

Steps and pillars done. Weed clothe and mulch laid. pots planted with honeysuckle, snap dragons and verbena. Green pots to blend in with neighbors weeds.

There are some gaps and both pillar lean toward the front. I may pull some it apart and see if I can fix it but things should settle a little bit. I do want to get some urn-type pots for on top of the pillars but Lowe’s didn’t have any I liked that I was willing to splurge on. All and all I’m pleased and definitely better than it was.

Weekend update

Feels like every time I turn around something else amazingly cute is happening in the yard. I managed to get all of the plants that Mom gave me finally in and have been thrilled with how great things look.

Lupin

The lupin are beginning to bloom. I can’t believe how big they got. Looks like the iris are going to bloom this year too — surprise considering the hacking I did to them!

showcase

The bed under the front window is being fantastic! The hostas are a recent addition from Mom. Aphids gave the lupin a ravaging but I think they are gone. Gets better every day!

burm bottom

With the hyacinth and tulips done, I moved the calendula around and moved some asters.

Columbine

Columbine have always been one of my favorite flowers. There was a meadow in Colorado, where if you hit it at the exact right time was a blanket of blue columbine — so wonderful! This white one has been a real treat this year.

satellite bed

I was hoping to rip the satellite pole out but it was too expensive. So I made lemonade out of it. Should be a good spot for cooler veggies. Found that bench for free on the side of the road!

Longing for less lawn

With the fence in and folks gone, I had the rest of my vacation week to fill up with projects. Good thing that is never a problem for me. As soon as my parents left on Wednesday I began digging.

I don’t hate mowing but I don’t love it either. I especially don’t like mowing areas with slopes, etc. I was also wearing a path in the grass along the back of the house to watch Lily while she uses Charles’ yard as a bathroom. So next task on the 3-year yard master plan is in put in a bed along the back of the house.

Day one

Day one I managed to get about half of the bed dug out.

all dug

All dug out. Then I put in a border of river rock along the back of the house. Lily approved.

pile of sod

I piled all of the sod with the old pickets. This area is turning into my trash heap. Need to get serious about this project!

paving stones

Final part of the project was to put in the concrete pavers. 17 bags of 50 lbs concrete. I had very selective memory on how not fun these can be to make!

Done and looks awesome! This vacation was insanely productive! but ready to go back to work to I can sit down for a while!

A stand-up job

February was a crazy month weather-wise. First there was snowmageden and then we had a few days of some serious wind. Turns out my janky, rotting, mostly gone fence on the north-side of the yard wasn’t up to battle and toppled.

Fence goes down

Fence lost the battle with the wind.

Charles' outhouse

Neighbor Charles’ little outhouse was collateral damage. Once I got the fence panel off of it, we stood it back up and it was only a little worse for wear.


I wanted to do the grown-up thing and actually pay someone to come and build me a new fence. I mean, it is only 35 feet on a basically level area and then square it off with the back of the house with a gate.  How expensive could that be?! Turns out — a lot more that I thought. I got 4 estimates — ranging from $1200 to almost $3000. Whoa folks, the cheapest is my yard budget for the whole year and then some.

Piled up panels

I piled the panels up in a corner that is someday going to become a flower bed so I don’t care about the grass. Then I spent a very rainy day off breaking down the panels and stacking the wood. It was very therapeutic!

Thankfully, my parents wanted to come the rescue! When we were in Phoenix, I was complaining about the cost and my dad insisted that this was a job for him. So a month later, when I had so vacation time slated, they came down.

They got here on Sunday night and we started planning and scheming, then early to bed. They got up crazy early (which for me is any time before 11) and started digging out the old posts while they waiting for me to get my butt out of bed — which I did around 9. Over breakfast Dad came up with our shopping list and plan to get the stubborn posts out (and repurpose the holes for the new posts, since it turns out my dirt is insanely hard clay.) Hardware store and then Dad and I spent the afternoon setting the new posts while Mom weeded my flower beds (Thanks Mom!). Lily did a great job supervising everyone, barking at people walking by and napping under Charles’ tree. Dad and Lily really hit it off and it was fun to watch them play — kind of weird cause Lily usually doesn’t like men (it took months and a lot of treat bribes for her to like Charles!) Posts in and not much else to do, off to the hardware store again to get the pickets!

Tuesday, with the posts set, we did the rest of the framing. We decided to rent a compressor to use with the airgun (and nails) Dad brought, cause turns out I’m not super handy with a hammer! We turned the picket installation into a family affair with Mom and I doing the spacing and Dad running the gun. We were done in only a few hours! And it looks great.

Finished

This is the finished product. Basically 2 days of hard work. Looks great!

Gun returned and all of  us showered and sleepy, we went to Derek and Bridget’s for dinner. Then home and bed. Dad forgot the tool he needed for the gate, so they are planning to come down for a quick trip in a few weeks to install that. With nothing left to do, they left before noon on Wednesday. It was an awesome little trip . I have the best parents!


ADDED 4/22.

As planned, Mom and Dad came down for a super quick trip to do the gate. They got here around 1 on Monday, and after a quick lunch, we started working. We already had the lumber, so Dad started building the doors while Mom and I weeded the herb bed. Because the opening was about 70 inches, we decided to do two doors that would open fence door-style instead of one big door, which would have been too heavy. Great decision — looks great. Door frames were built and hung and we were done for the day. We ate some food and then I took them out for ice cream. In bed early (I slept on the couch as the air mattress was too much bother for one night.)

Tuesday, we had breakfast and then hung the pickets. Whole project done and cleaned up by 11. They scurried to get out the door to beat traffic in Seattle. Really fast trip but lovely to have them here again! Oh, by the way, the whole project, INCLUDING feeding my parents was less than $600 — half of the cheapest estimate (and I have a pile of pickets to return, cause turns out math is still hard!)

Gate closed

Gate view from the street

Gate from backyard

Gate from backyard

Gate open

Gate open. We had to move the board that edged the mulch but without measuring (or really thinking about it), it was the prefect length to square off the bed.

Gate open

I love the french door-style! Our spacing was really perfect on the post — there is just enough room for the picket between the post and the side of the house. 

Dad takes pix

Dad takes a picture of our handy work to brag to his friends (apparently they were all sad he didn’t have pix.)

Breakfast

Tuesday morning breakfast

The Spare Room

As I mentioned the weather was pretty crappy during this vacation, so I had to come up with inside projects. And my spare room has been on the to-do list for ages. I really want a cute space for those few times a year that people actually come and visit me. And I have all of my awesome extra furniture just shoved in there not really being particularly cute. And the number one reason is, as always, CEILINGS SHOULD BE WHITE! Every time I look in there or even walk by, the poopy brown dark cave impression given by the hated taupe walls and ceiling is just depressing. I can even see hints of it from the hall or even laying in my bed and looking out the door. The brown had officially worn out any shred of welcome it never had. Time to paint.

I had been debating about color and had the same hang-ups I had with my bedroom — had to be cheerful and make the room feel bright. And this room is even more challenging because it faces north and is even more dreary than my room (which is why I chose my room as the master in the first place instead of the other even though it is larger). And just like the debate with my room, I ended up at the same solution — go with a known winner, cream. So the same color as my room, Chapel Wall with Sugar Dust ceiling. 3 days of painting and a room transformed.

spare bedroom

Cast off extra furniture includes inherited red love seat, which presented problems when pondering alternate paint colors.

Ikea curtains

I bought these curtains from Ikea ages ago and were suppose to include hem tape but it didn’t so I had to get creative with a swag instead of my standard straight. Sorry about photo quality — even in the middle of the afternoon it is still kind of dark in here (but it IS November, so kind of expected.)

desk spareroom

Moved my desk from the living room.

New rug

Love the new rug, also from Ikea, and Lily likes hanging out in here too.

Not fully decorated yet. And I need to figure what to do about a bed. I’m torn between a sofa bed or going to mattress discount place and getting a real bed. On the to-do list. Even so, it feels so much brighter in here, which spills out into the hall. Still work to do but I am happy to have made some progress.

Garage Glam-up

When I moved in a year ago, the garage was, obviously, just a catch-all and staging area for all of the junk, etc. I did a minor attempt at organizing so I could find the things I need and just left it at that. Over the last year, I figured what things need to be handy and what needed a better long-term home so I could find it if I need it but I wasn’t digging through the same boxes, piles, etc. when I was looking for stuff. My other major hang up was with the cupboard next to the furnace. This thing was probably built in the 60s and has the solid-as-a-Mack truck construction typical of the era but because of the spacing of the shelves is kind of useless — nothing seemed to fit right.

garage mess

Just piles of stuff everywhere

Tool wall

I wanted to do real hooks on the wall for the garden tools.

Washer and dryer

This is pretty organized but I just wanted to show off my badass washer and dryer — they sing to me!

So during a random November vacation when it was generally a little too chilly to be outside I decided to tackle this project. I started with grand ambitions of one of those TV DYI shows and then got bored and just ended up doing a basic tidy. I did however clean out the cupboard and put in shelf paper (already purchased when I thought I wanted to line the back of my open kitchen cabinets with it and then decided that would be too busy.) Shelf paper in, I organized all of the random stuff that wanted to get out of the way, mainly painting stuff and bottles of project goo — spackle and hole patch, WD-4, paint thinner,  etc. Looks pretty good.

cupboard before

Not much in here cause nothing fit but what did, was a mess.

shelfpaper

Cleaned out and lined with shelf paper

Shelfpaper detail

A detail of the shelfpaper. Pretty cute. but should ponder the idea of painting the wood.

Cupboard done

All filled up again. Used paint trays from the other project during this vacation.

Tool wall tidy

I gave up on the hooks for now. Maybe later. But I did hang the broom holder.

Nuts and bolts

I put away all of my random buckets of project supplies and reserved the tables for the tools I use a lot — aka the drill bag, etc.

Good enough for now.